Baklava Recipe
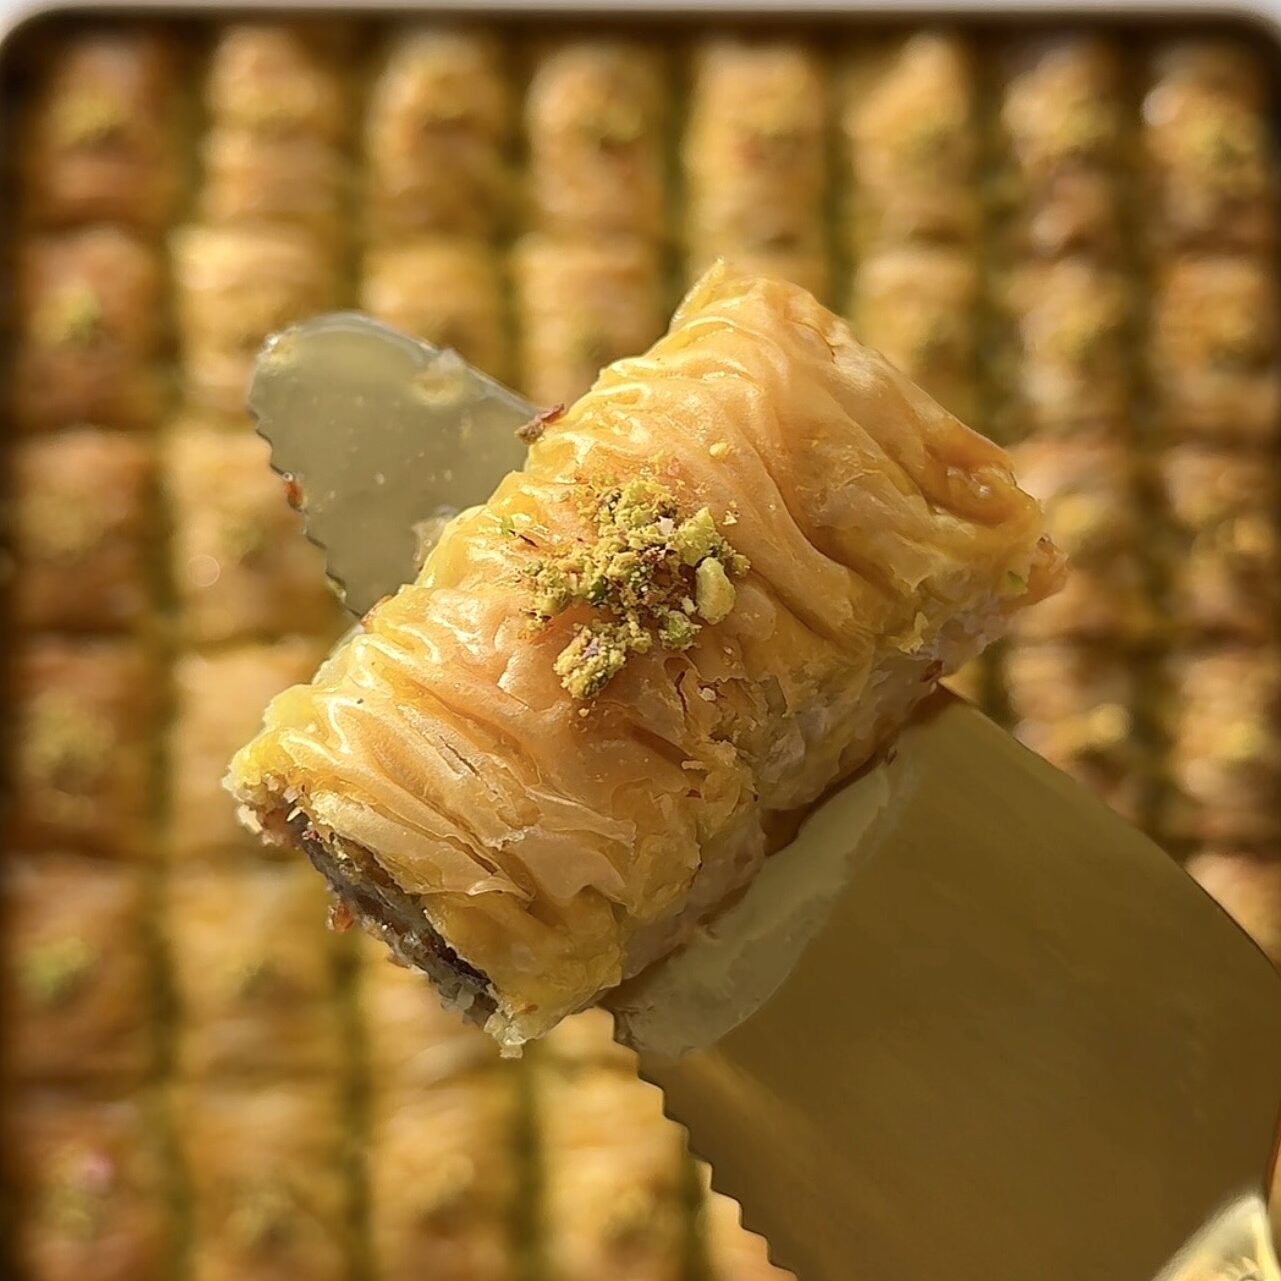
The first time I tried baklava was during my trip to Antalya, Turkey, this summer. I instantly fell in love with this iconic Turkish dessert and haven’t been able to forget its incredible flavour ever since. It was nutty, crispy, and syrupy on the inside.
Baklava is very sweet, making it the perfect dessert to enjoy with a cup of green tea or traditional Turkish tea. Although it looks quite complicated to make, it’s actually much easier than you think. With just a few ingredients and the recipe below, you can recreate this delicious treat in the comfort of your own home (no need to visit the shops).
I made these homemade baklavas for Eid, and they quickly became my family’s favourite dessert on the table. If I can make them, you can too! Just remember, practice makes perfect, and every batch gets better than the last 🙂
The Story Behind Baklava
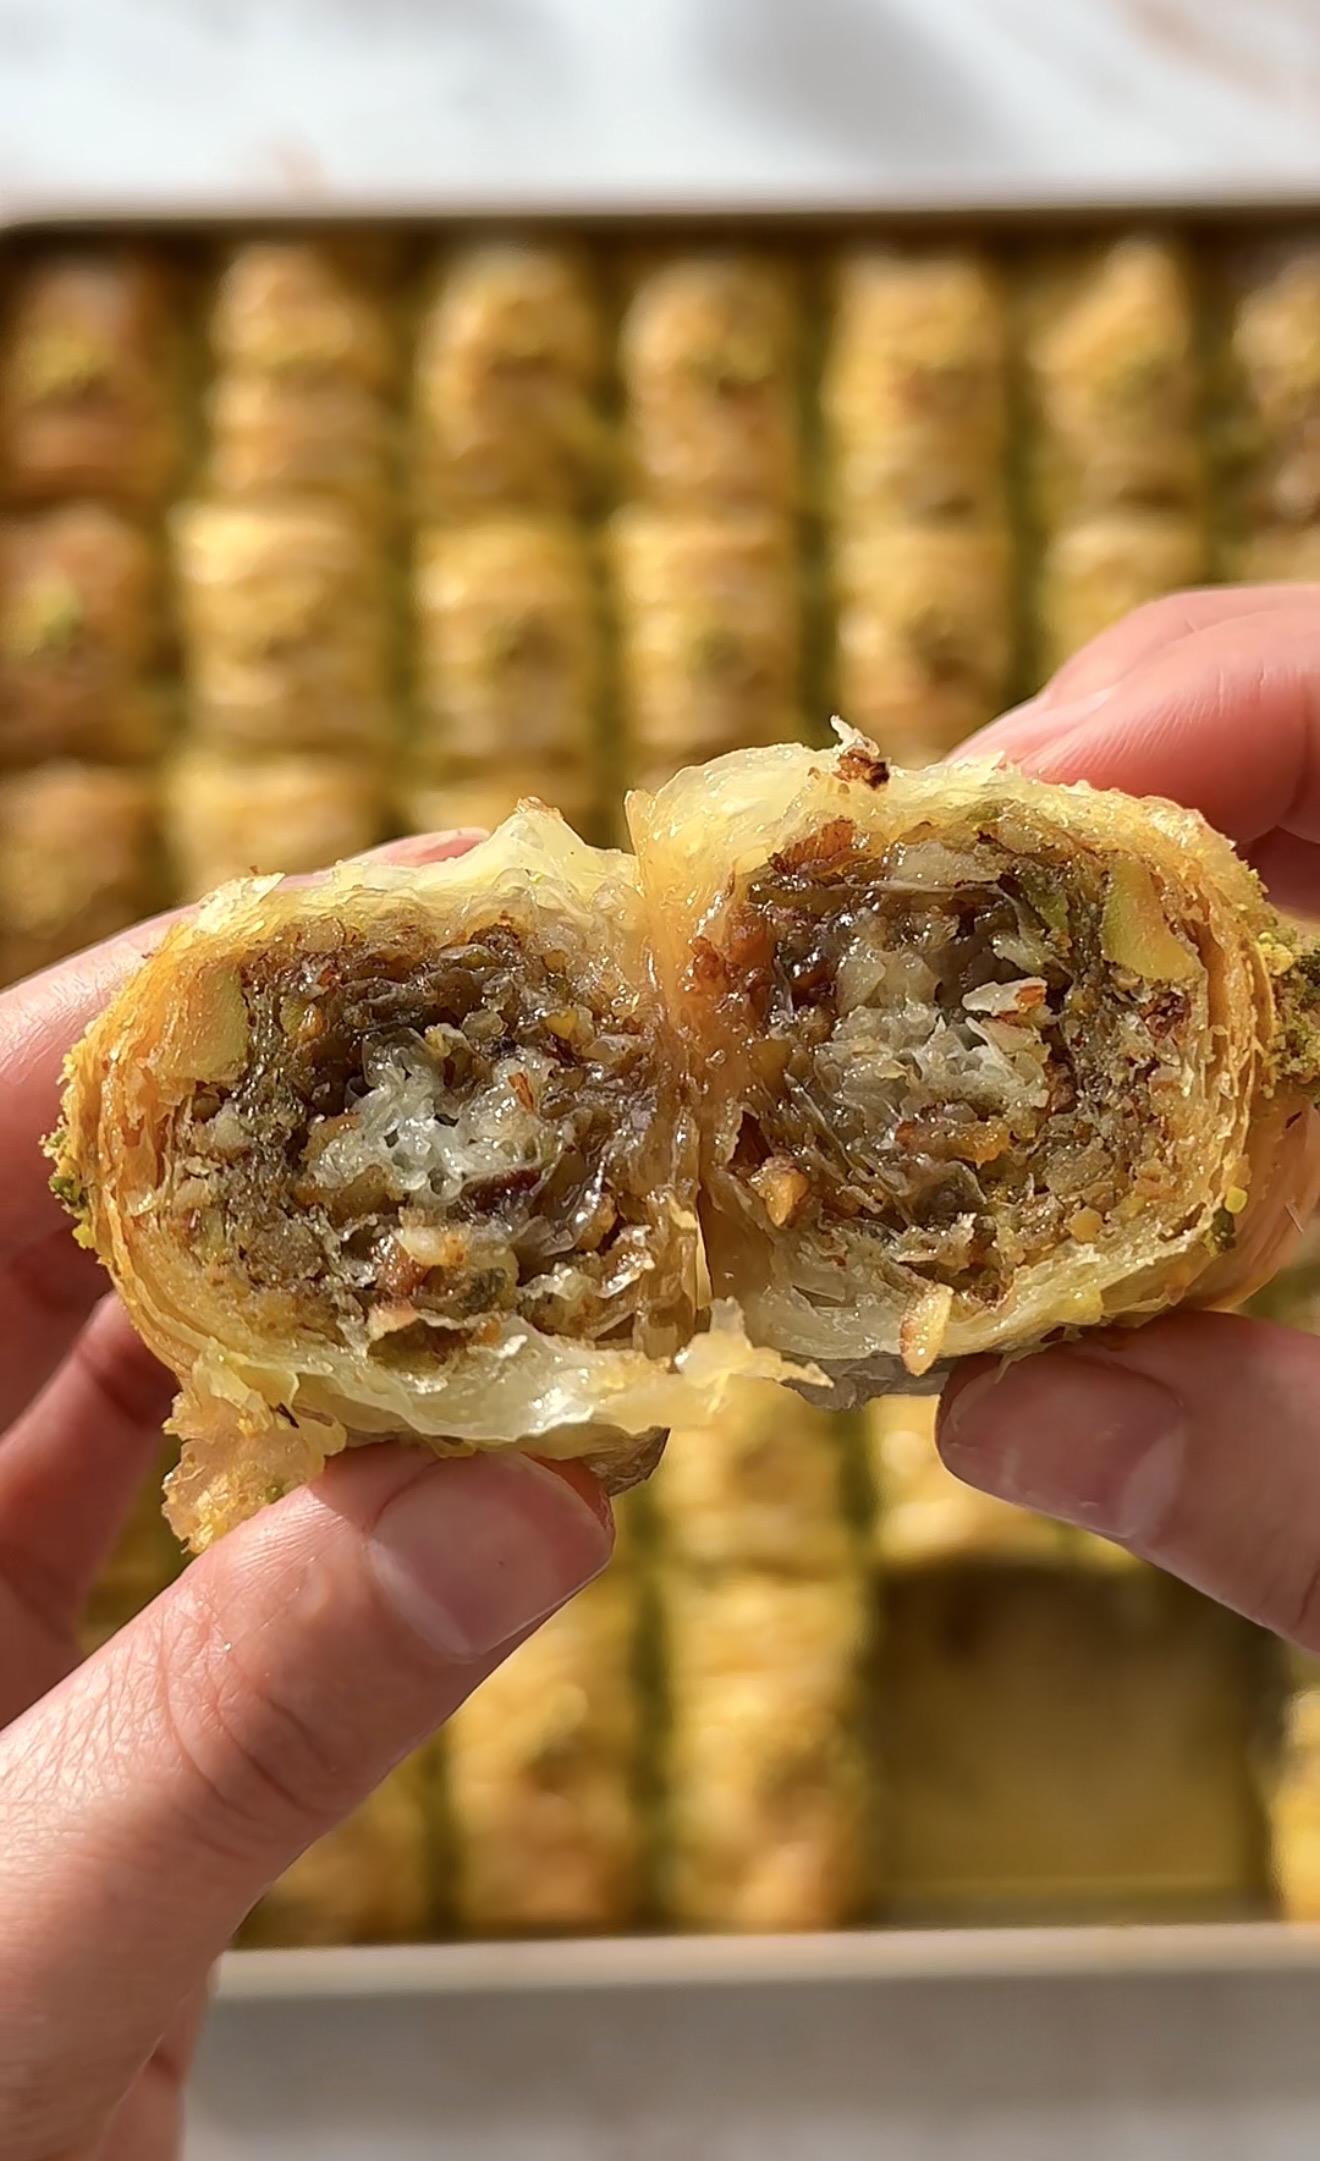
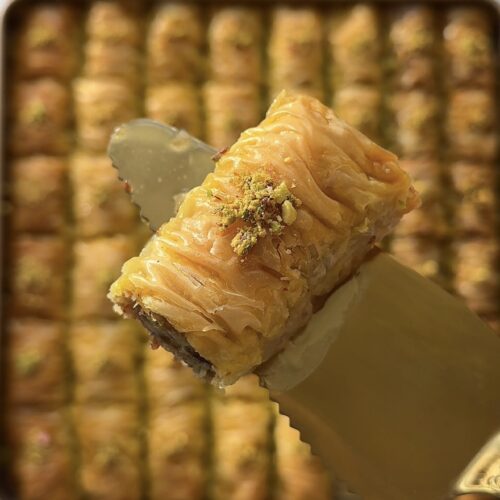
Baklava is a traditional Middle Eastern and Mediterranean pastry made from layers of thin phyllo dough. The dough is filled with butter/ghee, chopped nuts and spices, then baked until golden and crispy. Eventually, they are soaked in a sweet sugar syrup that makes it so juicy on the inside. Many countries have their own version of baklava, and each one is made a little differently. There are no hard and fast rules when it comes to making it, which makes every recipe unique.
What Makes This Baklava So Good
- Combining the butter and Ghee give the pastry a depth of flavour you just can’t get from butter alone
- I have used three types of nut filling, walnuts, pistachios and almonds which together creates that perfect mix of texture and taste.
- The cardamom adds a warm and fragrant taste in every bite.
- Pouring cold syrup over hot baklavas create those perfect crispy and sticky layers that is mouth matering
- The longer the baklavas sit in the syrup, the better and delicious it gets (preferably overnight). It’s important to have patience here!
- Homemade baklava is better than store-bought. Once you make it yourself, the shop version will no longer impress your taste buds.
Recipe Notes
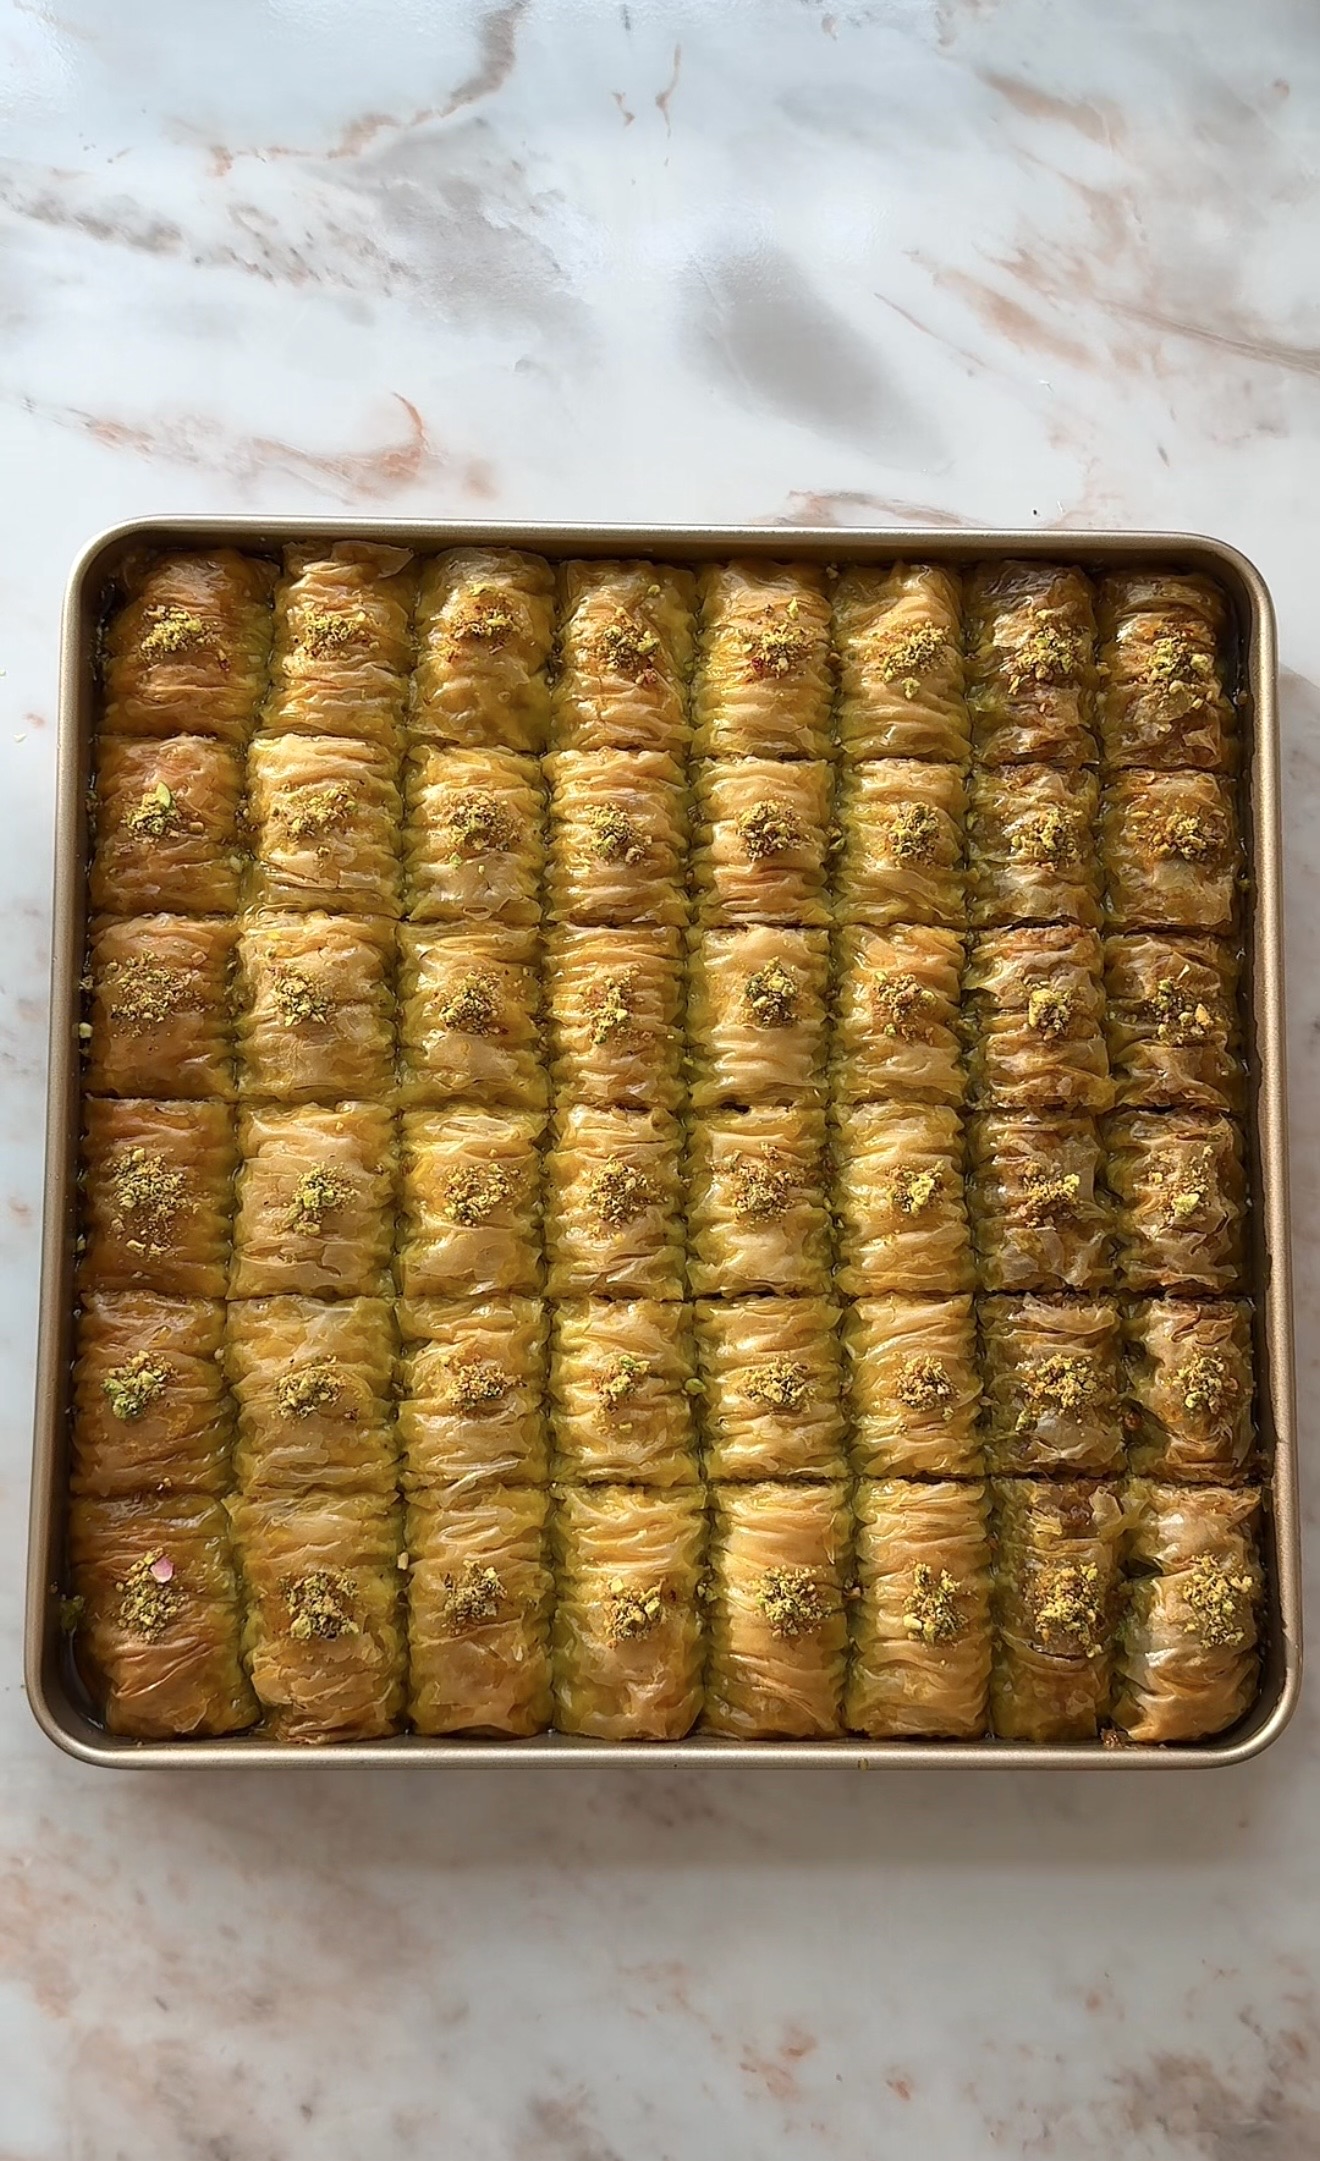
I’ll be honest with you, I had to try these rolls a few times before I finally perfected them. A couple of sheets of filo dough definitely got wasted along the way (not my proudest moment, of course), but it really is true that practice makes perfect. I think most people run into the same issue the first time they make them, unless, of course, you’re a pro!
In this recipe, I’ve used a variety of different nuts, but you can easily stick to just one or two types depending on your preference. It’s all about making it your own.
One important thing to note is that filo pastry dries out incredibly quickly. You’ll need to keep it covered with a damp towel while you work, uncovering only the sheet you’re using for rolling. I know it’s probably the most annoying part, but I promise it’s worth the effort in the end. A little patience goes a long way 🙂
After a few attempts, mainly getting the syrup consistency right and figuring out the perfect butter-to-ghee ratio, I finally landed on this version. This is one of those recipes I’m genuinely proud of, and I really hope you love it just as much as I do.
What You’ll Need in the Kitchen
- Large baking tray (approximately 30x40cm)
- Pastry brush
- Sharp knife
- Large saucepan (for the syrup)
- Small saucepan (for melting butter and ghee)
- Thin rolling stick or wooden skewer (for shaping the rolls)
- Clean damp kitchen towel (to keep phyllo covered)
- Mixing bowl (for the nut filling)
Ingredient Notes
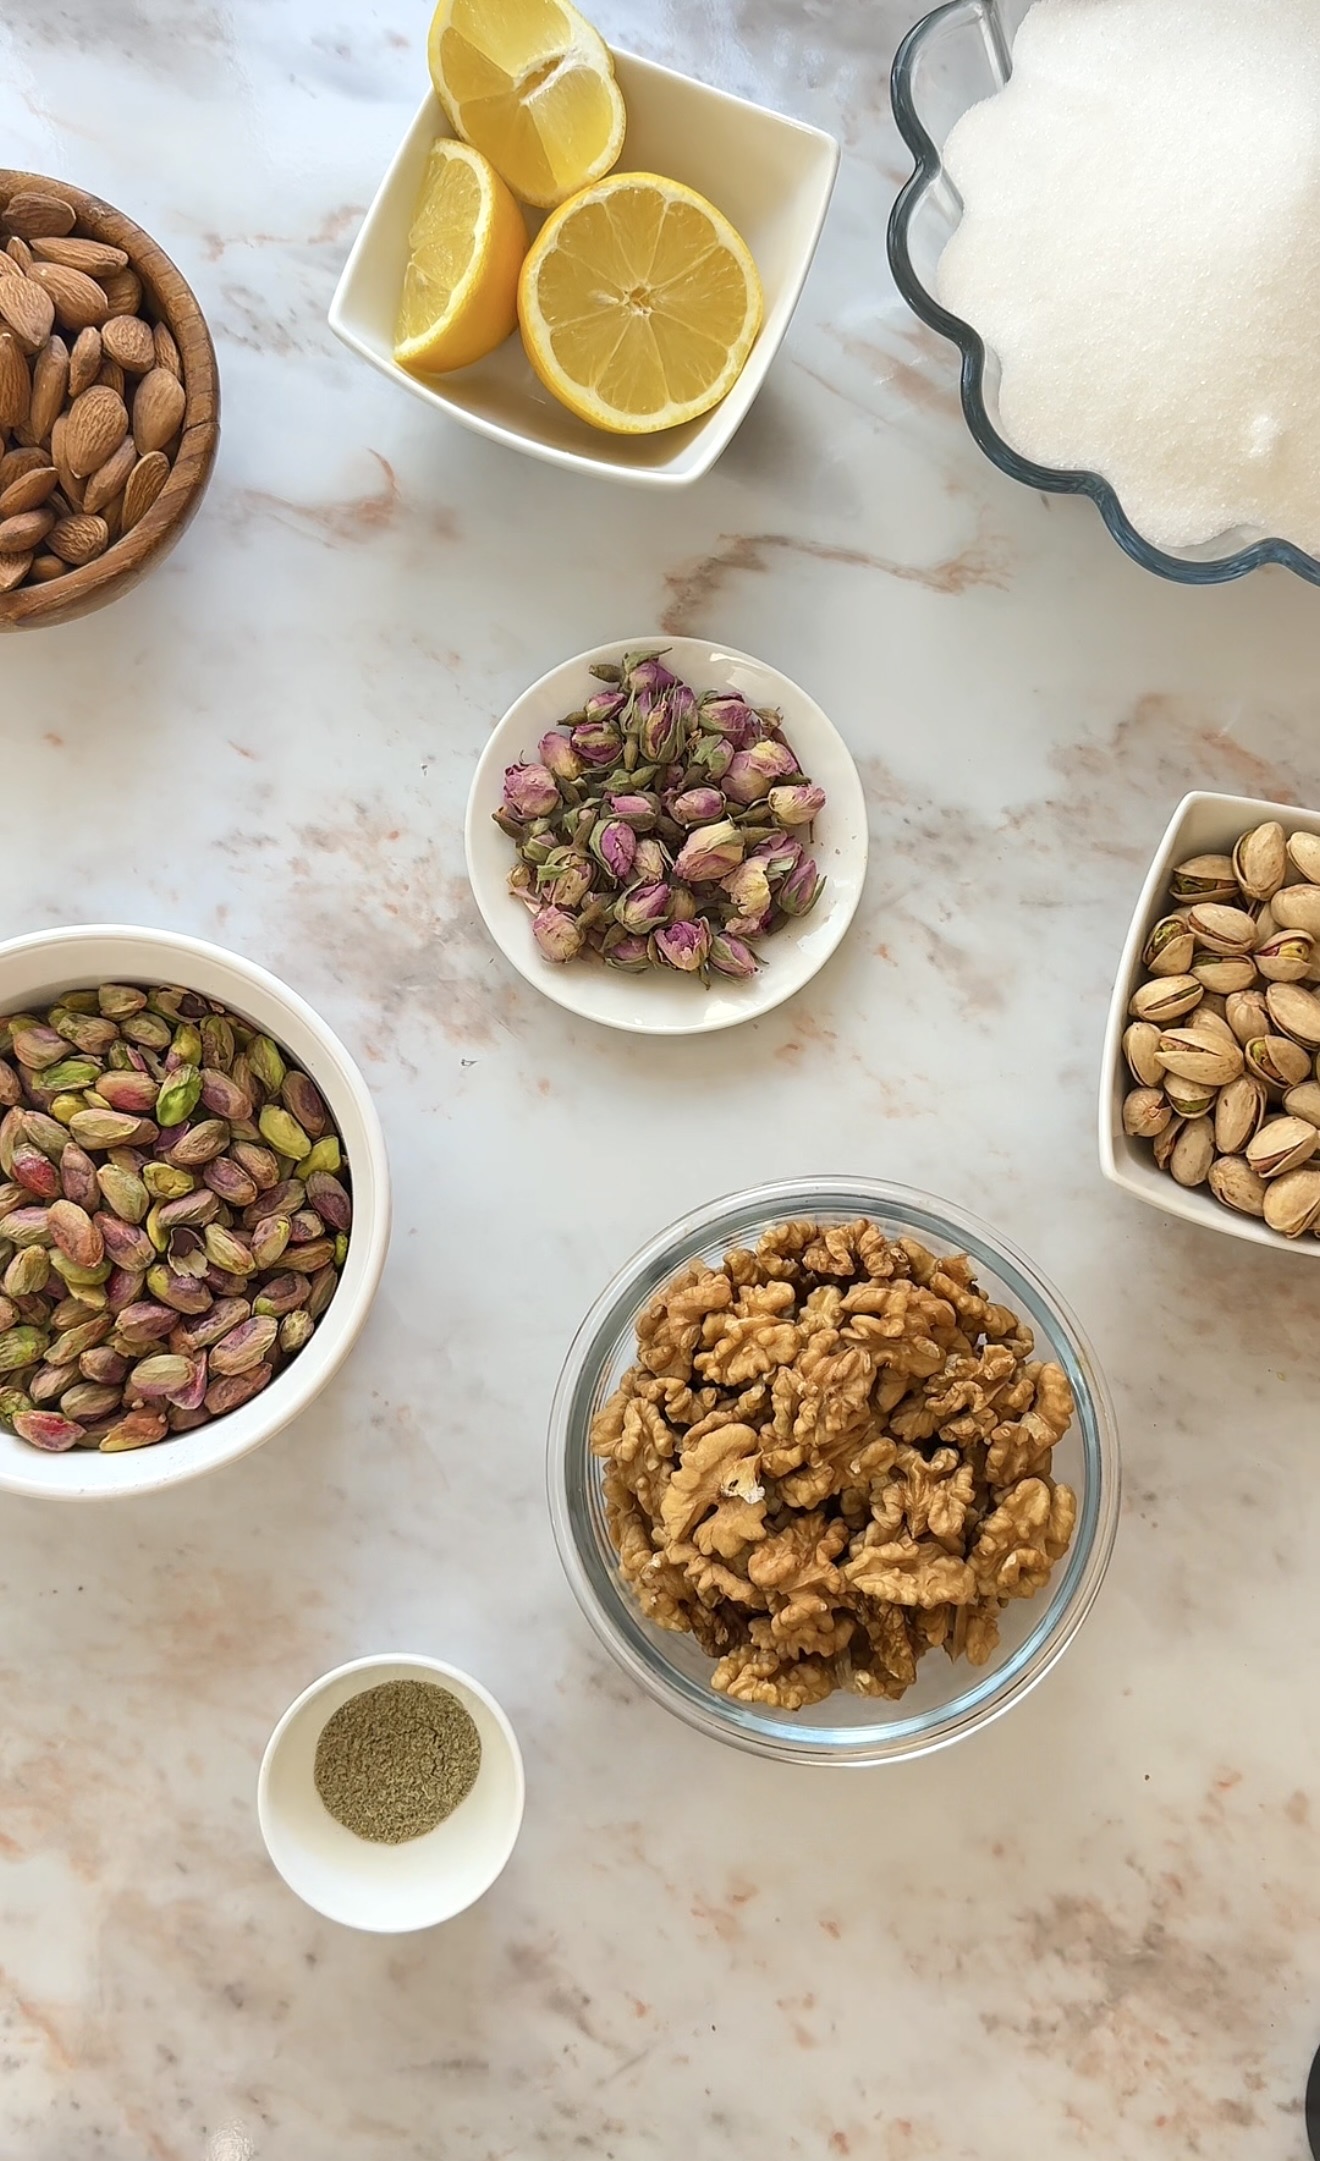
For the Baklava
- 1 pack phyllo dough (450-500g) — keep it covered with a damp cloth at all times while working, it dries out incredibly fast
- 250g unsalted butter — use good quality butter here, it makes a real difference to the final flavour
- 200g ghee — combined with the butter, ghee adds a rich, nutty depth that’s traditional in Middle Eastern baklava
the Nut Filling
- 1½ cups walnuts, finely chopped — adds a slightly bitter, earthy flavour that balances the sweetness perfectly
- 1 cup pistachios, finely chopped — the classic baklava nut, vibrant green and slightly sweet
- 1 cup almonds, finely chopped — adds a firmer crunch and a mild, buttery flavour
- 2 tbsp sugar — just enough to lightly sweeten the filling
- 2 tsp ground cardamom — the signature spice in this recipe, warm, fragrant, and unmistakably Middle Eastern
Syrup
- 2 cups water — the base of the syrup
- 2½ cups sugar — creates that thick, glossy syrup that soaks into every layer
- 1 tbsp lemon juice — prevents the syrup from crystallising and adds a subtle sharpness that stops it tasting one-dimensionally sweet
How to Make Baklava Step by Step
1. Start by making your nut filling. Finely chop the walnuts, pistachios, and almonds. You want them small enough to sit evenly inside the pastry rolls without making them lumpy or difficult to roll. A food processor works perfectly here, but a sharp knife and a little patience gets the same result.
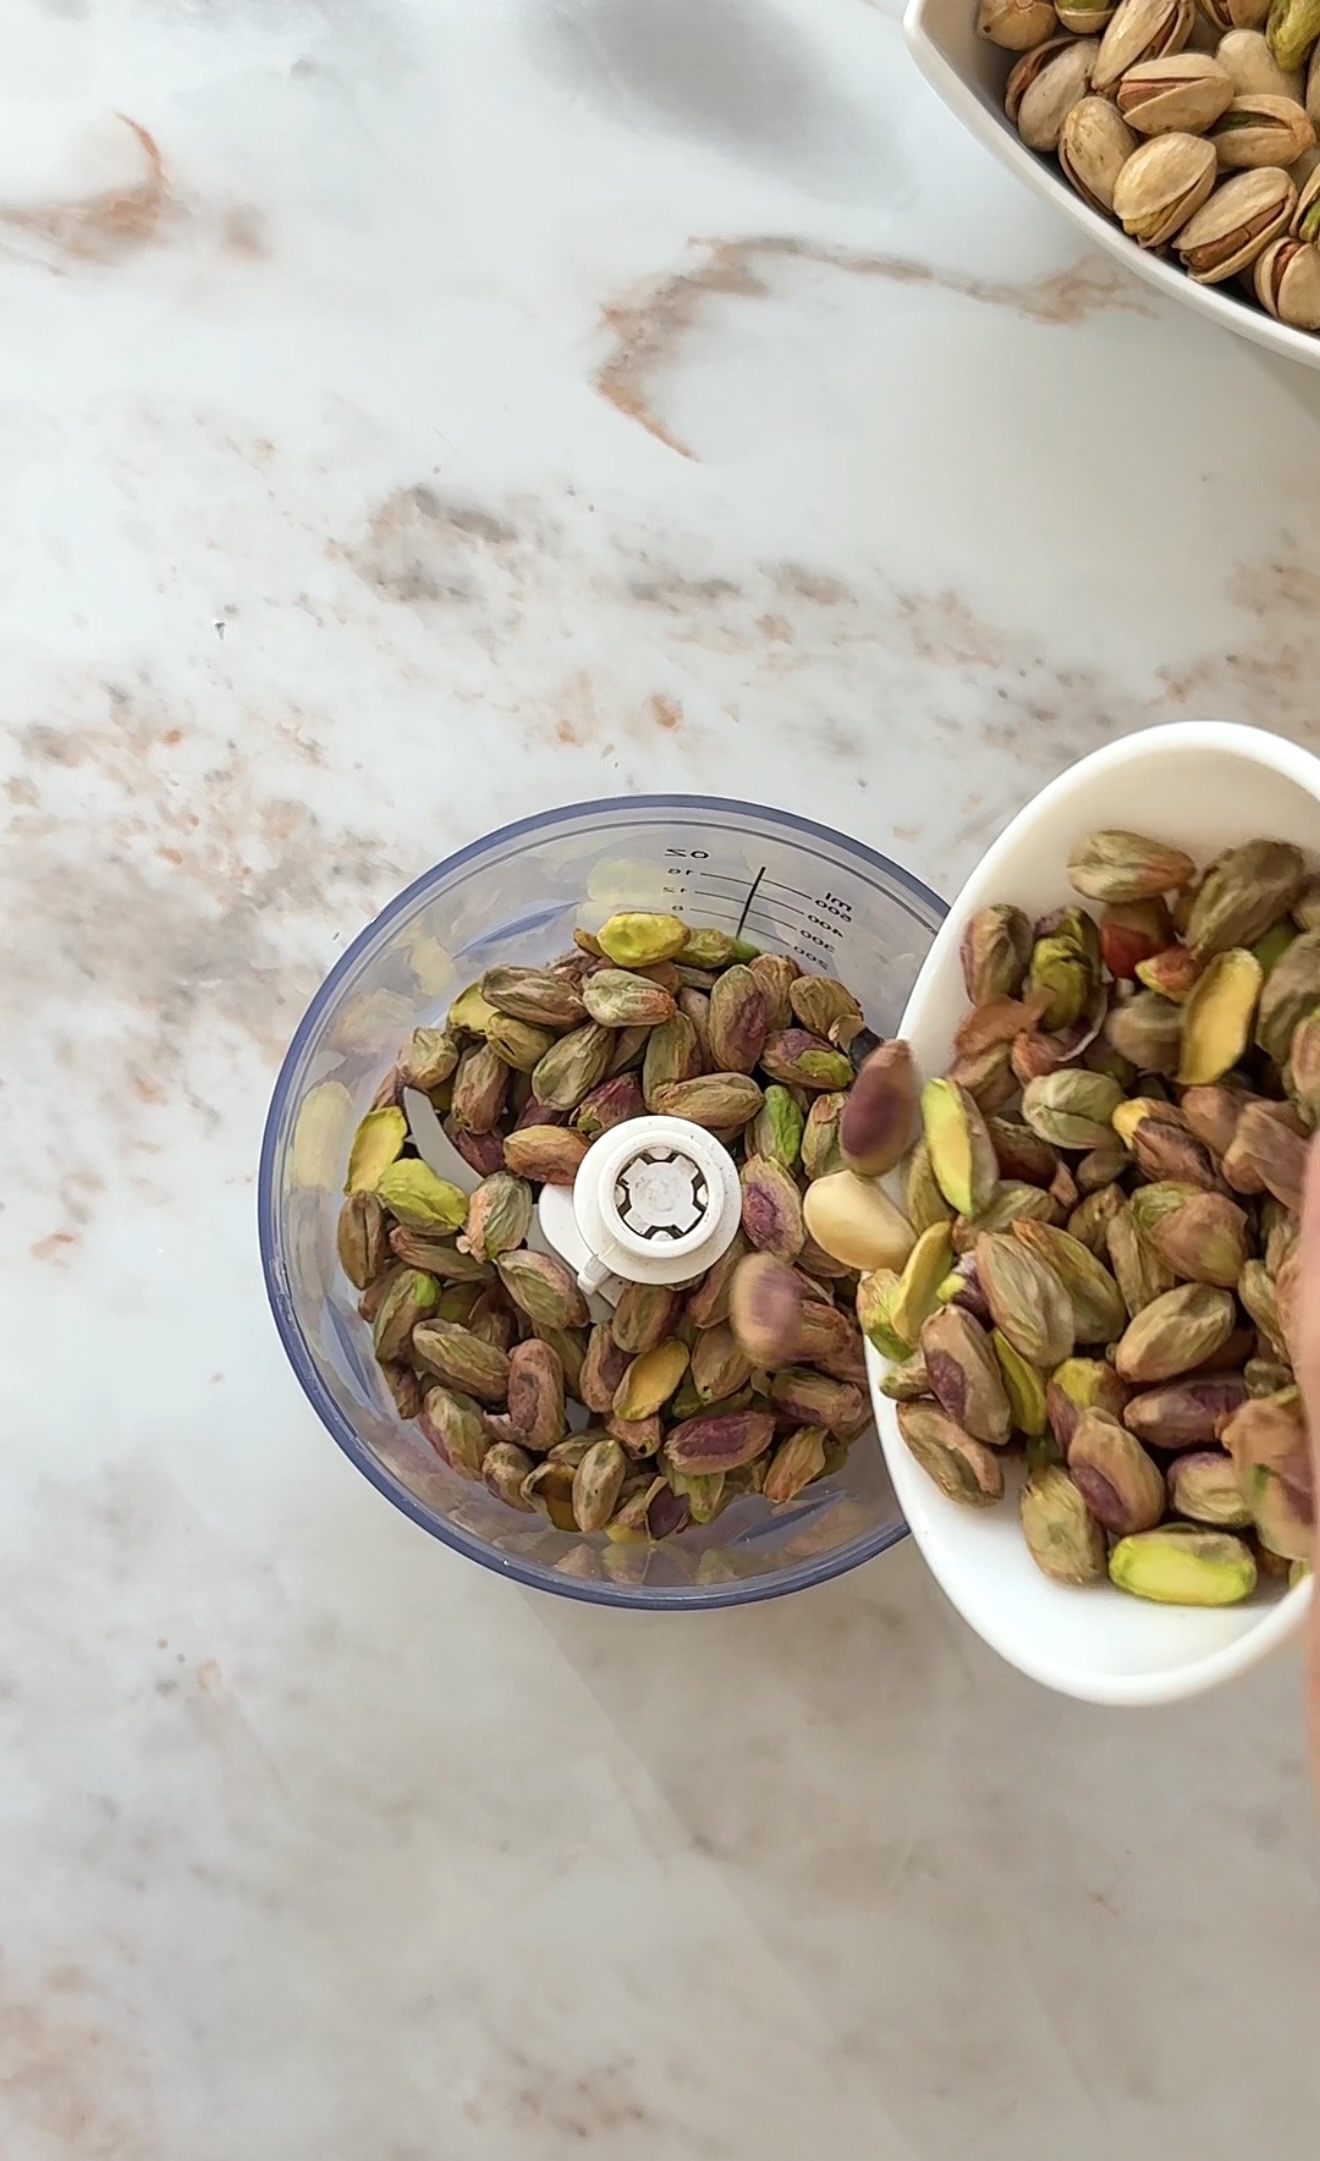
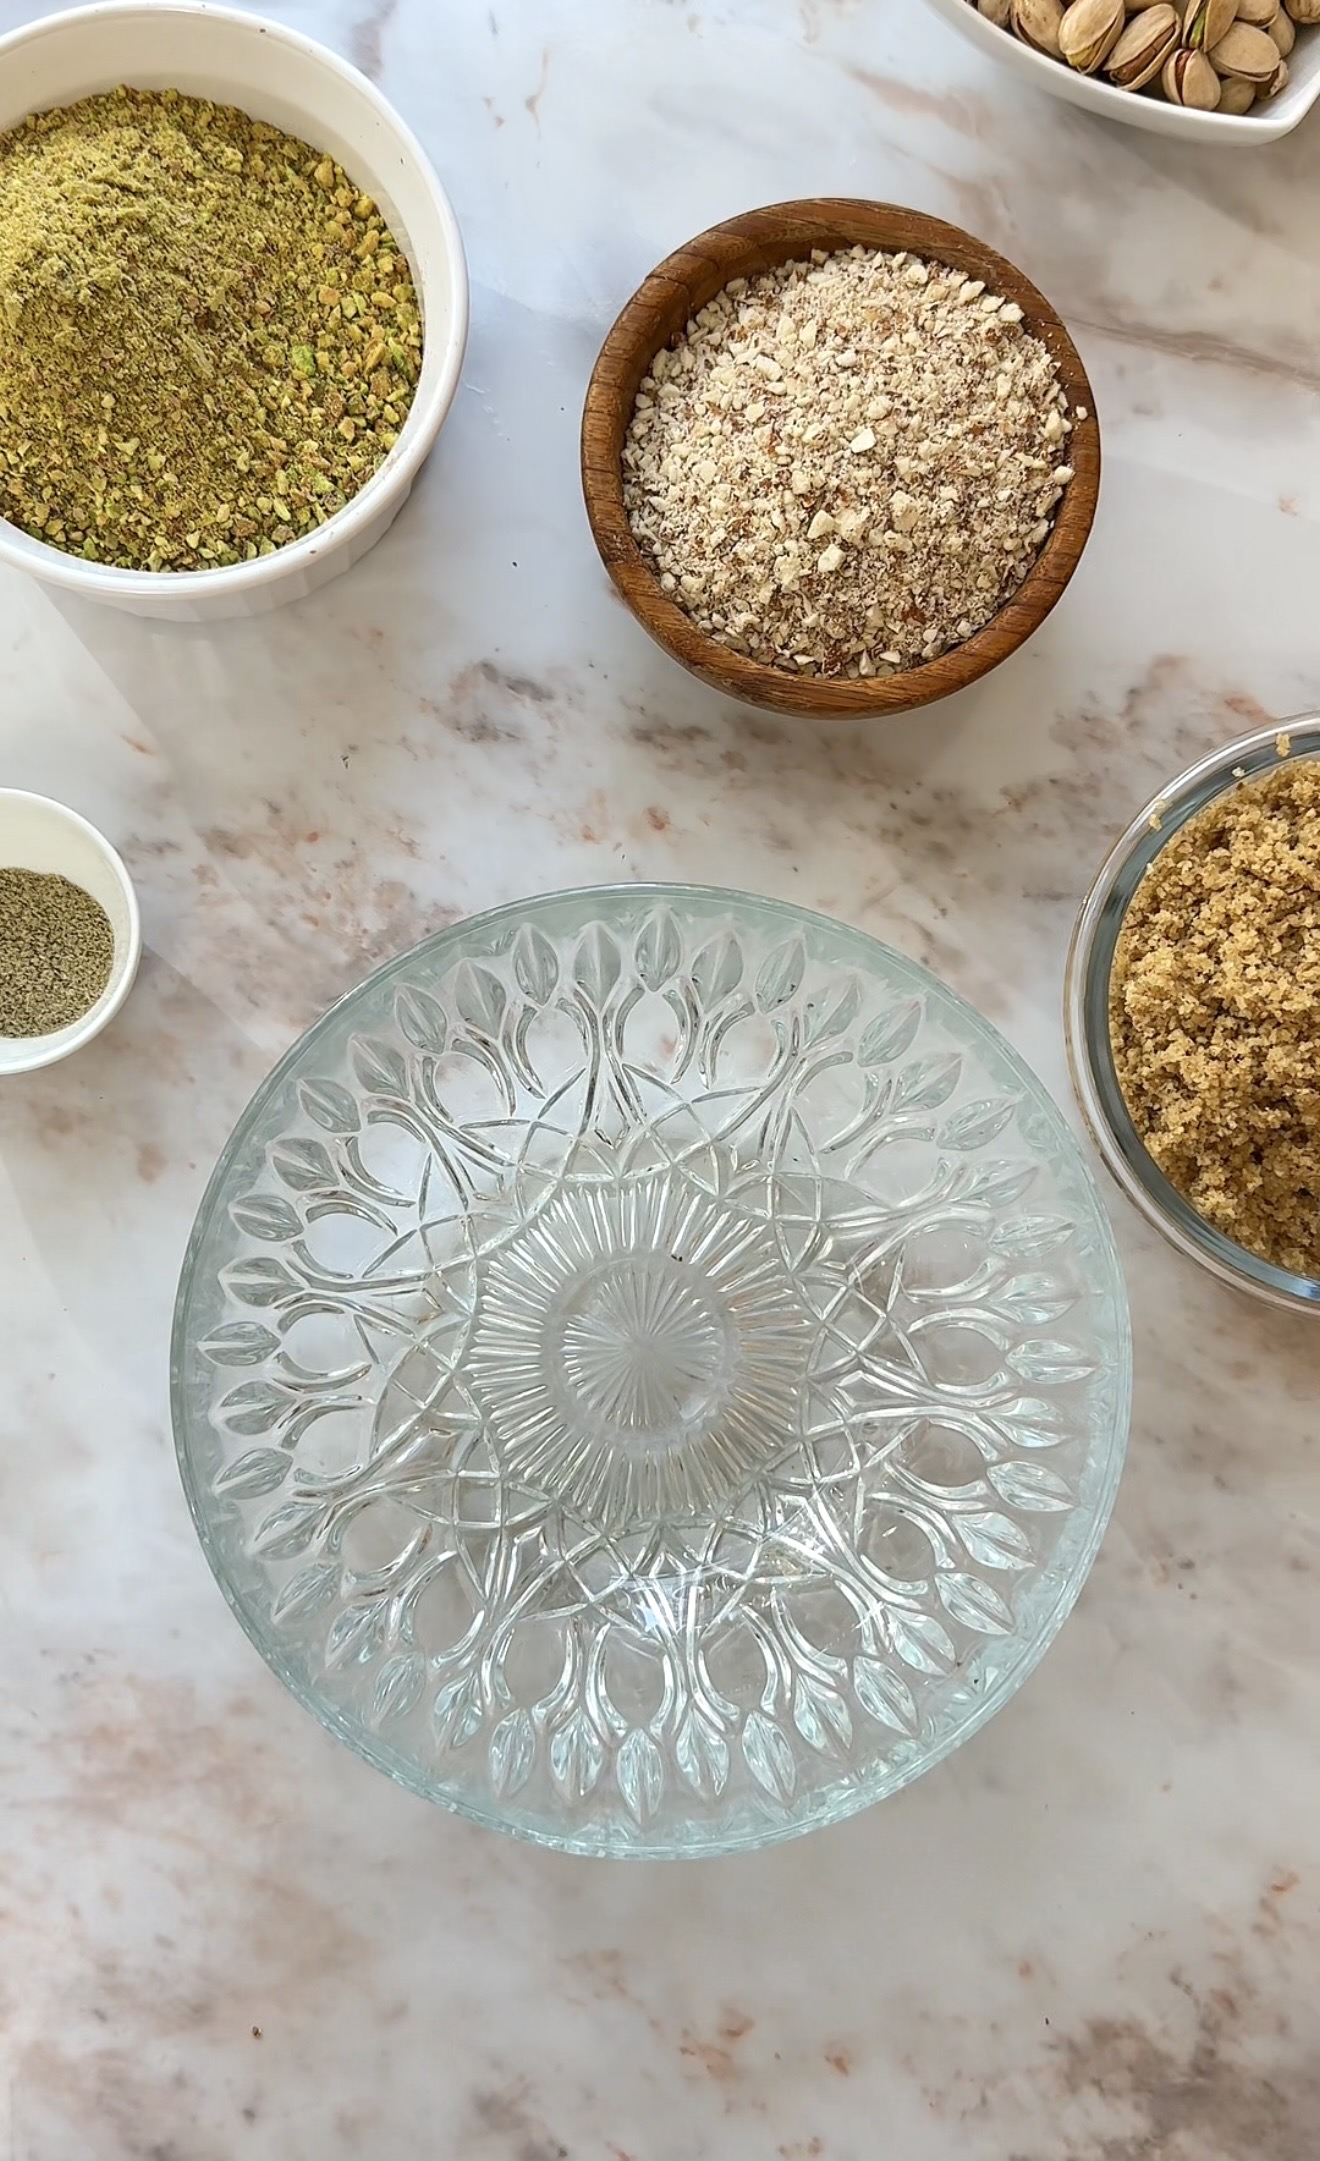
2. Transfer the chopped nuts into a mixing bowl. Add the sugar and ground cardamom and mix everything together until the spice is evenly distributed through the nut mixture. Set aside while you prepare everything else.
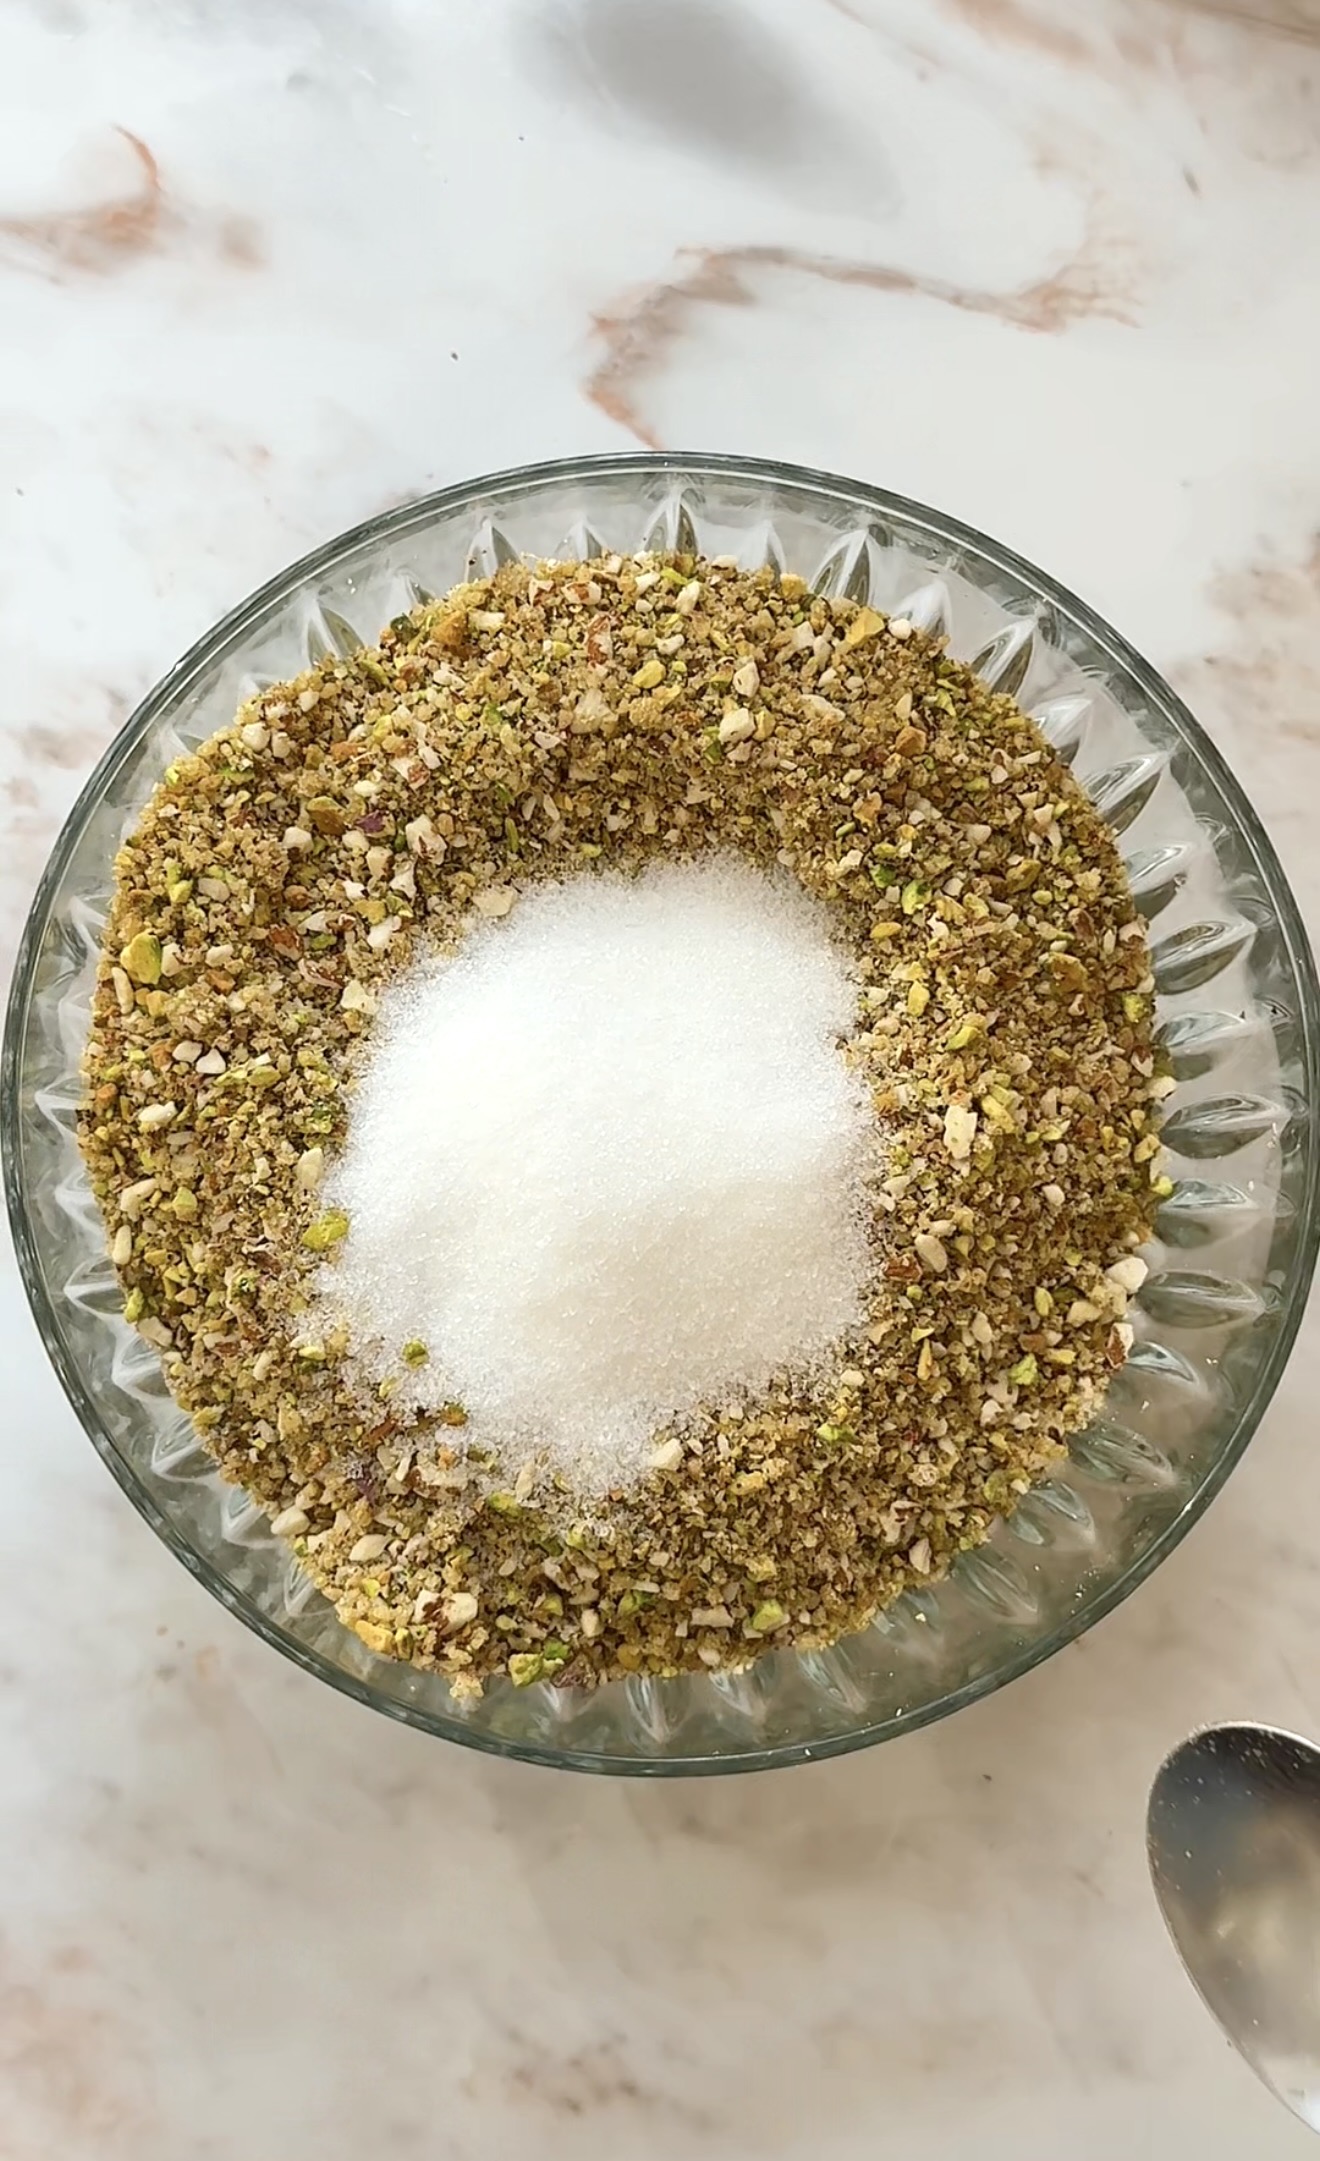
3. Now make the syrup. In a saucepan, combine the water and sugar over medium heat. Stir gently until the sugar has fully dissolved, don’t walk away at this point as it can catch on the bottom if left unattended.
4. Once the sugar has dissolved, bring the mixture to a gentle boil. Add the lemon juice, then reduce the heat slightly and let it simmer for 10-15 minutes, stirring occasionally, until the syrup has thickened slightly. It should coat the back of a spoon but still be pourable.
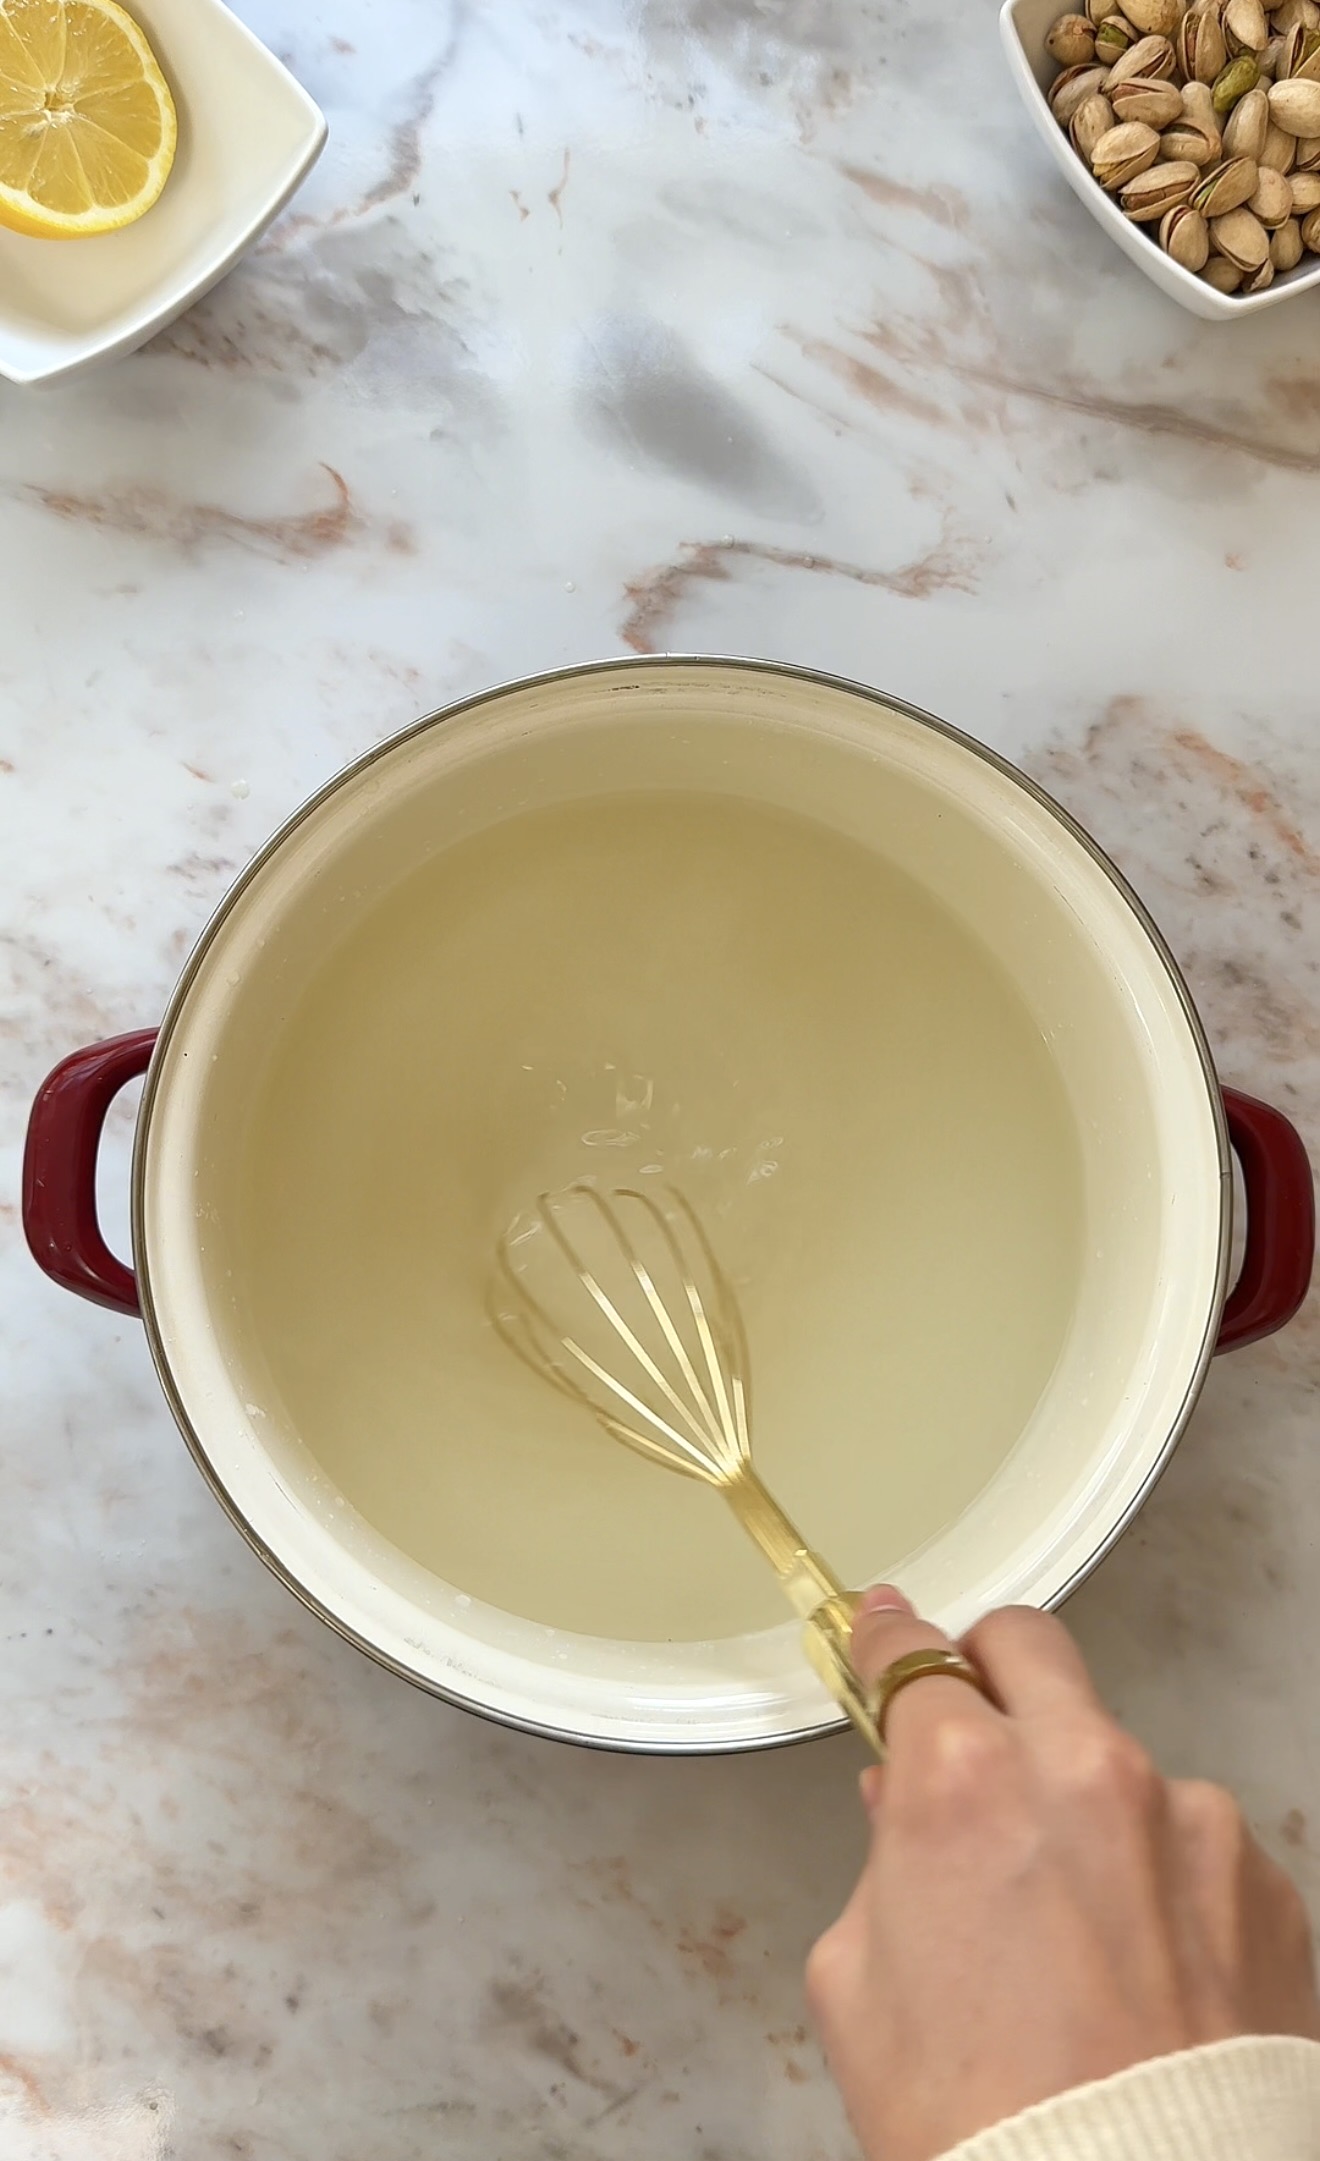
5. Remove the syrup from the heat and set it aside to cool completely. This is important. The syrup must be cold when it hits the hot baklava to keep that crispiness. Don’t rush this step.
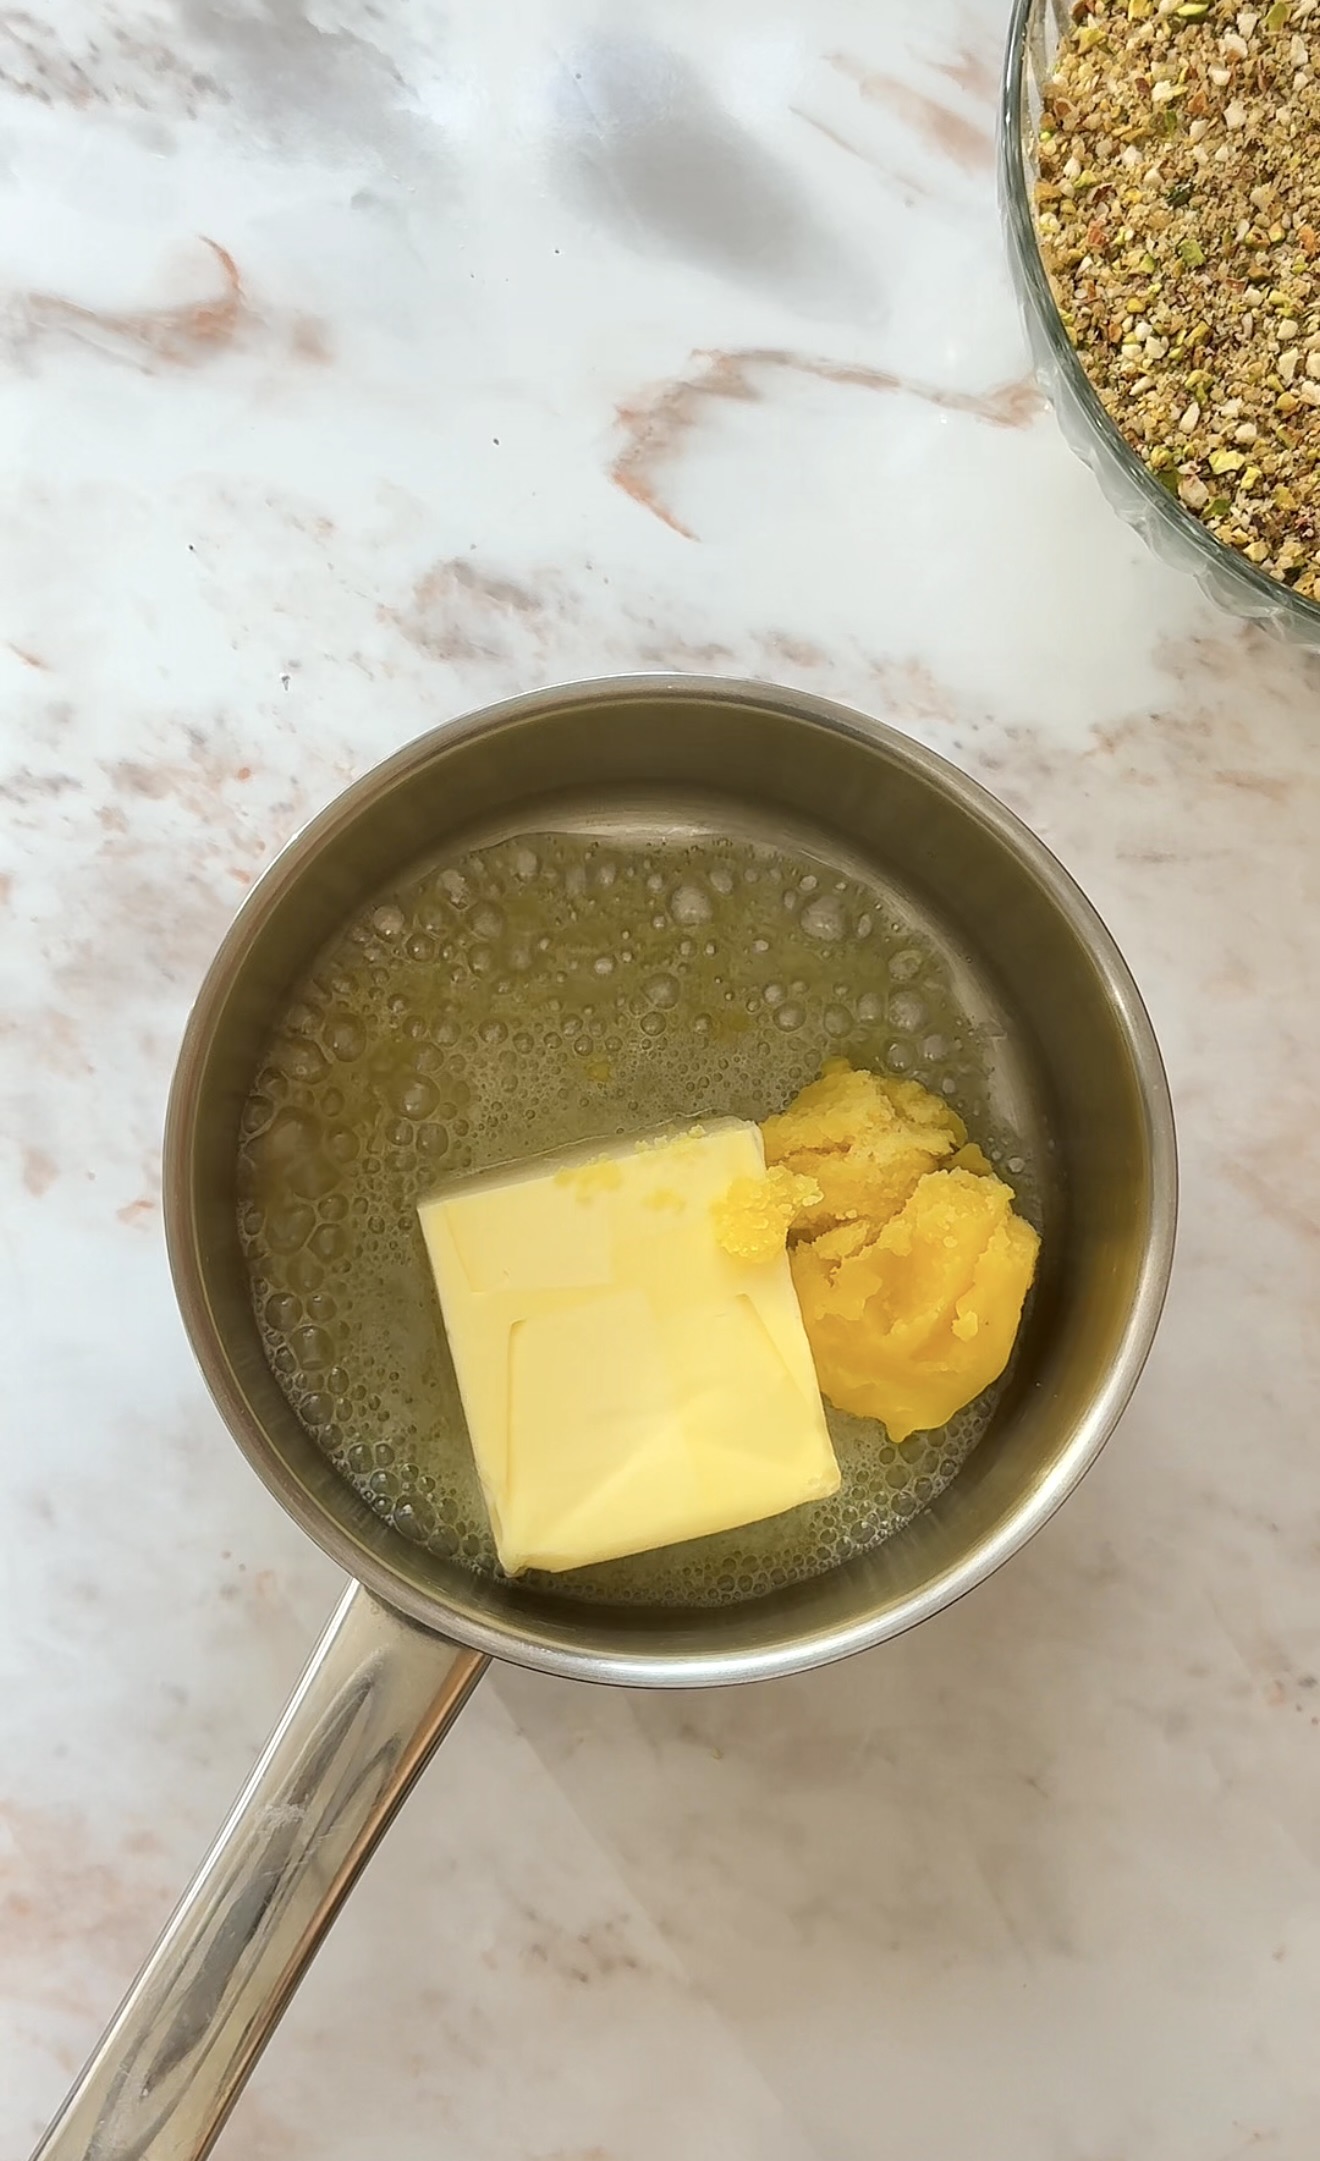
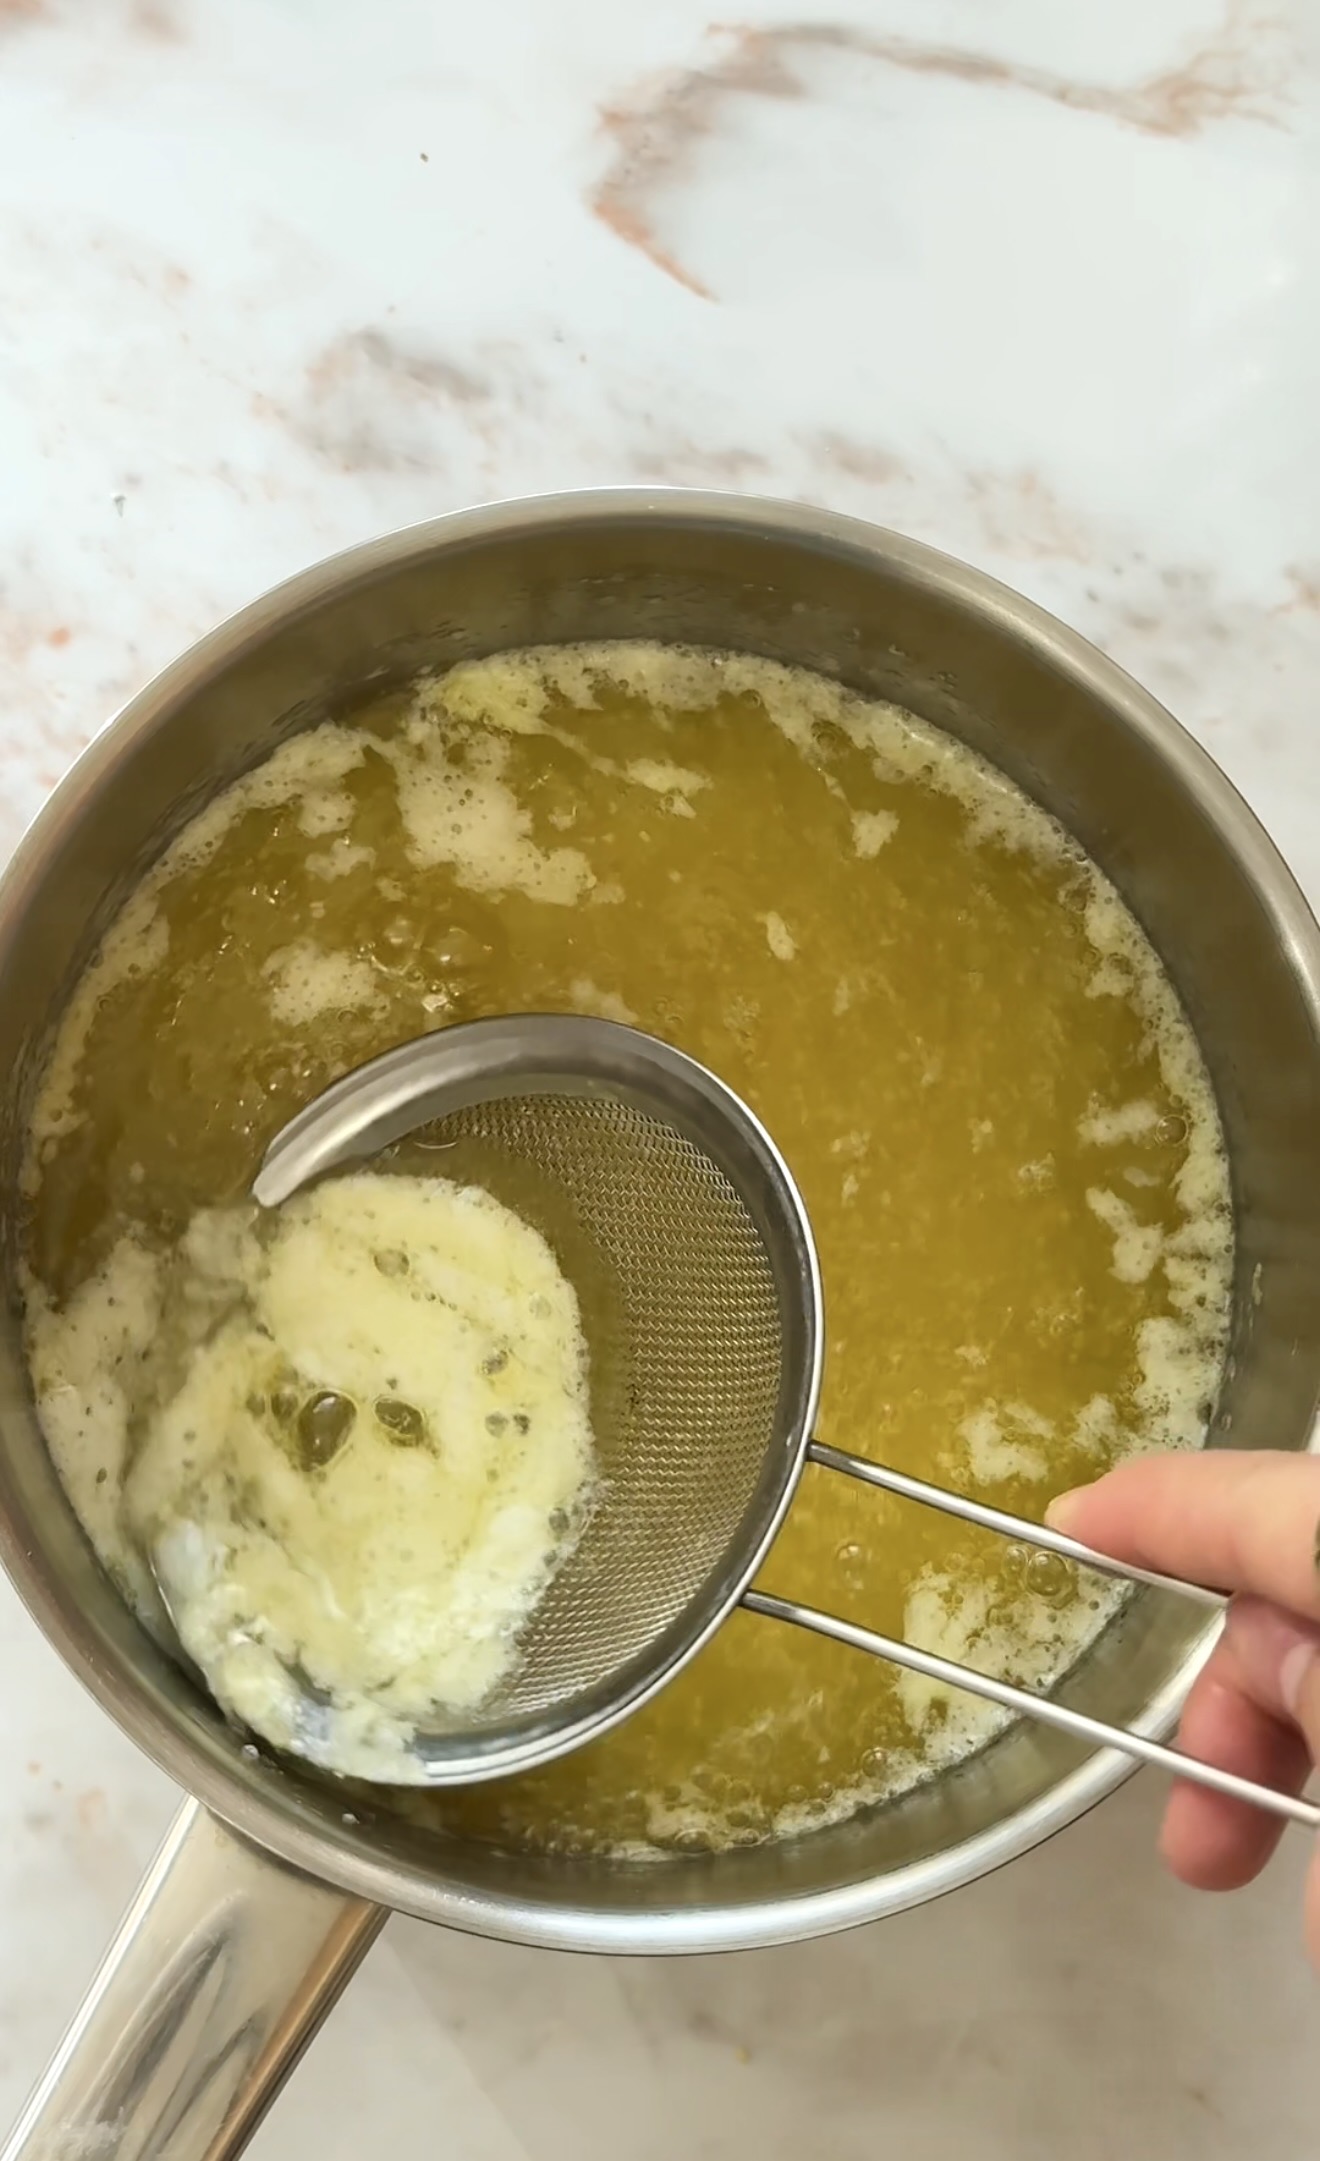
6. In a small saucepan, melt the butter and ghee together over low heat. Once melted, skim off and discard the white foam that rises to the surface. This clarifies the butter mixture and gives your baklava a cleaner, richer flavour.
7. Preheat your oven to 170°C (top and bottom heat). Grease your baking tray lightly with some of the butter-ghee mixture. Carefully unroll the phyllo dough and lay the sheets flat. Cover them immediately with a damp kitchen towel. Phyllo dries out in minutes and becomes brittle and impossible to work with if left uncovered.
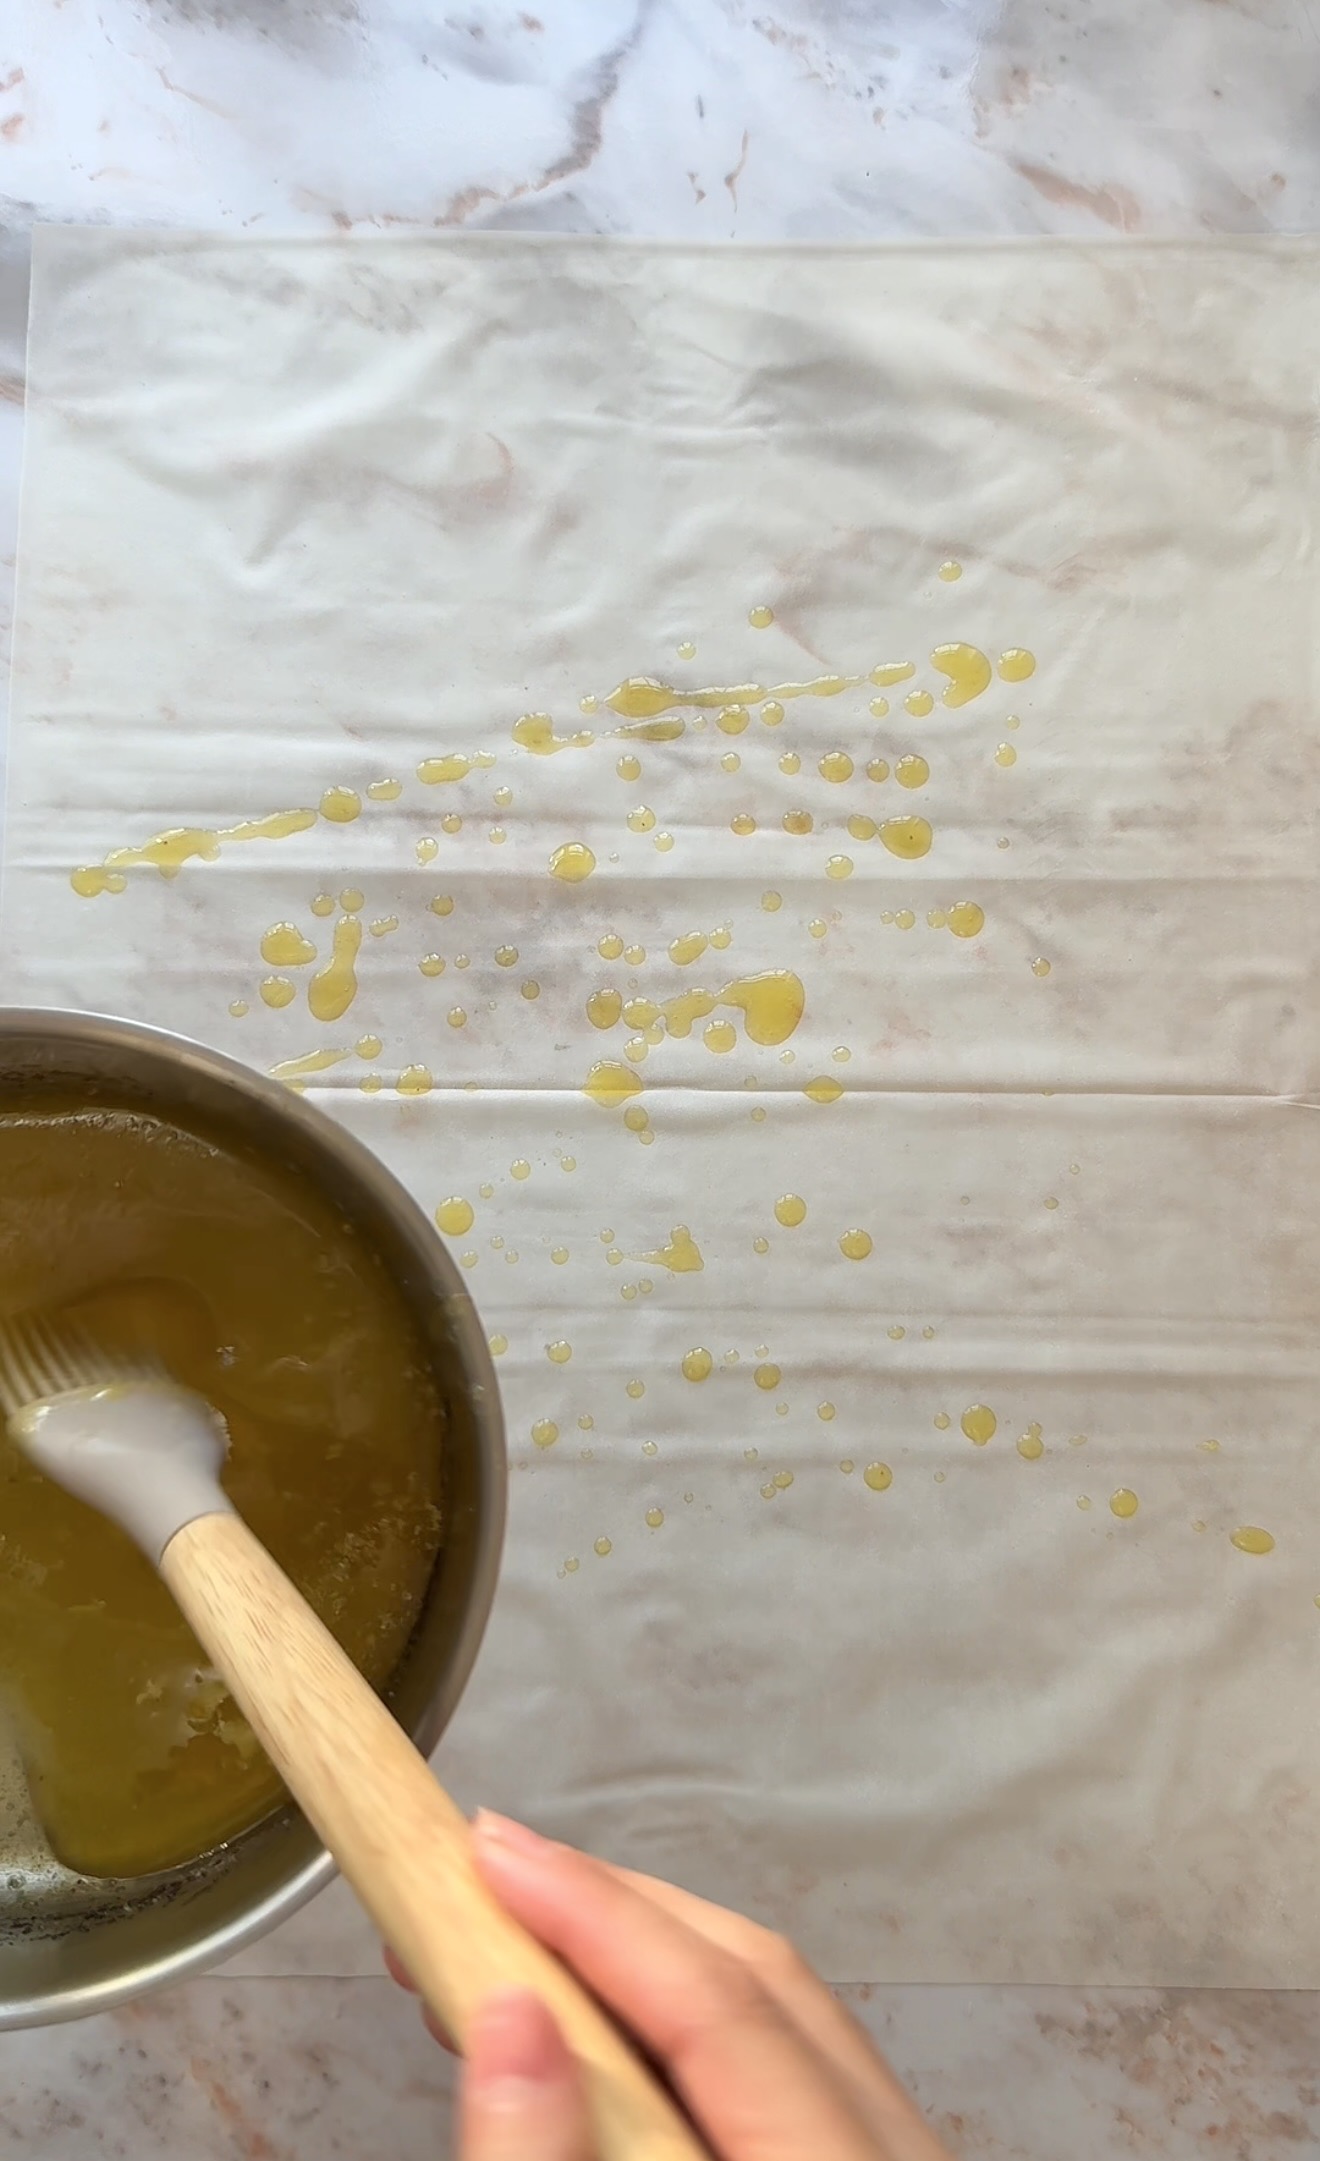
8. Take one sheet of phyllo dough and lay it flat on a clean work surface. Using your pastry brush, lightly but evenly coat the entire surface with the butter-ghee mixture. Don’t be too heavy-handed, you just want a thin, even layer.
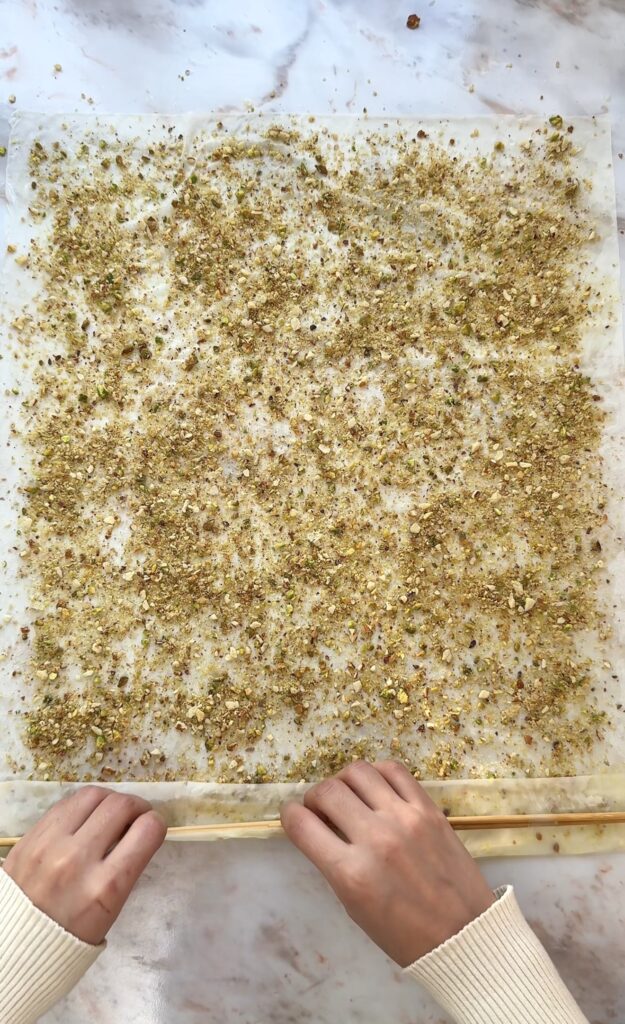
9. Sprinkle a thin, even layer of the nut filling across the buttered phyllo sheet. Try to keep it even all the way to the edges so every bite has filling in it.
10. Place a thin rolling stick or wooden skewer along one edge of the sheet. Carefully roll the pastry tightly around the stick, keeping it as even and snug as possible as you go.
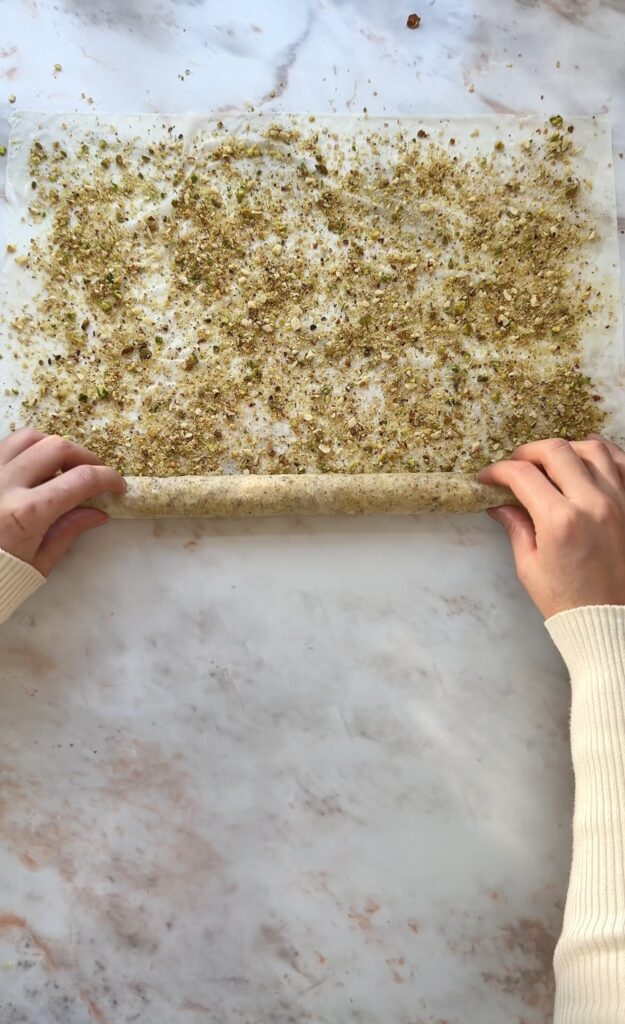
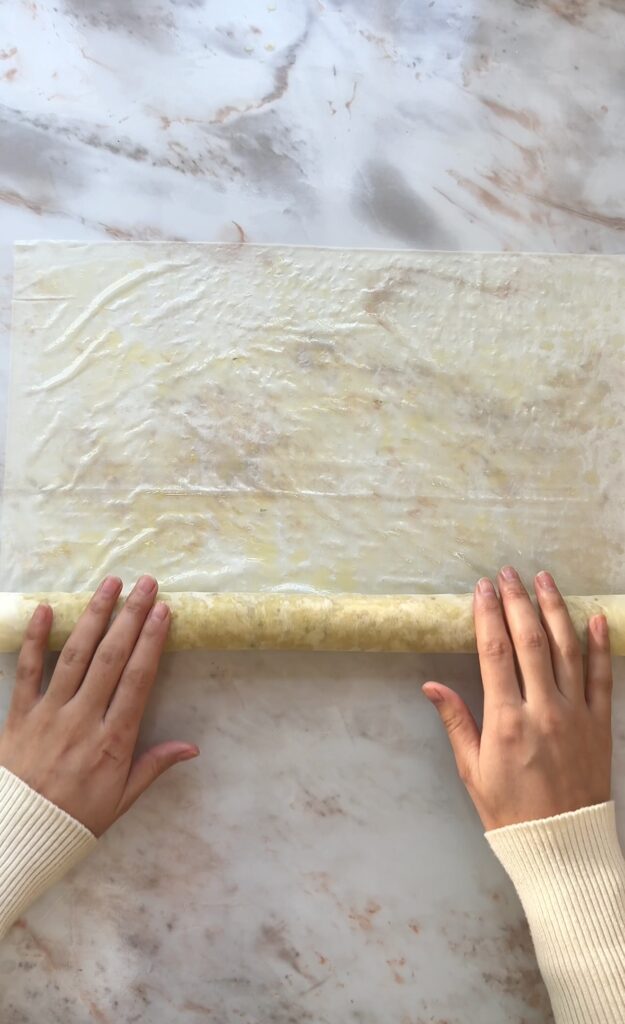
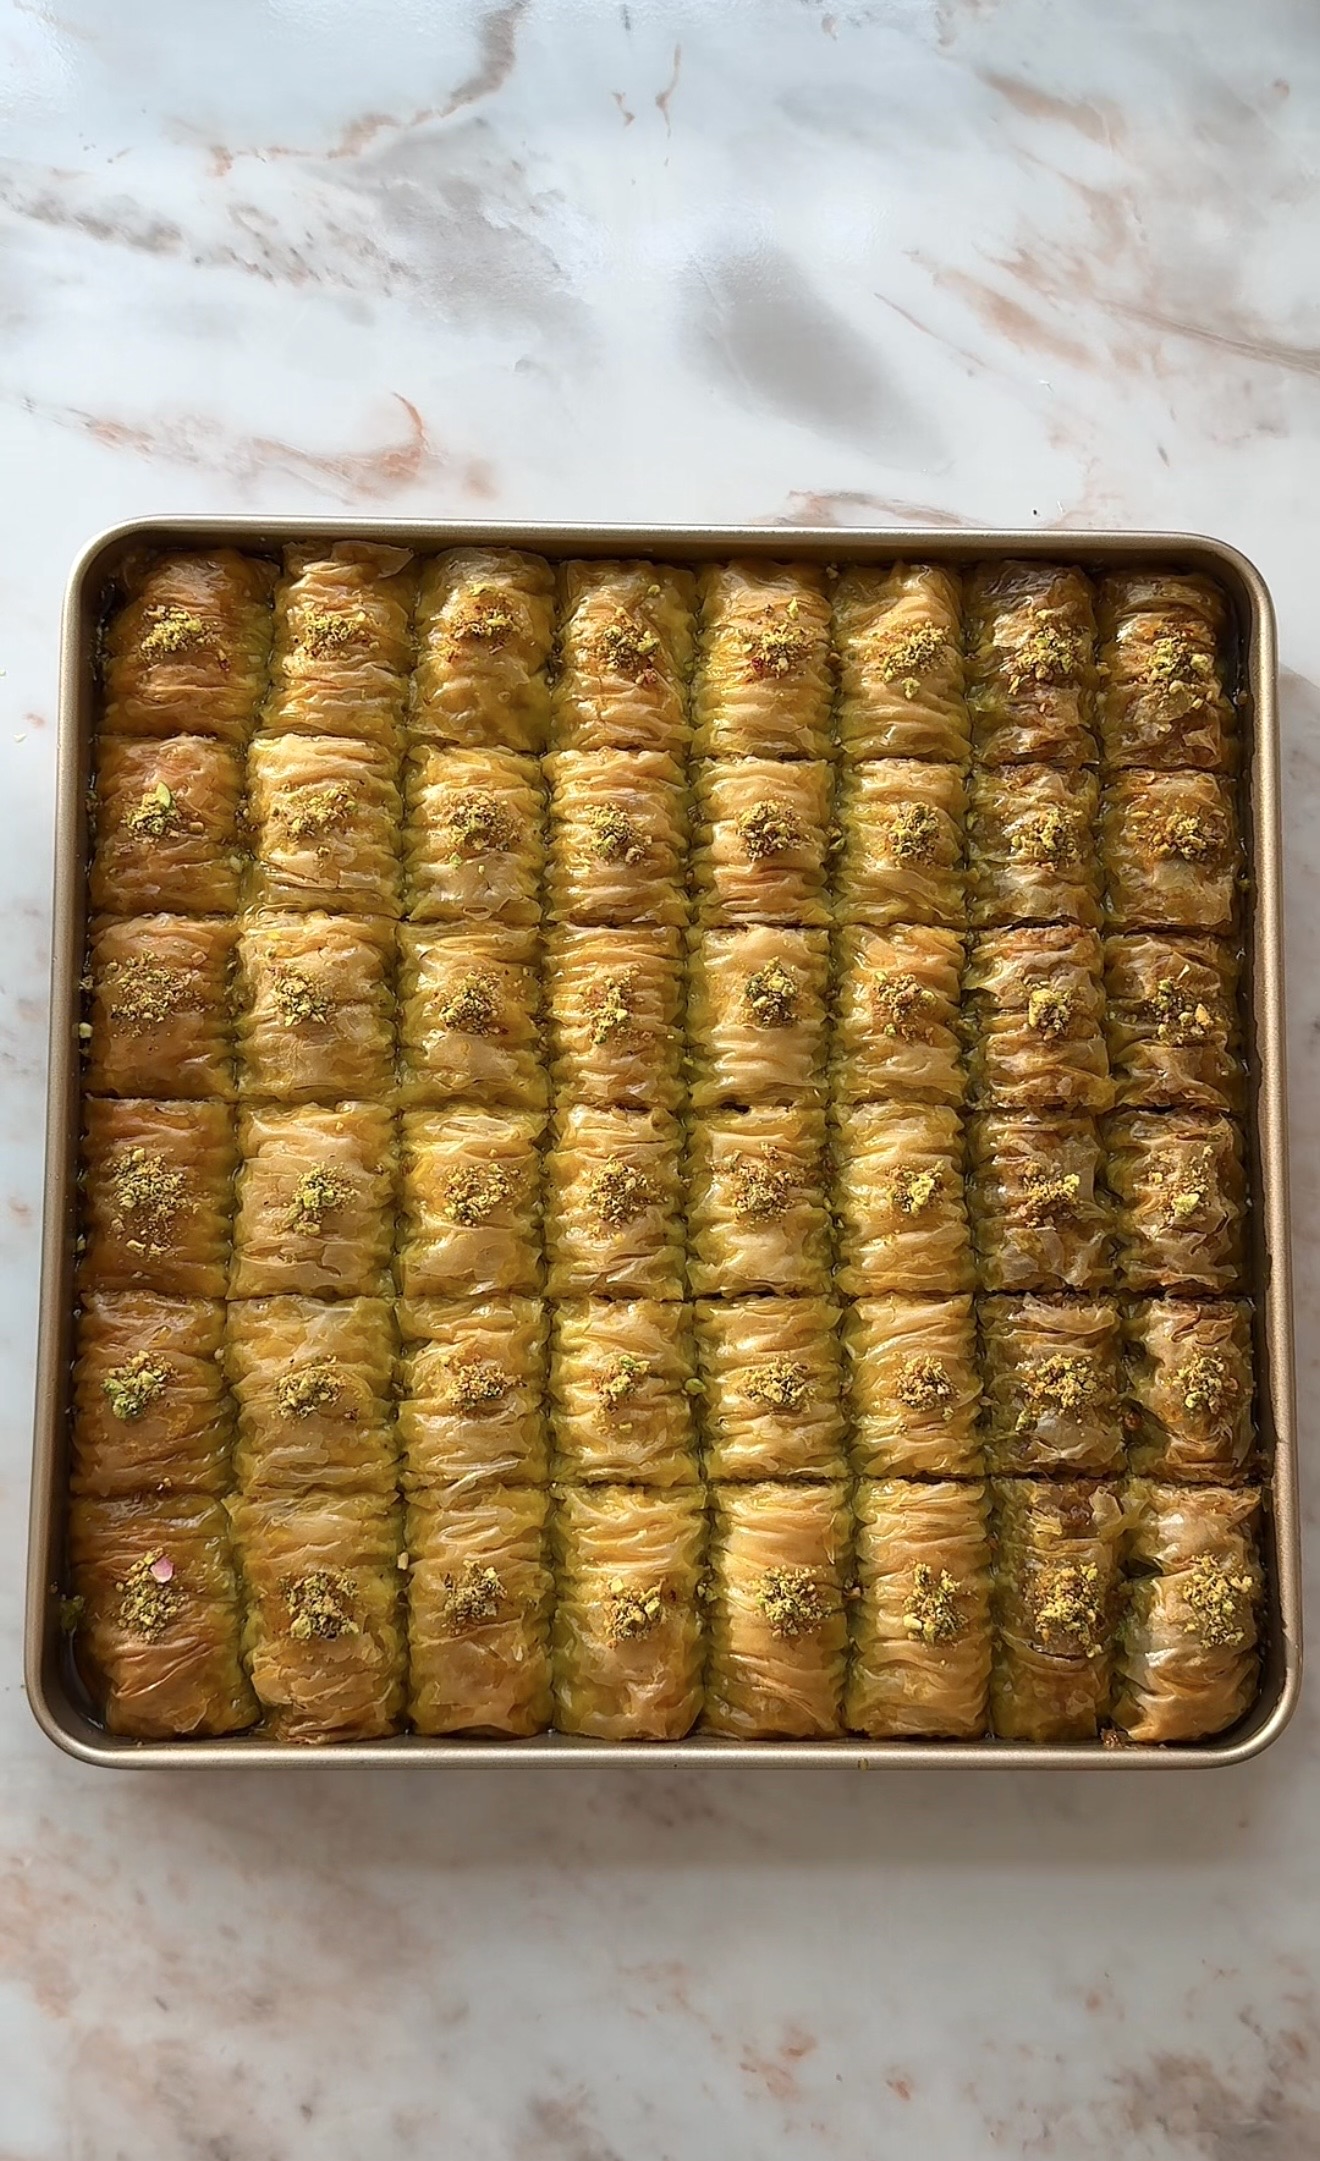
11. Once fully rolled, hold the roll steady with both hands. Gently push the pastry inward from both ends simultaneously, compressing it along the stick to create those beautiful, traditional wrinkled folds that baklava is known for. Carefully slide the stick out from the centre of the roll.
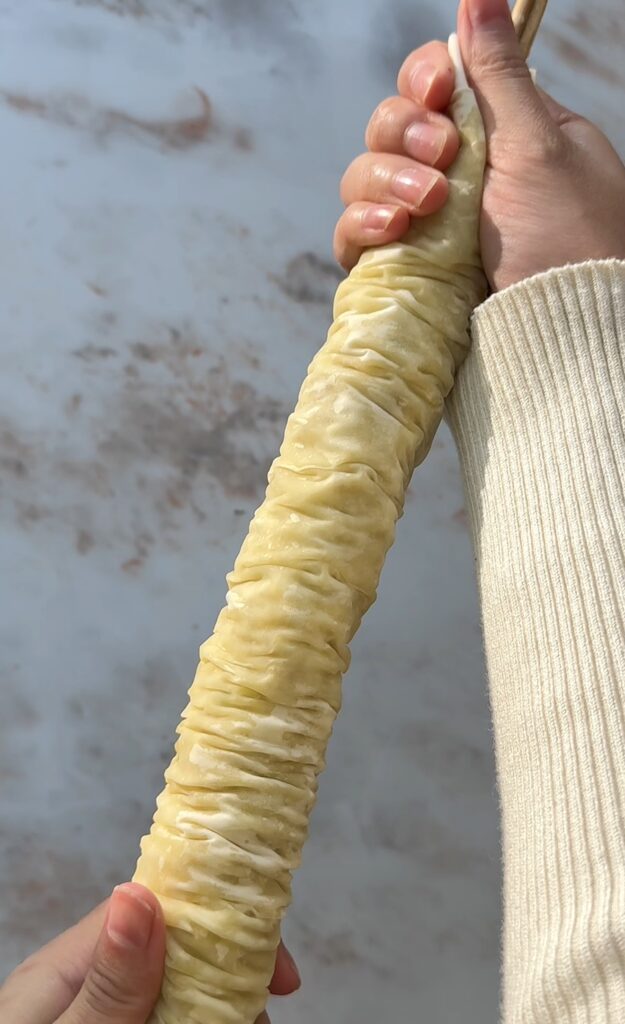
12. Place the finished roll onto the greased baking tray. Repeat this process with each remaining phyllo sheet and the rest of the nut filling, placing each roll neatly alongside the last until the tray is full.
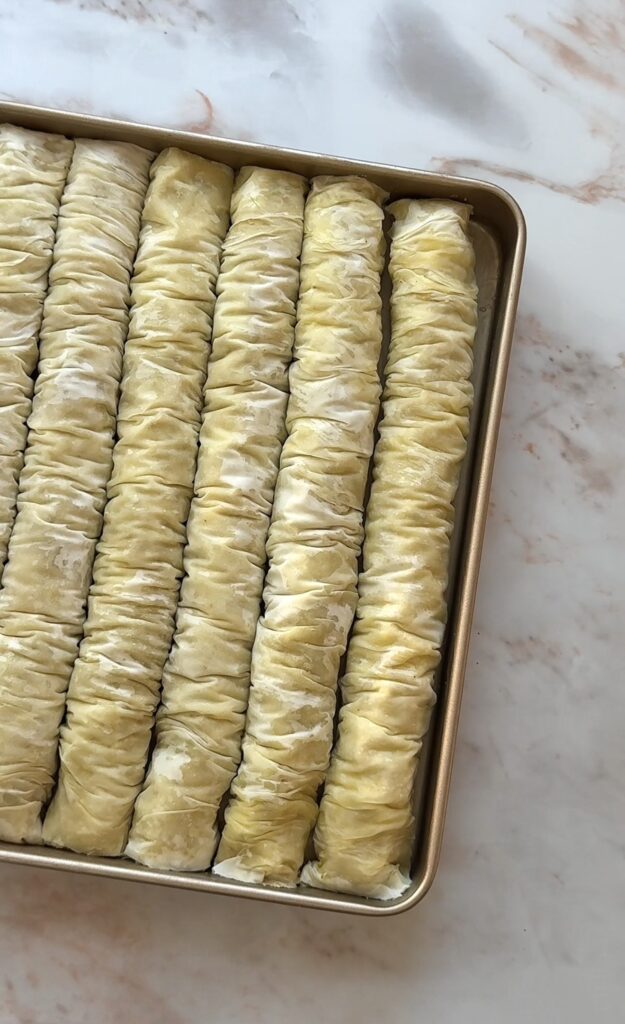
13. Once all the rolls are arranged in the tray, use a sharp knife to cut them into equal-sized pieces. Cut all the way through at this stage, before baking, cutting after baking will shatter the crispy pastry.
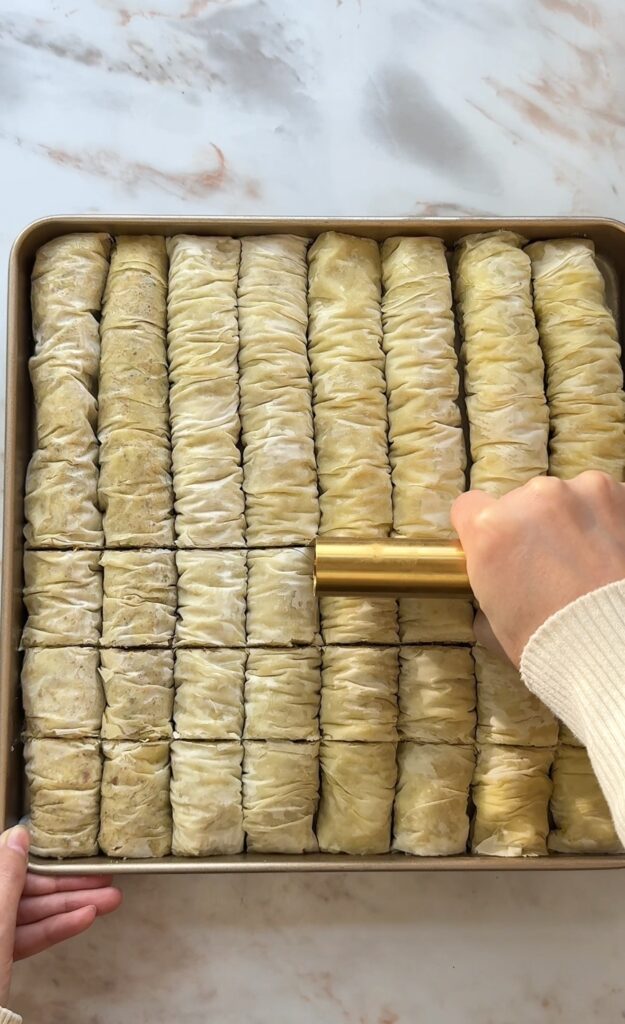
14. Brush the tops of all the rolls generously with the remaining butter-ghee mixture, making sure the cut edges get coated too.
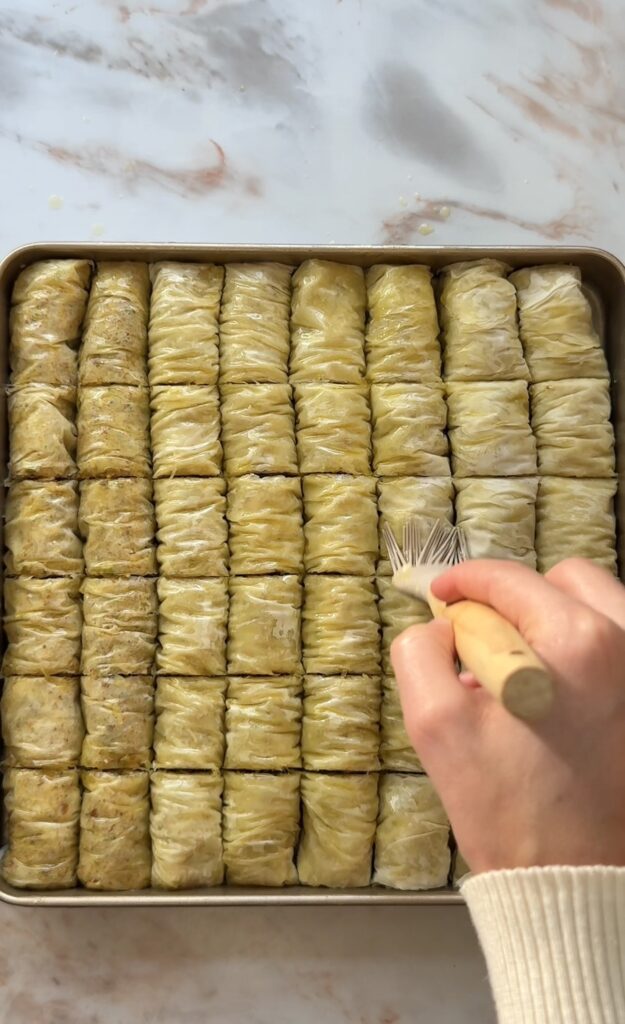
15. Bake at 170°C for 35-45 minutes, until the baklava is deeply golden and properly crispy all over. Keep an eye on it from the 35-minute mark, every oven runs slightly differently.
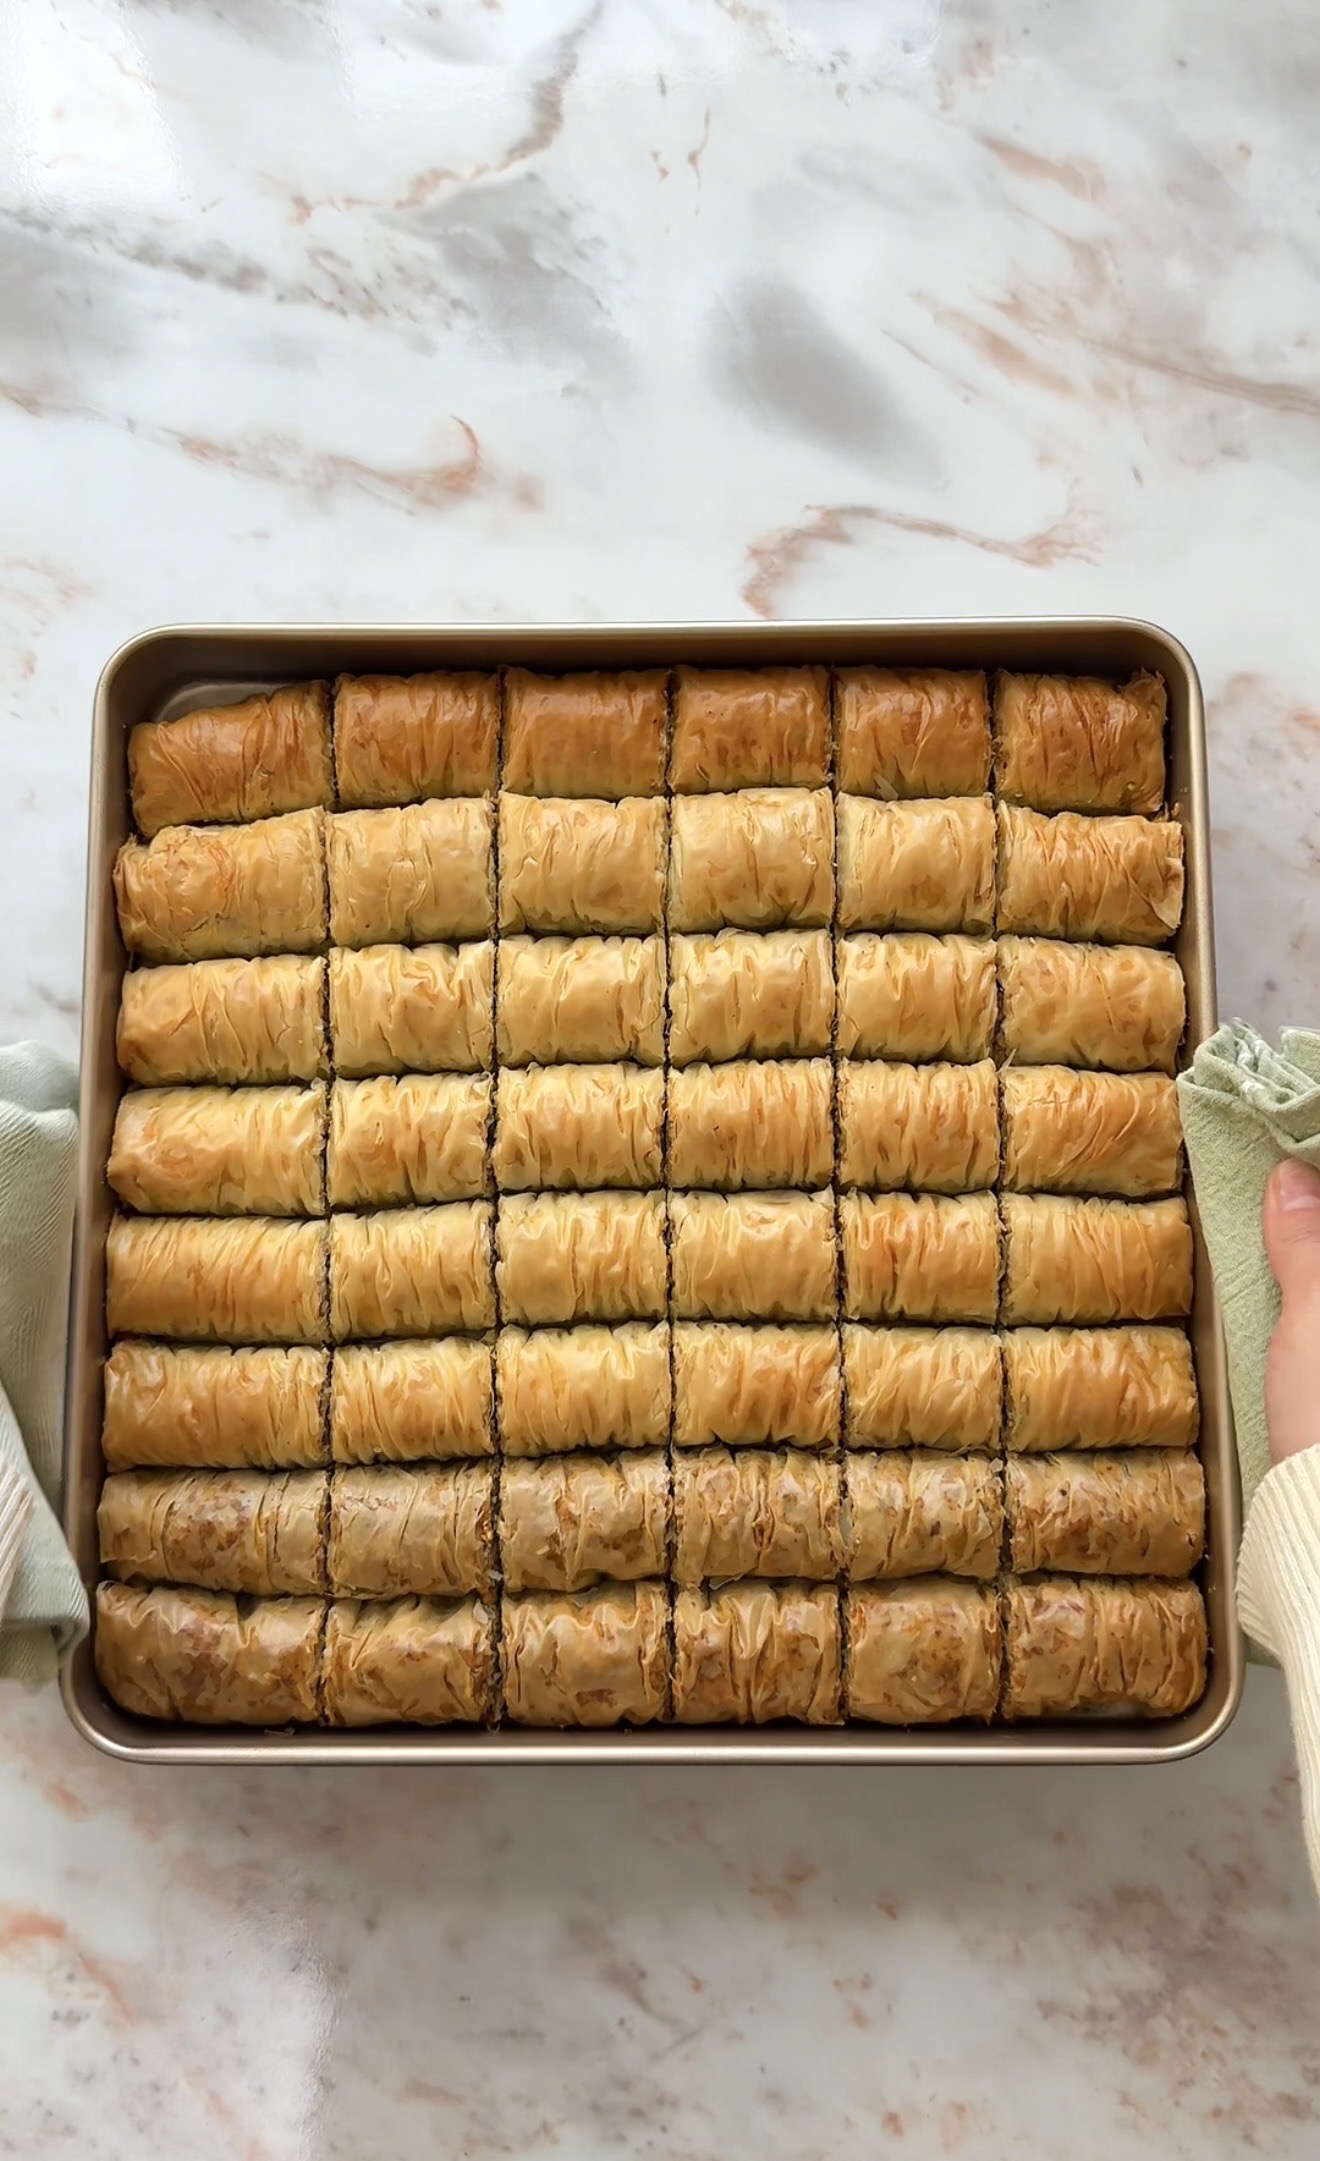
16. The moment the baklava comes out of the oven, slowly and evenly pour the cold syrup over the hot pastry. Pour it gradually, letting each pour absorb before adding more, rather than dumping it all on at once. You should hear a satisfying sizzle as the cold syrup hits the hot pastry. That sound means you’ve done it right.
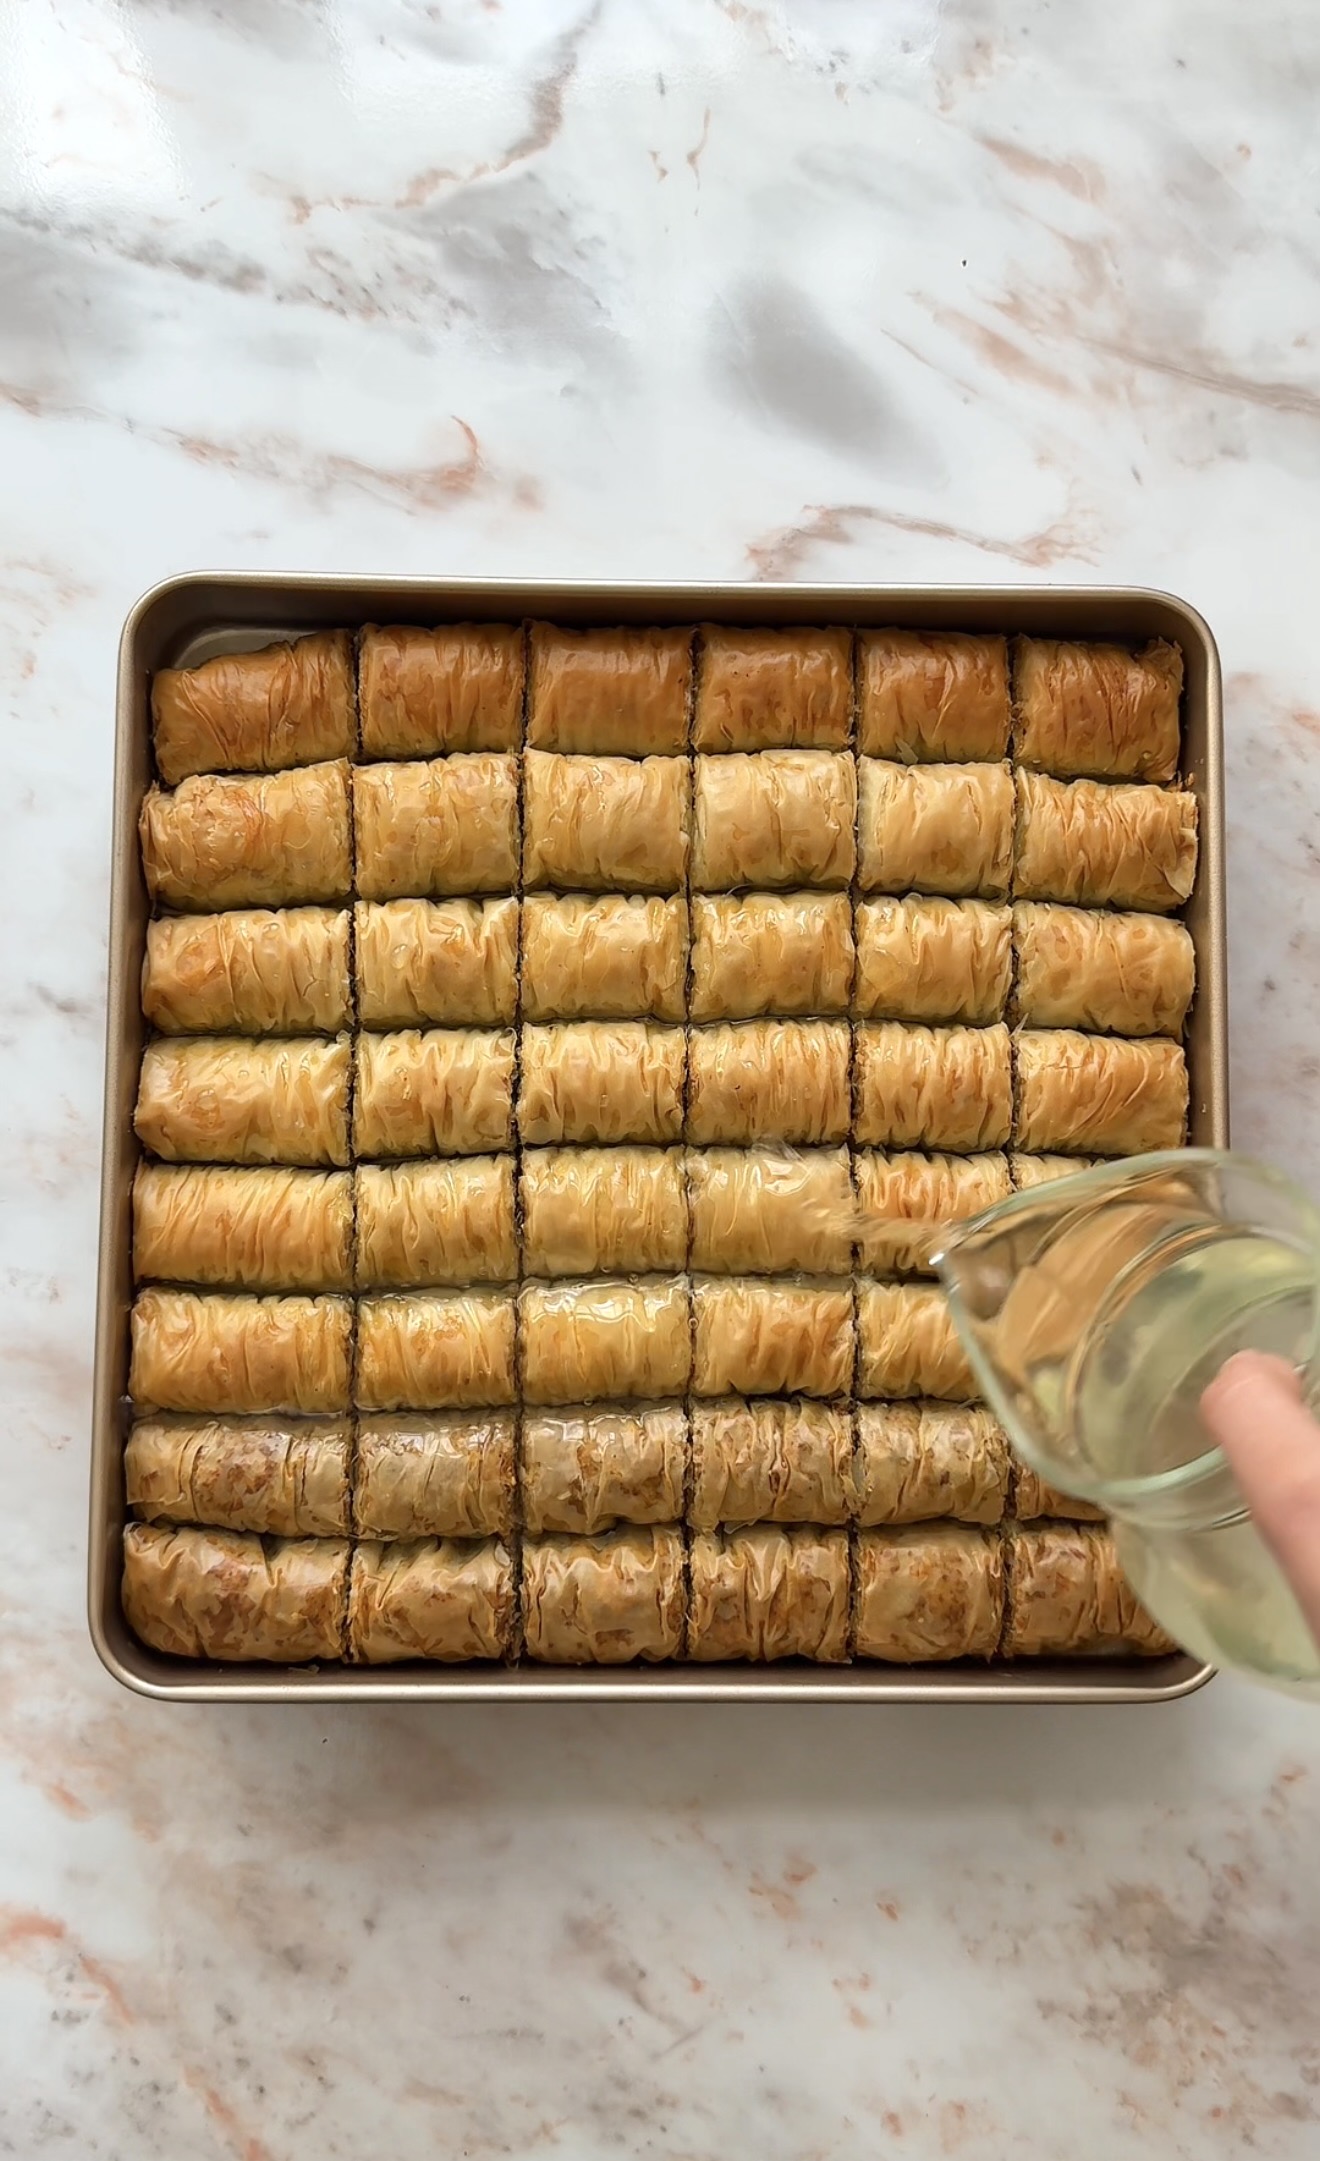
17. Leave the baklava to soak and absorb the syrup for several hours, or ideally overnight. The longer it sits, the better the flavour and texture gets. Garnish with crushed pistachios or extra chopped nuts before serving. Bon Apetite!
Tips for Success
- Keep that phyllo covered. This is the number one rule with baklava. The moment you leave a sheet uncovered it starts drying out and cracking. Keep the damp cloth on at all times.
- Make sure the syrup is cold and the baklava is hot. This temperature contrast is what creates that perfectly crispy, soaked texture. If both are warm or both are cold, the result won’t be the same.
- Cut the baklava rolls before baking them. If the baklava is baked and already cripsy, cutting them will make the pastry shatter and not that presentable. so always cut first!
- Soak the baklava with the syrup overnight for the best flavour and taste. The syrup needs it’s time to work its way into each layer and do it’s magic.
- Skim the butter mixture. Taking off that white foam from the butter gives you a cleaner and clearer mixture. It also taste better.
- Make sure to roll the the pastry tightly. Loose rolls will unravel during baking.
- Pour the syrup slolwy, rushing this step will make the syrup run off the sides.
Ways to Make It Your Own
- Add 1 tbsp of rose water to the cooled syrup for a floral/Middle Eastern flavour
- Add 1 tsp of orange blossom water to the cold syrup if you don’t like rose water
- You can use only pistachio filling for a more Lebanese-style baklava.
- Swap half the sugar in the syrup for honey for a deeper, floral sweetness
- Add 1 tsp of ground cinnamon alongside the cardamom in the nut filling
- Finish with a drizzle of dark chocolate over the top once the syrup has set for a modern twist
- Different nut combinations: Try cashews, pecans, or hazelnuts as part of the filling
How to Store Leftovers
Storage: Store baklava in an airtight container at room temperature for up to 2 weeks. It actually improves over the first few days as the syrup continues to soak in. There’s no need to refrigerate it, the fridge can actually make the pastry go soft.
Freezing: Baklava freezes well:
- Before baking: Assemble the rolls in the tray, cover tightly with cling film and foil, and freeze for up to 3 months. Bake from frozen, adding 10-15 minutes to the baking time, then add syrup as normal.
- After baking: Store in a freezer-safe container for up to 3 months. Thaw at room temperature for several hours before serving.
Do not refreeze once thawed.
Baklava Recipe
Ingredients
For the Baklava
- 1 pack phyllo dough 450-500g — keep it covered with a damp cloth at all times while working, it dries out incredibly fast
- 250 g unsalted butter use good quality butter here
- 200 g ghee
For the Nut Filling
- 1½ cups walnuts finely chopped
- 1 cup pistachios finely chopped
- 1 cup almonds finely chopped
- 2 tbsp sugar
- 2 tsp ground cardamom
For the Syrup
- 2 cups water
- 2½ cups sugar
- 1 tbsp lemon juice
Instructions
- Start by making your nut filling. Finely chop the walnuts, pistachios, and almonds. You want them small enough to sit evenly inside the pastry rolls without making them lumpy or difficult to roll. A food processor works perfectly here, but a sharp knife and a little patience gets the same result.
- Transfer the chopped nuts into a mixing bowl. Add the sugar and ground cardamom and mix everything together until the spice is evenly distributed through the nut mixture. Set aside while you prepare everything else.
- Now make the syrup. In a saucepan, combine the water and sugar over medium heat. Stir gently until the sugar has fully dissolved, don’t walk away at this point as it can catch on the bottom if left unattended.
- Once the sugar has dissolved, bring the mixture to a gentle boil. Add the lemon juice, then reduce the heat slightly and let it simmer for 10-15 minutes, stirring occasionally, until the syrup has thickened slightly. It should coat the back of a spoon but still be pourable.
- Remove the syrup from the heat and set it aside to cool completely. This is important. The syrup must be cold when it hits the hot baklava to keep that crispiness. Don’t rush this step.
- In a small saucepan, melt the butter and ghee together over low heat. Once melted, skim off and discard the white foam that rises to the surface. This clarifies the butter mixture and gives your baklava a cleaner, richer flavour.
- Preheat your oven to 170°C (top and bottom heat). Grease your baking tray lightly with some of the butter-ghee mixture. Carefully unroll the phyllo dough and lay the sheets flat. Cover them immediately with a damp kitchen towel. Phyllo dries out in minutes and becomes brittle and impossible to work with if left uncovered.
- Take one sheet of phyllo dough and lay it flat on a clean work surface. Using your pastry brush, lightly but evenly coat the entire surface with the butter-ghee mixture. Don’t be too heavy-handed, you just want a thin, even layer.
- Sprinkle a thin, even layer of the nut filling across the buttered phyllo sheet. Try to keep it even all the way to the edges so every bite has filling in it.
- Place a thin rolling stick or wooden skewer along one edge of the sheet. Carefully roll the pastry tightly around the stick, keeping it as even and snug as possible as you go.
- Once fully rolled, hold the roll steady with both hands. Gently push the pastry inward from both ends simultaneously, compressing it along the stick to create those beautiful, traditional wrinkled folds that baklava is known for. Carefully slide the stick out from the centre of the roll.
- Place the finished roll onto the greased baking tray. Repeat this process with each remaining phyllo sheet and the rest of the nut filling, placing each roll neatly alongside the last until the tray is full.
- Once all the rolls are arranged in the tray, use a sharp knife to cut them into equal-sized pieces. Cut all the way through at this stage, before baking, cutting after baking will shatter the crispy pastry.
- Brush the tops of all the rolls generously with the remaining butter-ghee mixture, making sure the cut edges get coated too.
- Bake at 170°C for 35-45 minutes, until the baklava is deeply golden and properly crispy all over. Keep an eye on it from the 35-minute mark, every oven runs slightly differently.
- The moment the baklava comes out of the oven, slowly and evenly pour the cold syrup over the hot pastry. Pour it gradually, letting each pour absorb before adding more, rather than dumping it all on at once. You should hear a satisfying sizzle as the cold syrup hits the hot pastry. That sound means you’ve done it right.
- Leave the baklava to soak and absorb the syrup for several hours, or ideally overnight. The longer it sits, the better the flavour and texture gets. Garnish with crushed pistachios or extra chopped nuts before serving. Bon Apetite!
- Video Tutorial