
Fig & Raspberry Cheesecake
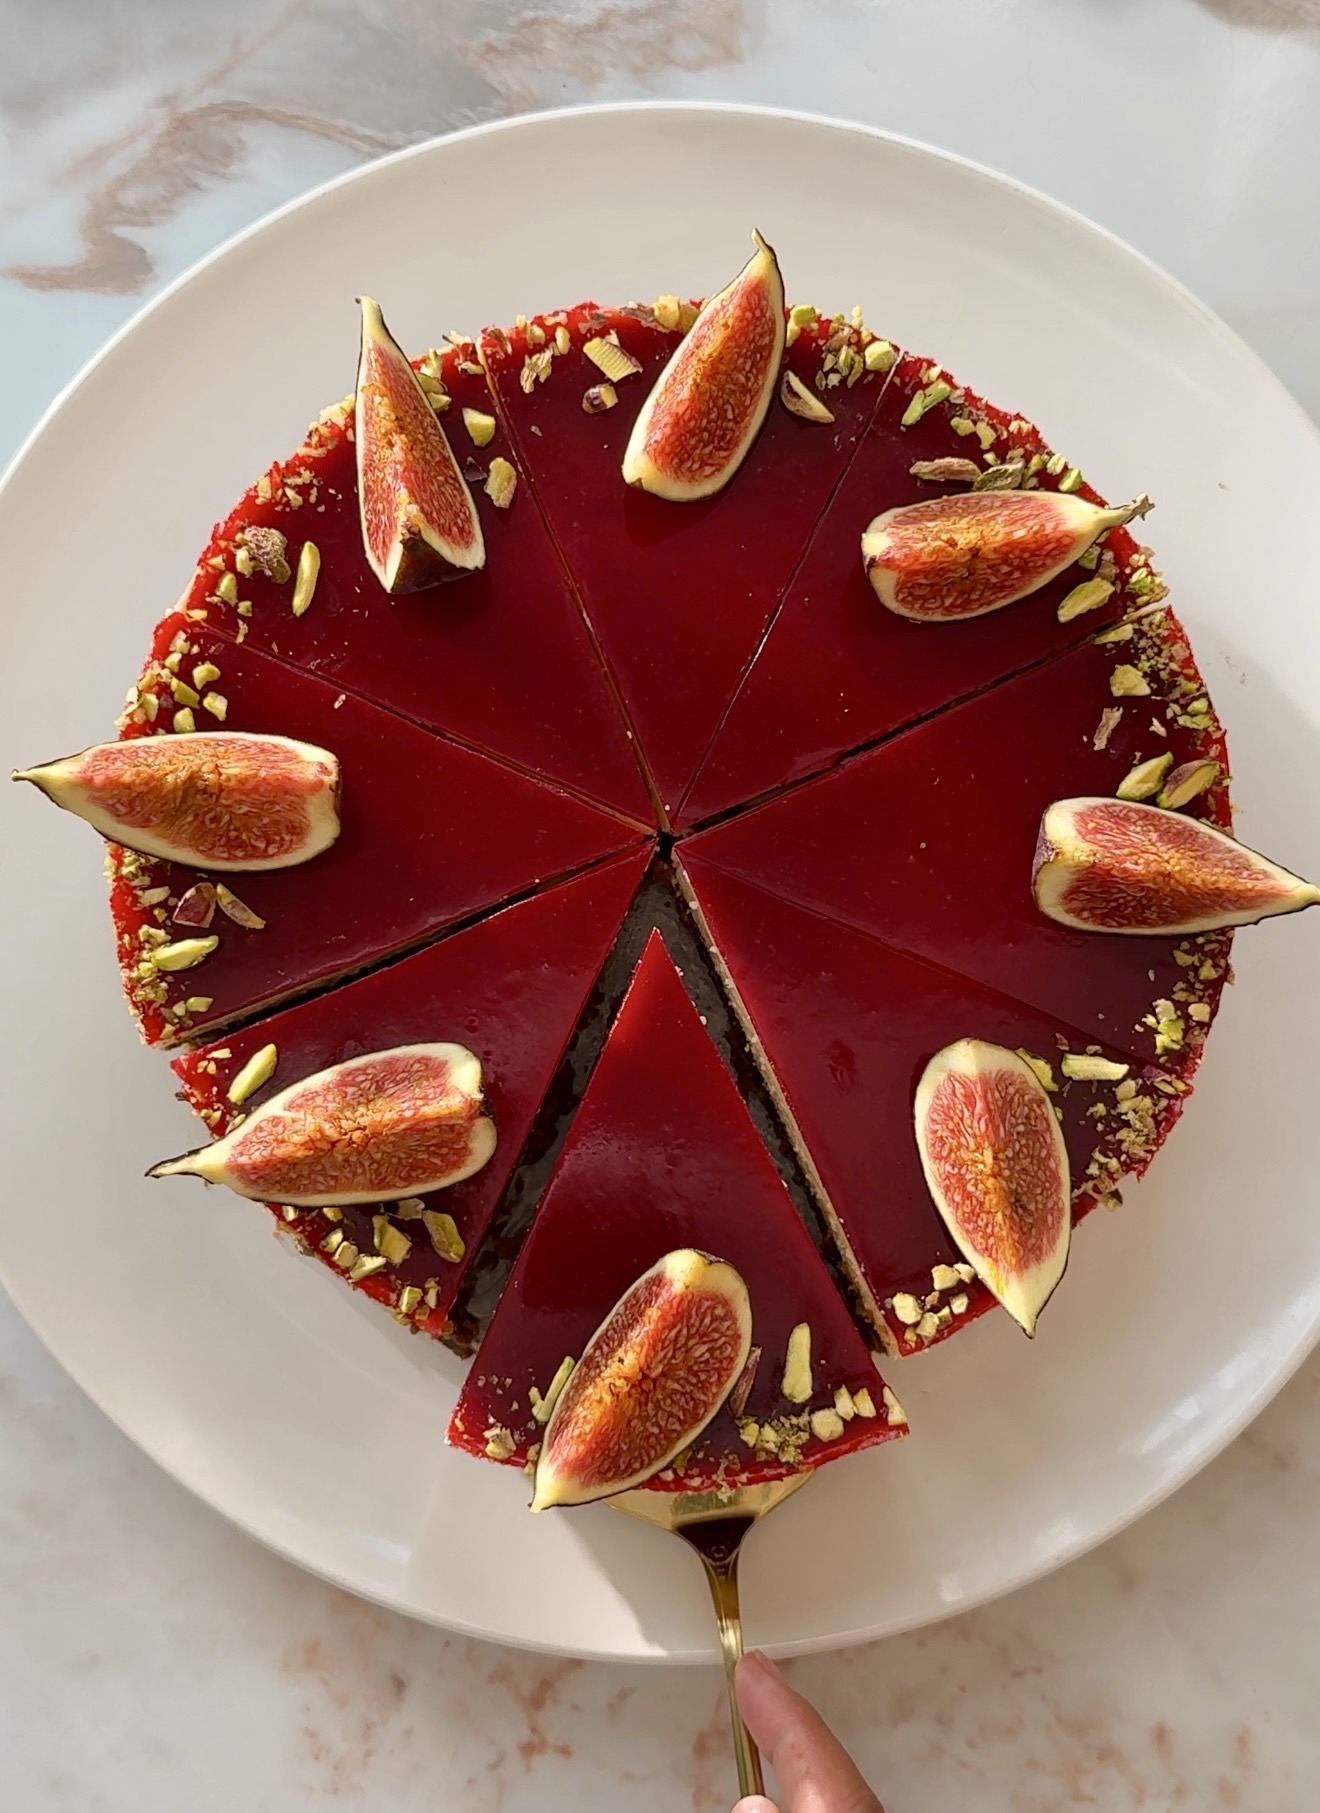
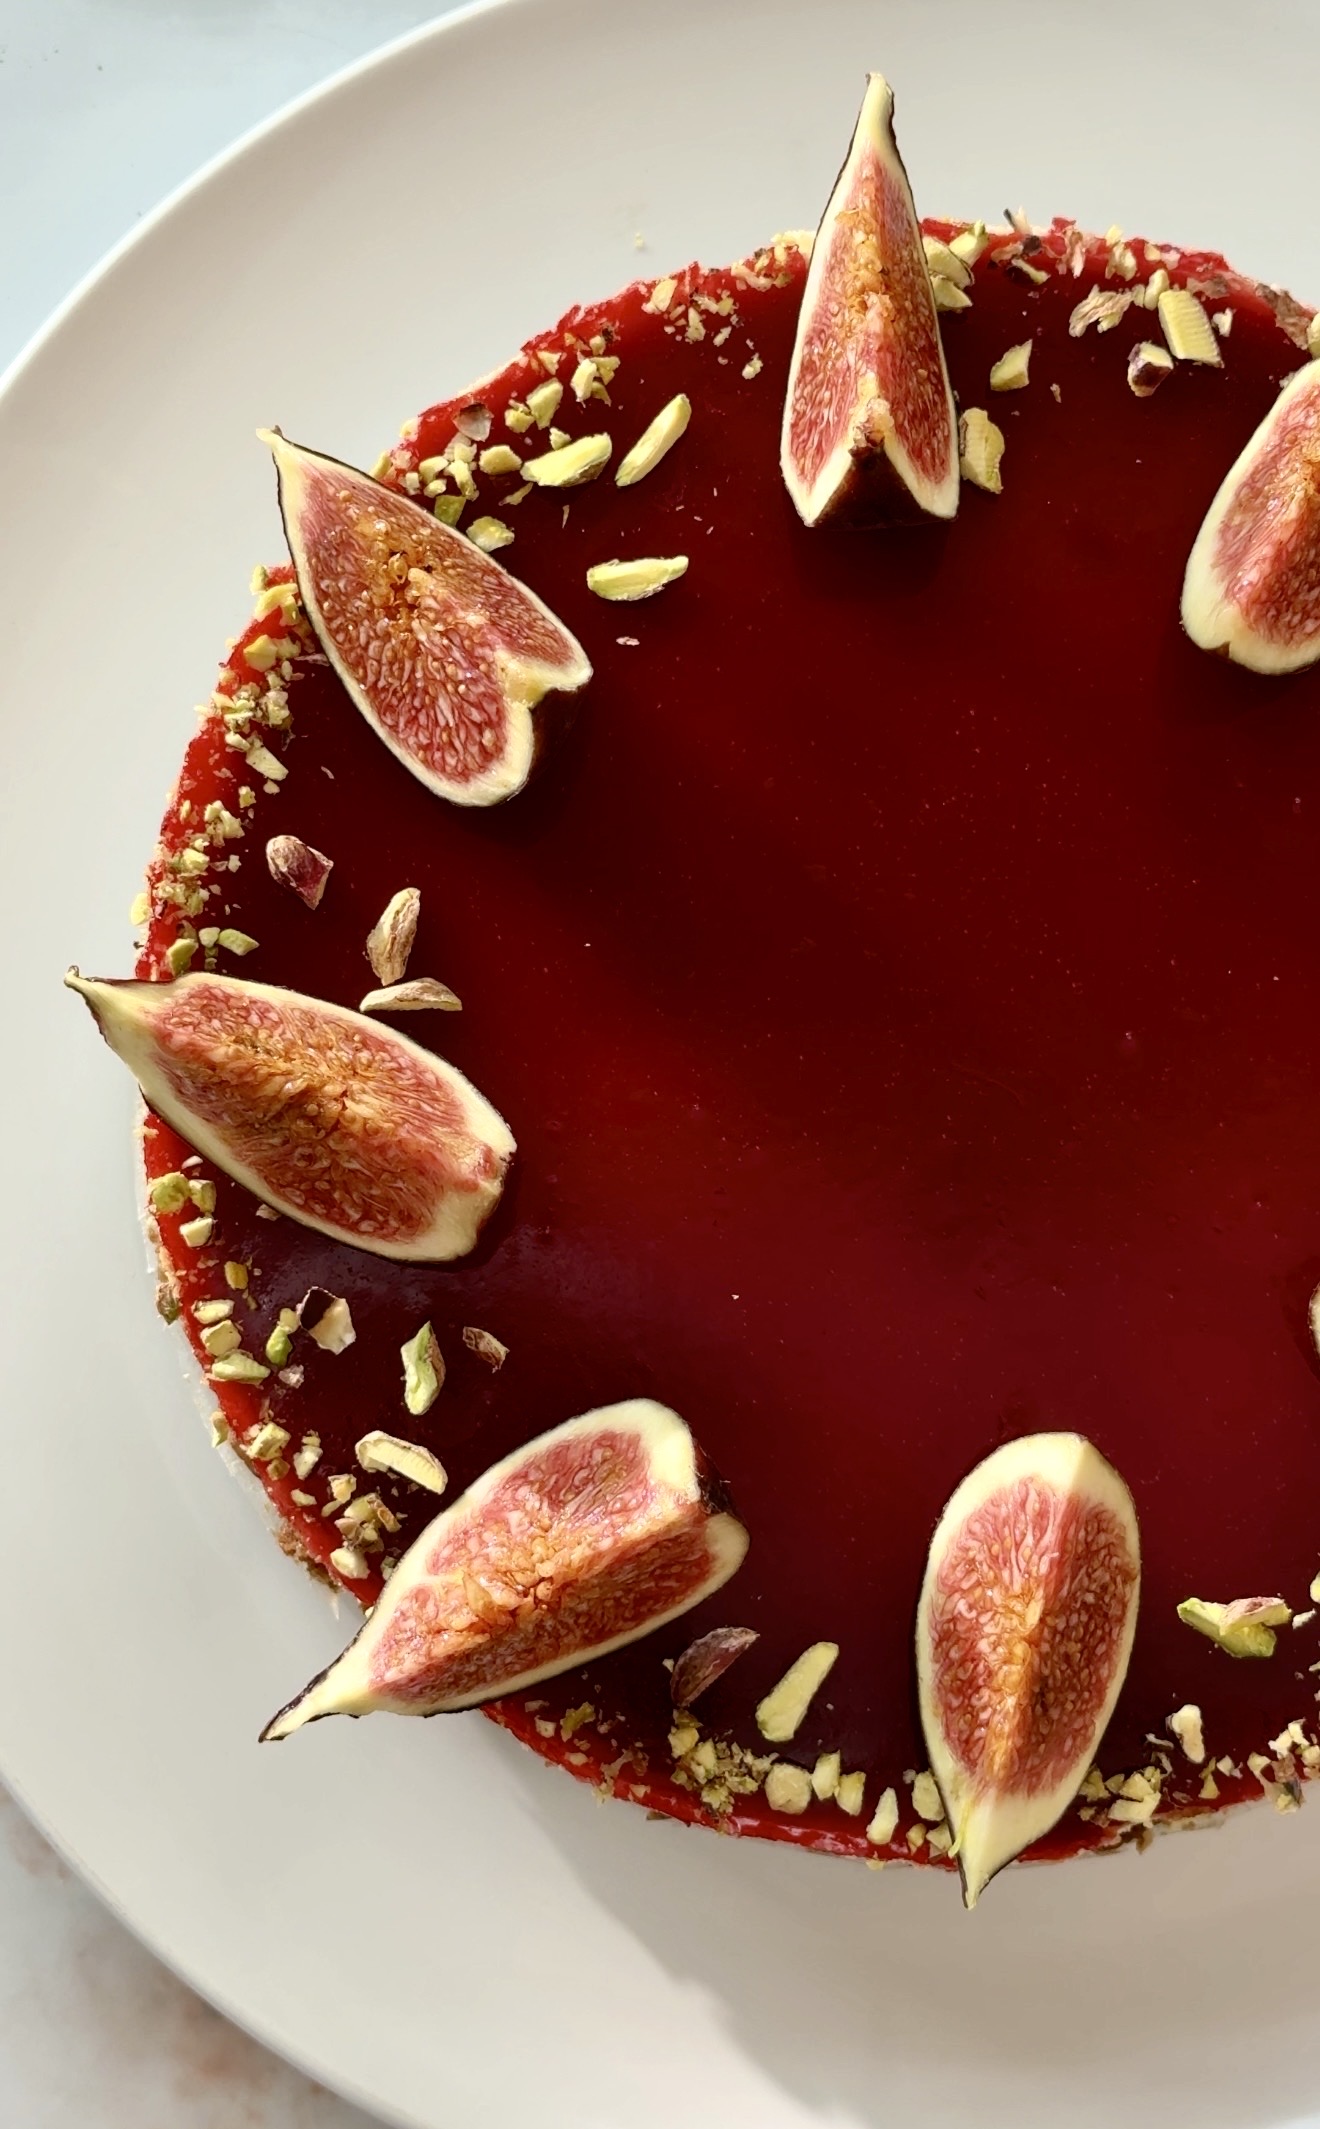
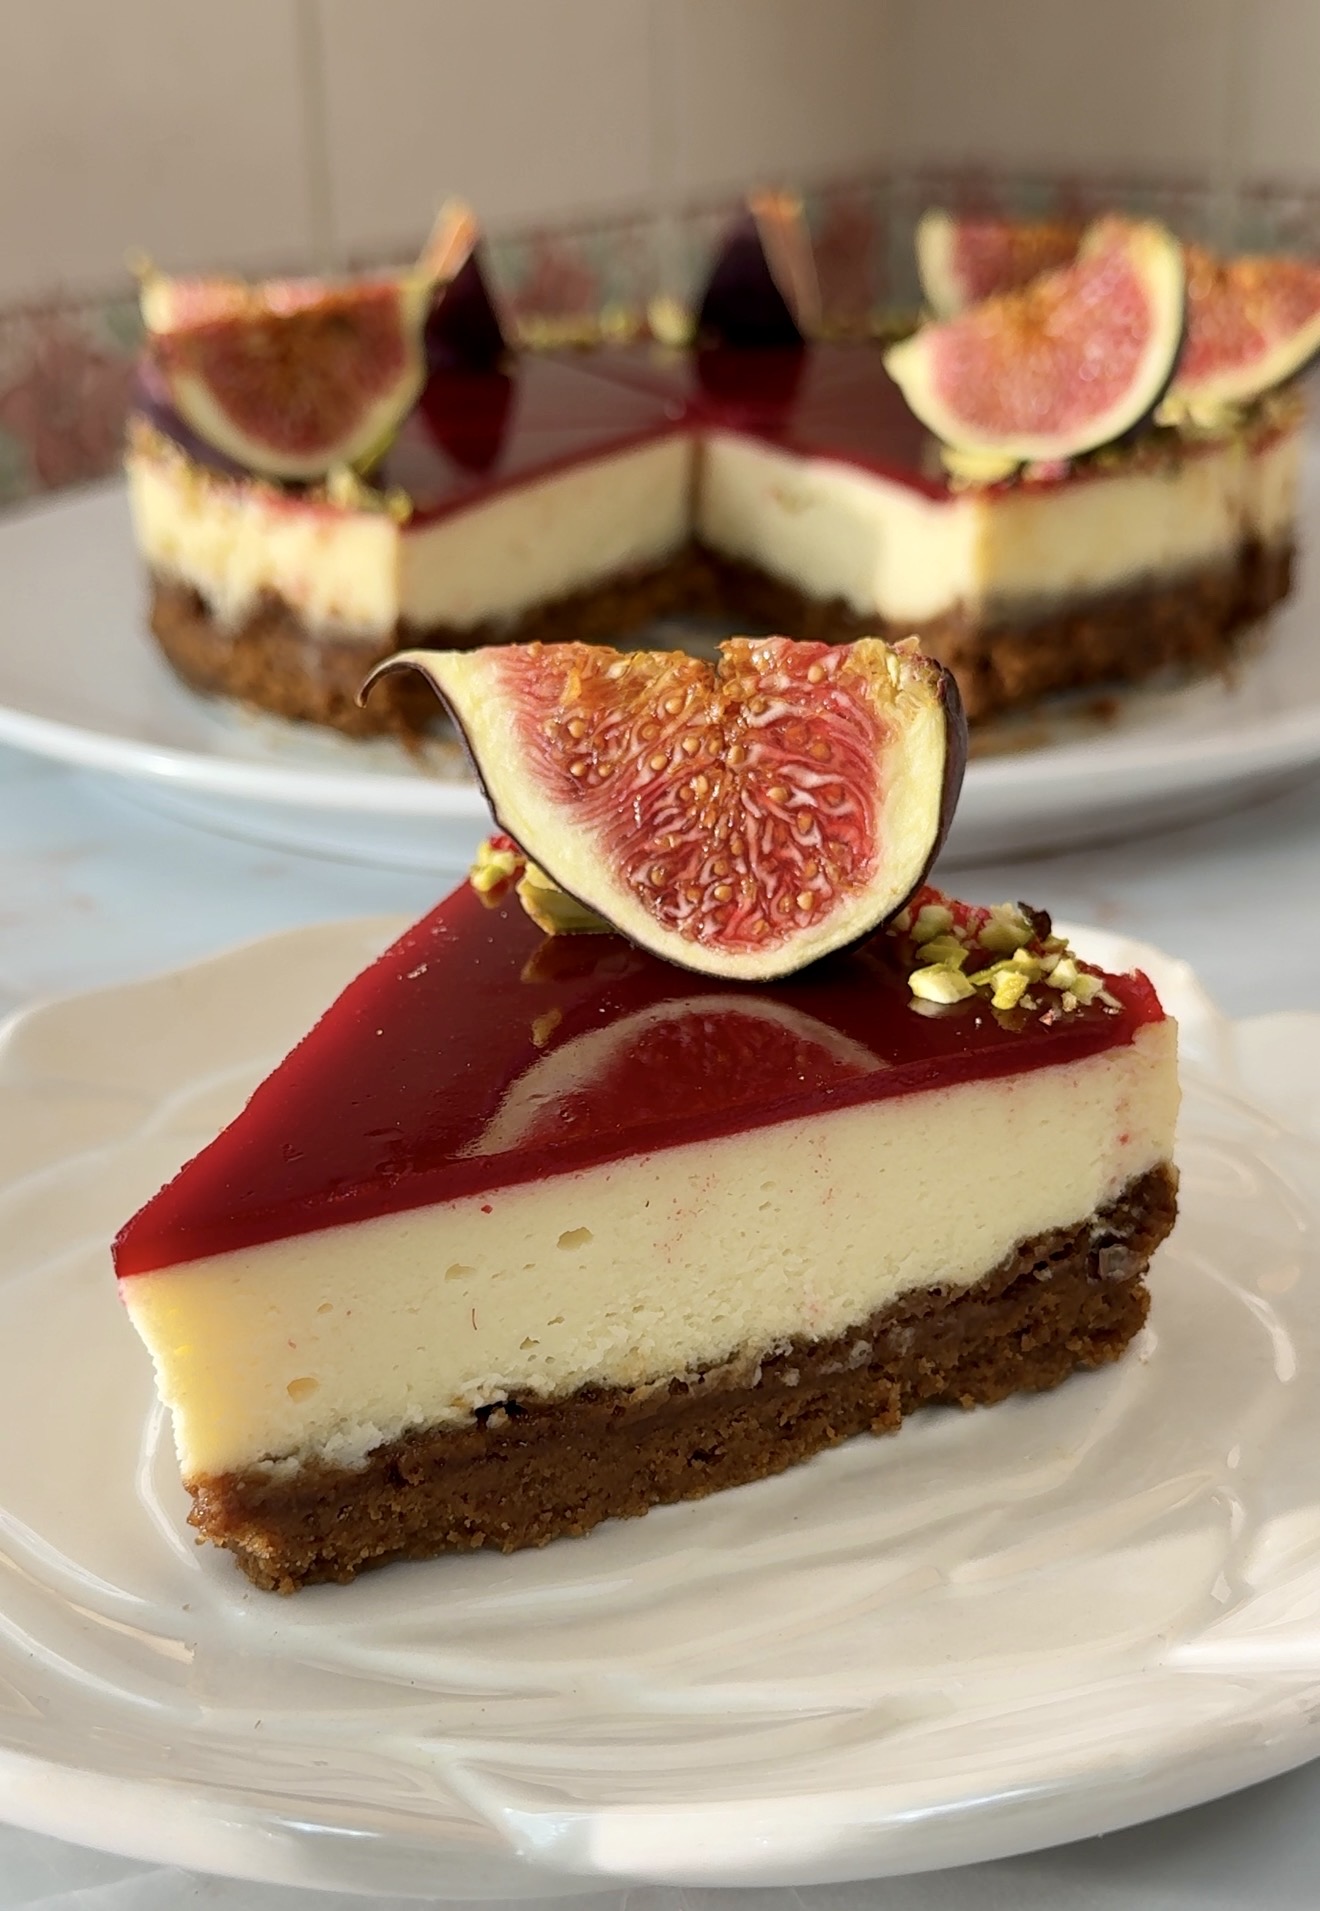
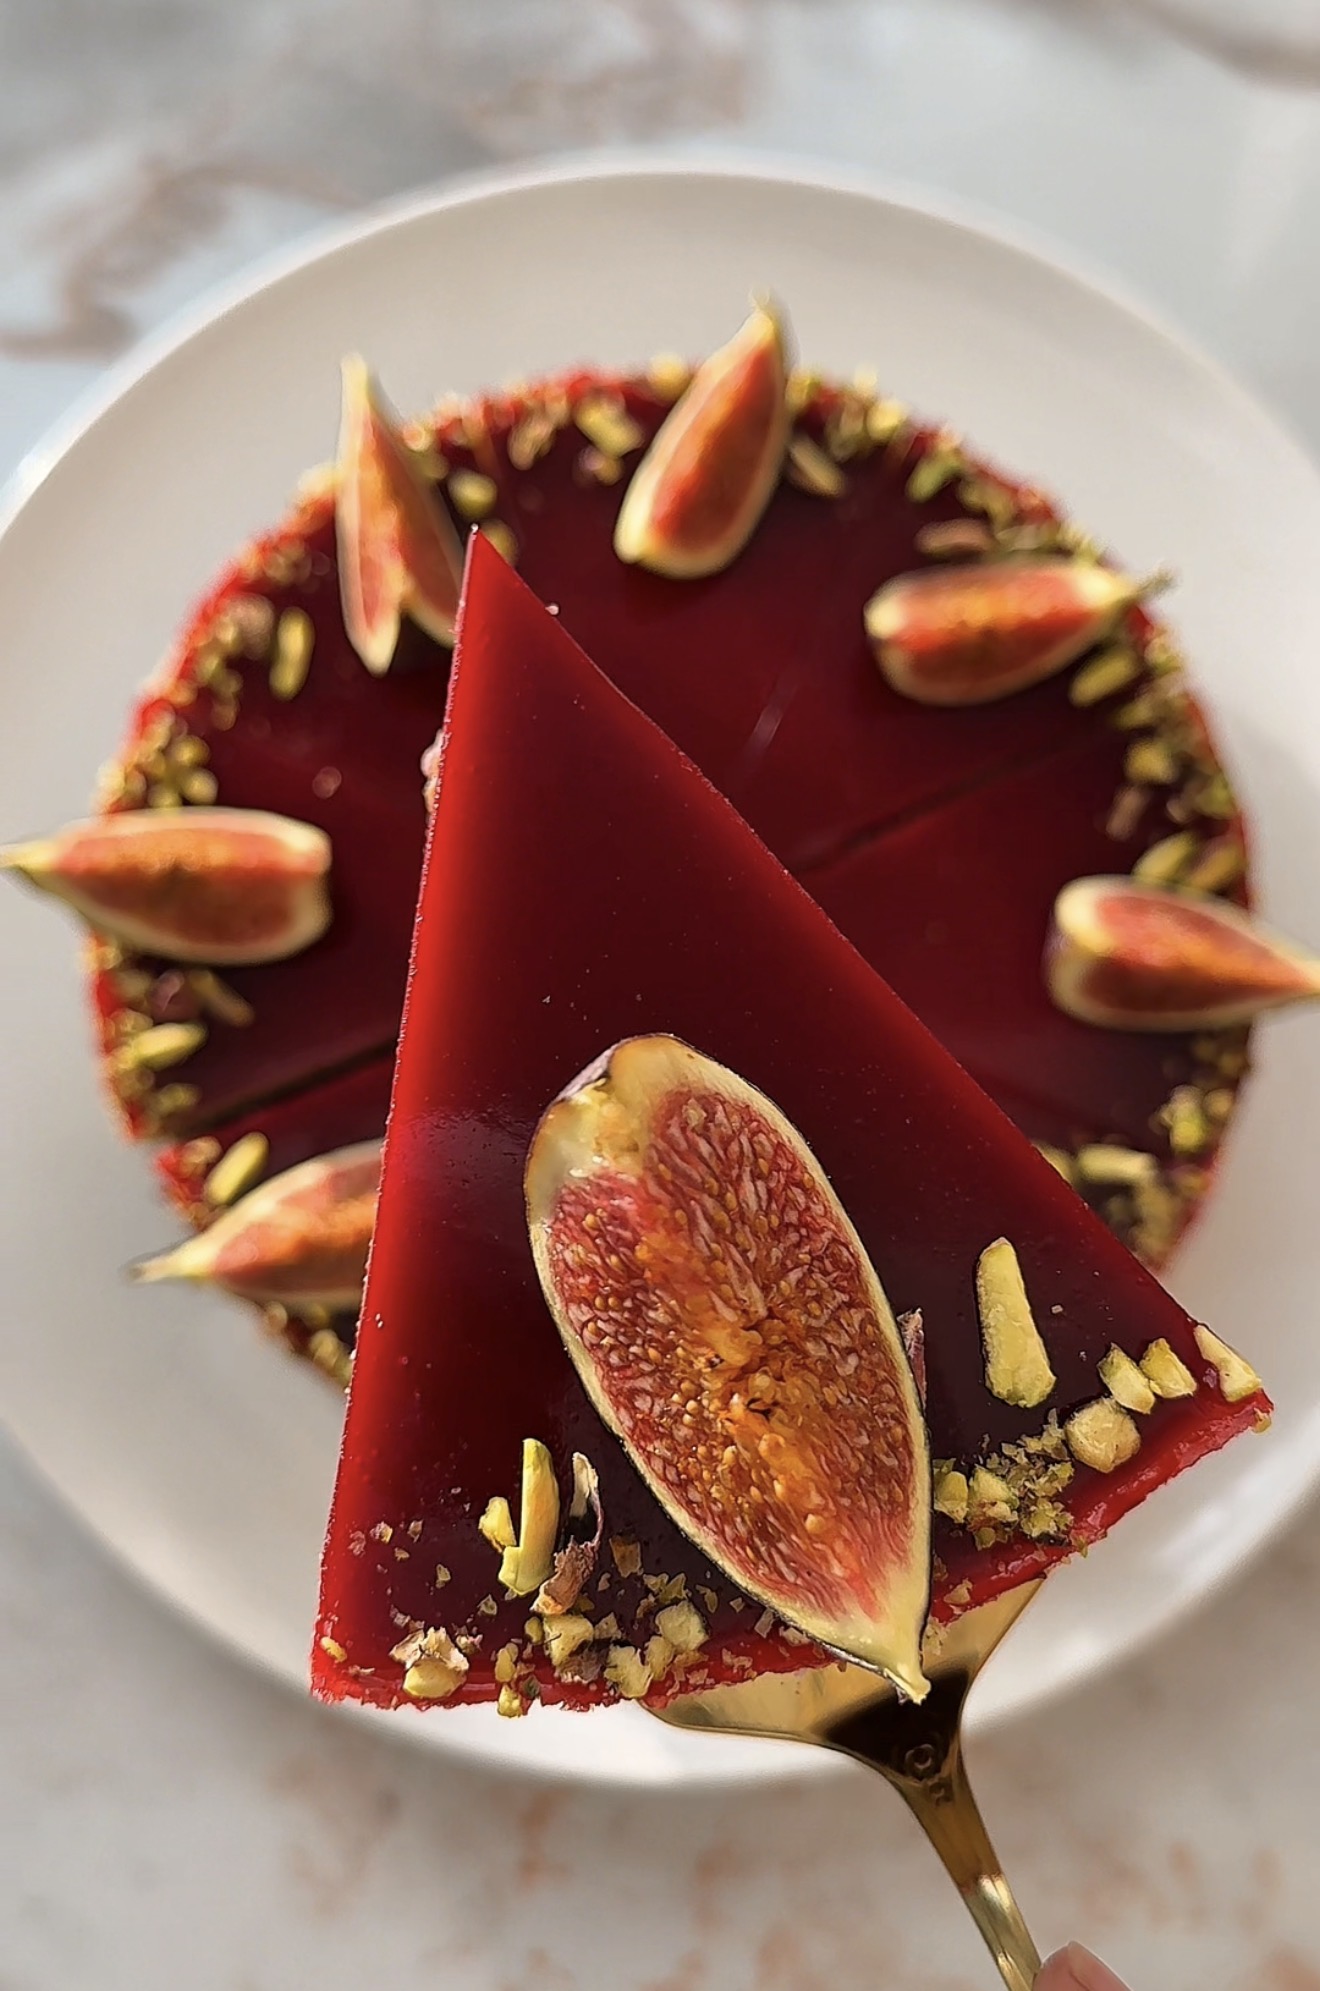
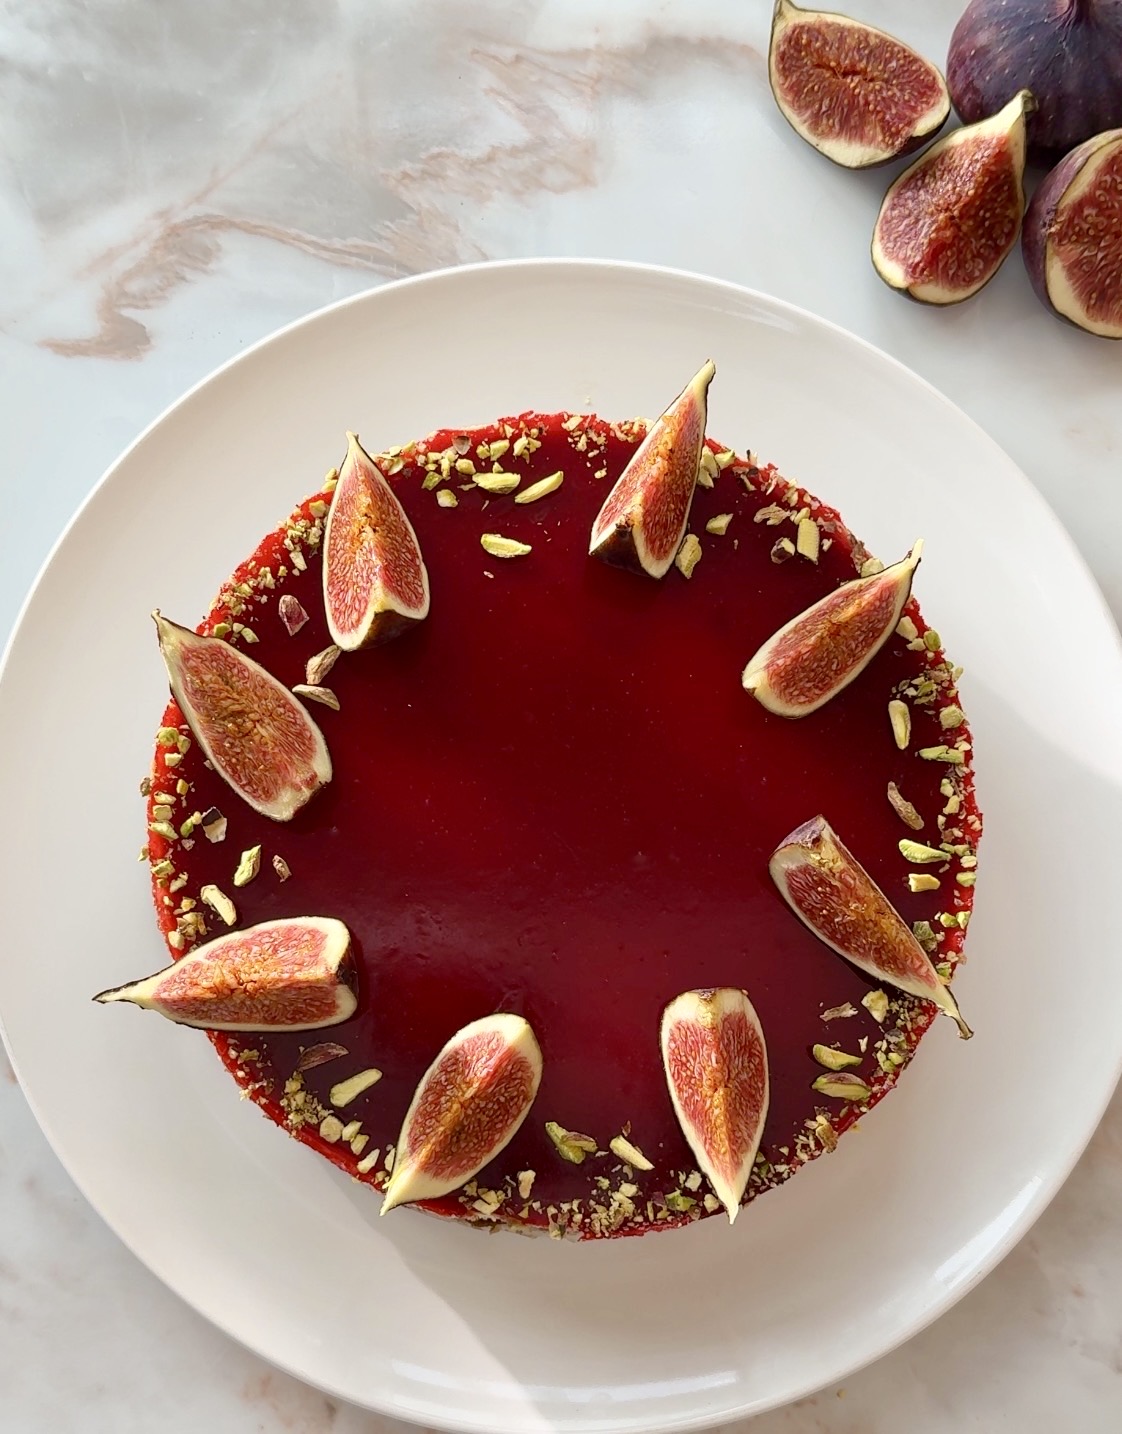
Fresh figs sliced on top. A glossy raspberry jelly that sets like a mirror. Crushed pistachios for décor and underneath all of that, a creamy, vanilla-scented baked cheesecake sitting on a buttery Biscoff crust that I genuinely think is the best base to use for any cheesecake. This baked cheesecake is one of those cheesecakes to impress your guests, it’s stunning, it looks and taste like something from a proper patisserie, and nobody would believe you made it at home!
Why You’ll Love this Fig & Raspberry Cheesecake
- The biscoff crust- I have tried digestives, I have tries shortbread, but nothing comes close to Biscoff for a cheesecake base
- Raspberry jelly topping- homemade, glossy and perfect tart against the sweet filling
- Greek yoghurt/sour cream in the filling- adds a subtle tang that makes the cheesecake taste lighter and less heavy
- Fresh figs on top- beautiful, seasonal and they taste amazing with raspberry, perfect combination
- Make-ahead perfect- this is a perfect dessert for planning head
- It looks like it took all day to make- it didn’t! and that’s my favourite kind of recipe
- It looks like a piece of art!
Why This Recipe Works
What makes this cheesecake so good is the balance of flavour and texture. The buttery Biscoff base works so well with the creamy and rich cheesecake, while the tart raspberry jelly adds a fresh contrast and cuts through the sweetness. The fresh figs add a subtle natural sweetness and the pistachios give it that little bit of crunch. Every layer just works together!
This baked cheesecake recipe works perfectly because it utilises a gentle water bath, which creates steam in the oven to keep the cake from drying out. Finally, a slow cooling process prevents ugly cracks (I hate those) from forming on top of your gorgeous fig & raspberry cheesecake.
Ingredients
For the Crust
- 250g Biscoff biscuits, crushed- the warm, caramelised flavour pairs beautifully with raspberry and fig
- 70g unsalted butter, melted – binds the crust and gives it that buttery flavour
For the Cheesecake Filling
- 340g (1½ cups) cream cheese, softened – full-fat for the richest, creamiest result
- 120g (½ cup) Greek yogurt or sour cream – I use Greek yogurt and love the slight tang it adds
- 100g (½ cup) granulated sugar – enough sweetness without overpowering the fruit topping
- 3 tbsp condensed milk – adds creaminess and a gentle caramel sweetness
- 2 large eggs – bind the filling and give it structure
- 1 tsp vanilla extract – essential for warmth and depth
- 1 tbsp vanilla sugar (optional) – I add this when I want a more vanilla flavour
- 60ml (¼ cup) heavy cream – keeps the filling rich and smooth
- 30g (¼ cup) plain flour – stabilises the filling and prevents cracking
- ¼ tsp salt – balances the sweetness
Raspberry Jelly
- 160g frozen raspberries– I always use frozen here, they break down more easily and the flavour is just as good as fresh
- 35ml cold water – for blooming the gelatine
- 7g powdered gelatine – sets the jelly into that beautiful glossy layer
- 60g Sugar or to taste – start with a tablespoon and adjust depending on how tart your raspberries are
To decorate
- Fresh figs– sliced in half or quarters, they look stunning and taste incredible
- Crushed pistachios – adds colour, crunch, and a nutty contrast
How To Make Fig & Raspberry Cheesecake
Make the Crust
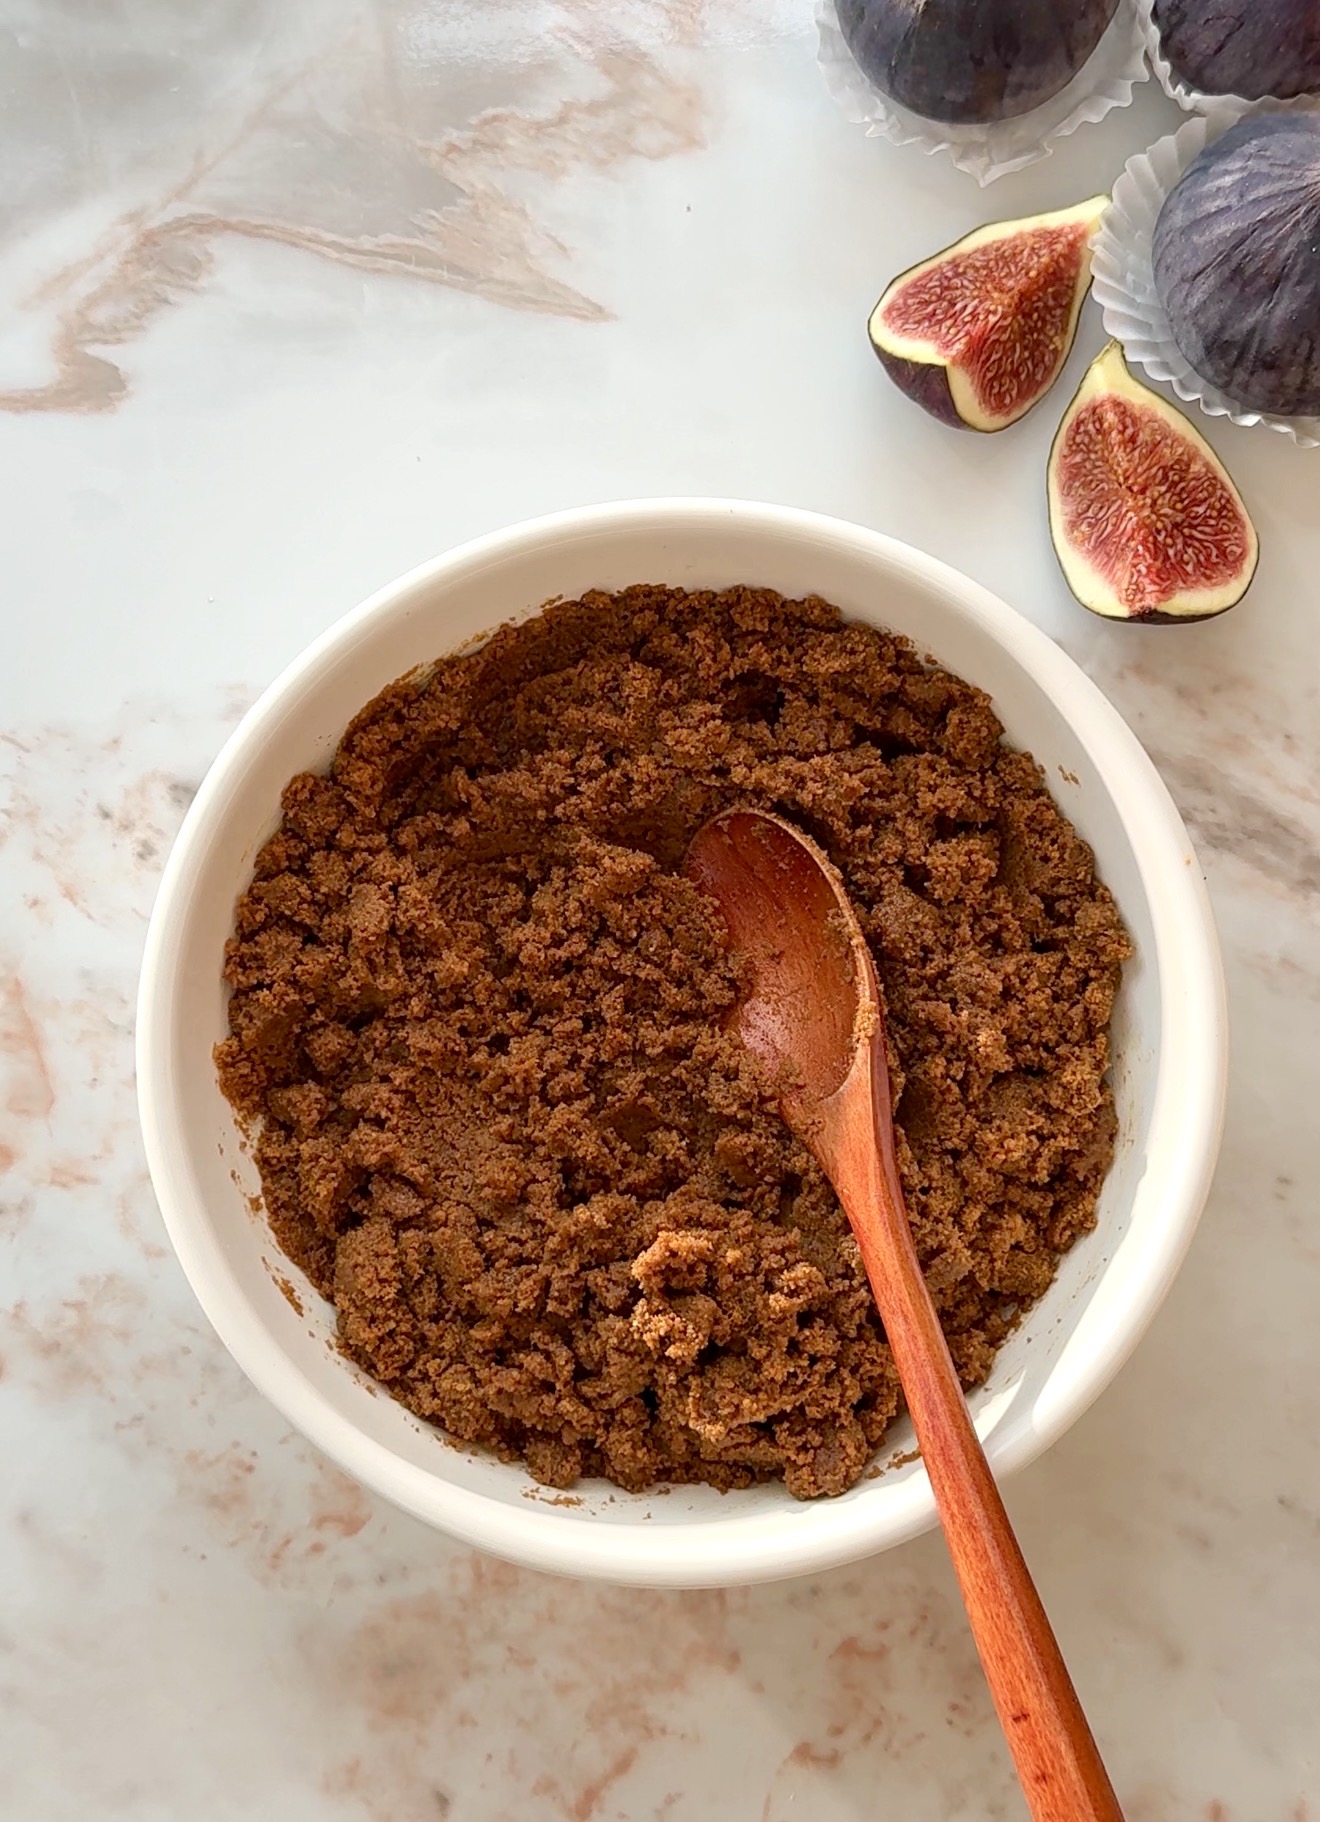
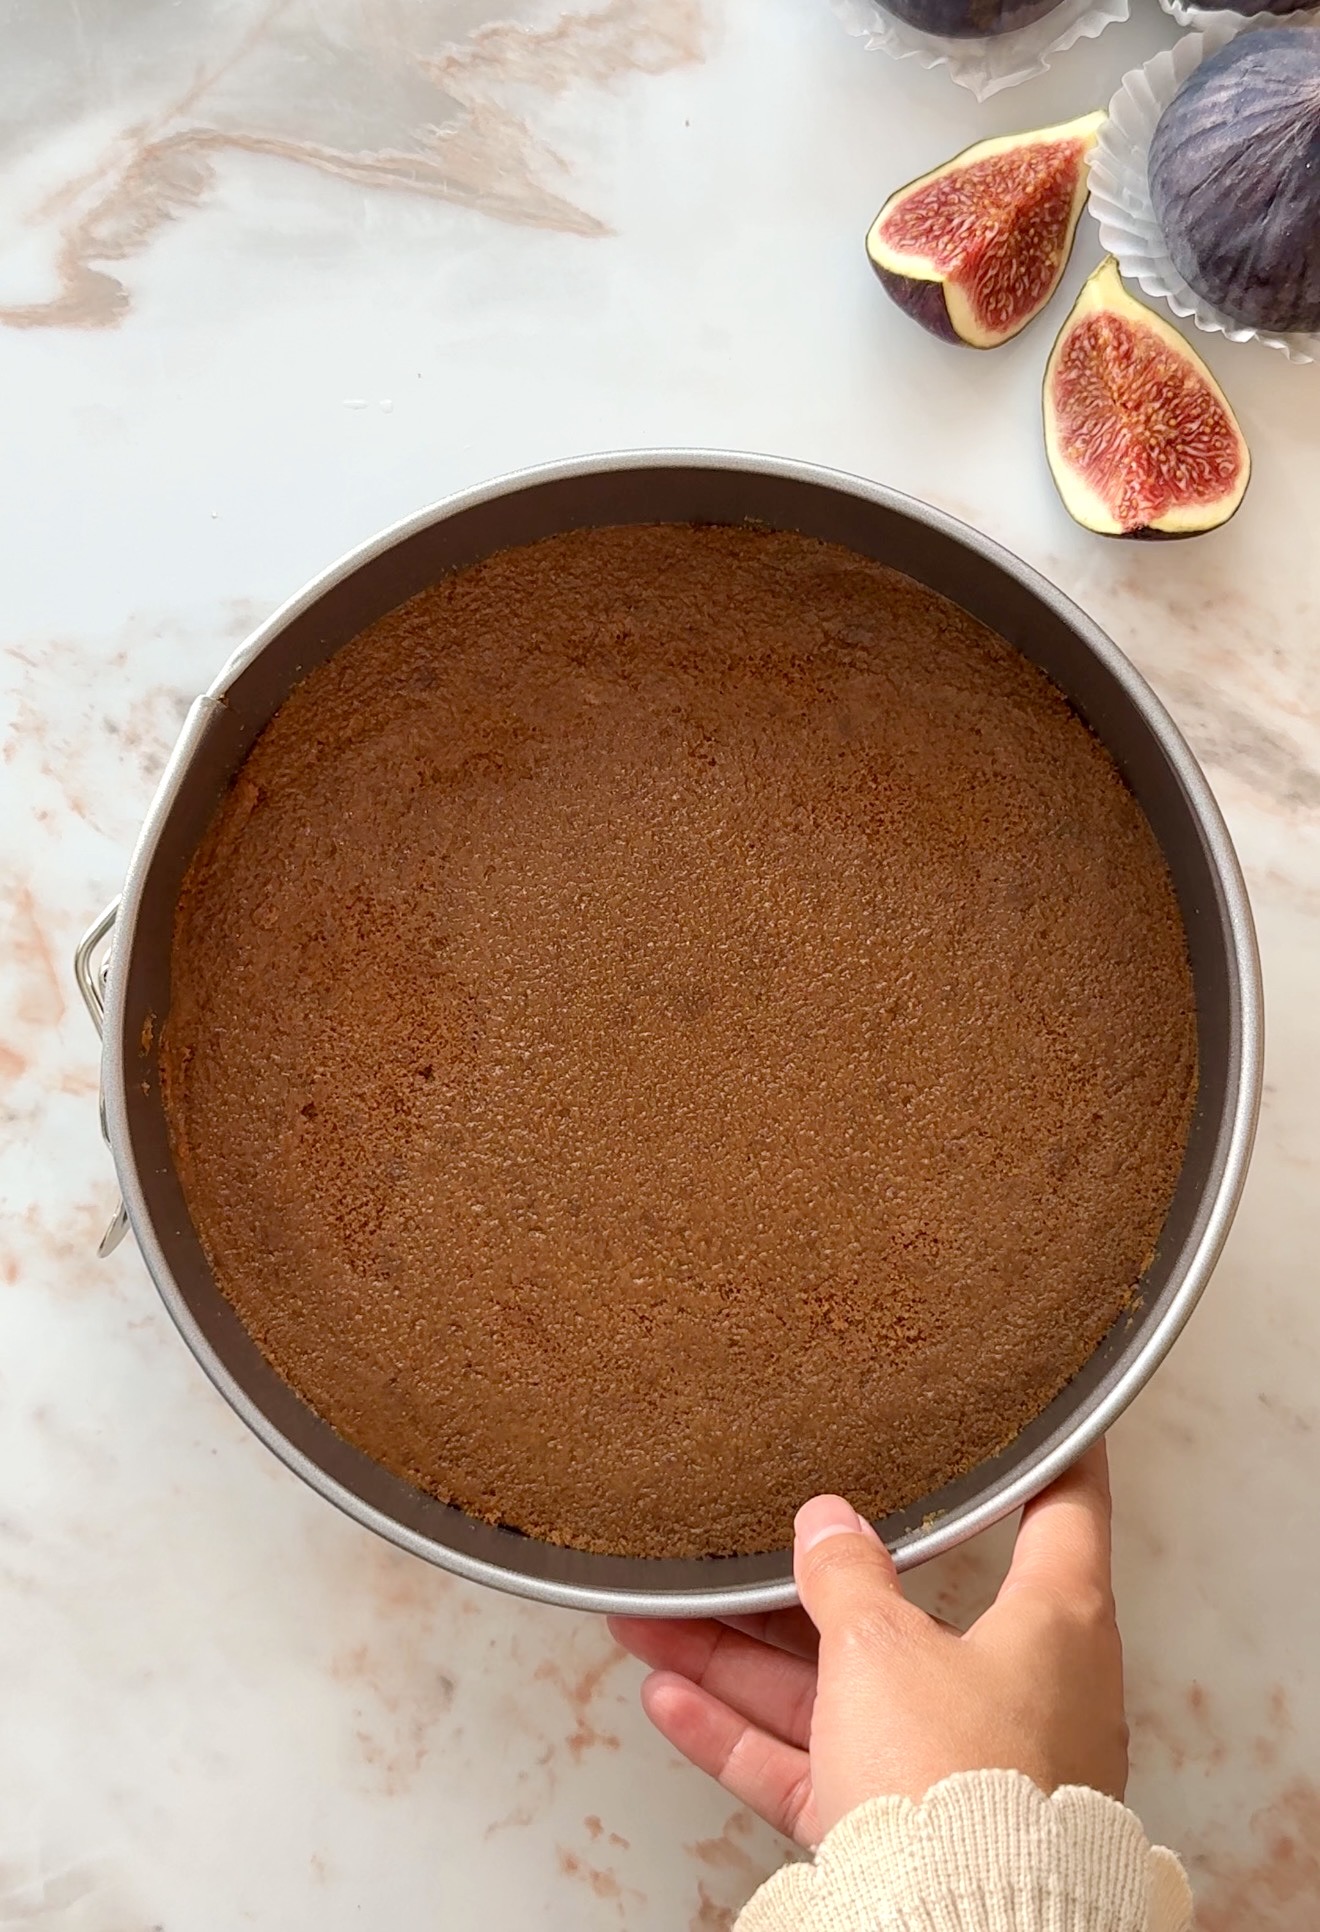
1. Preheat your oven to 180°C (350°F). Line a 9-inch sprinform pan with baking paper and grease the sides. Crush the Biscoff biscuits into fine crumbs and mic with the melted butter. Press firmly into the base of the pan using the bottom of a glass for an even layer. Bake for 10 minutes, then remove and leave to cool completely.
Make the Cheesecake Filling and bake
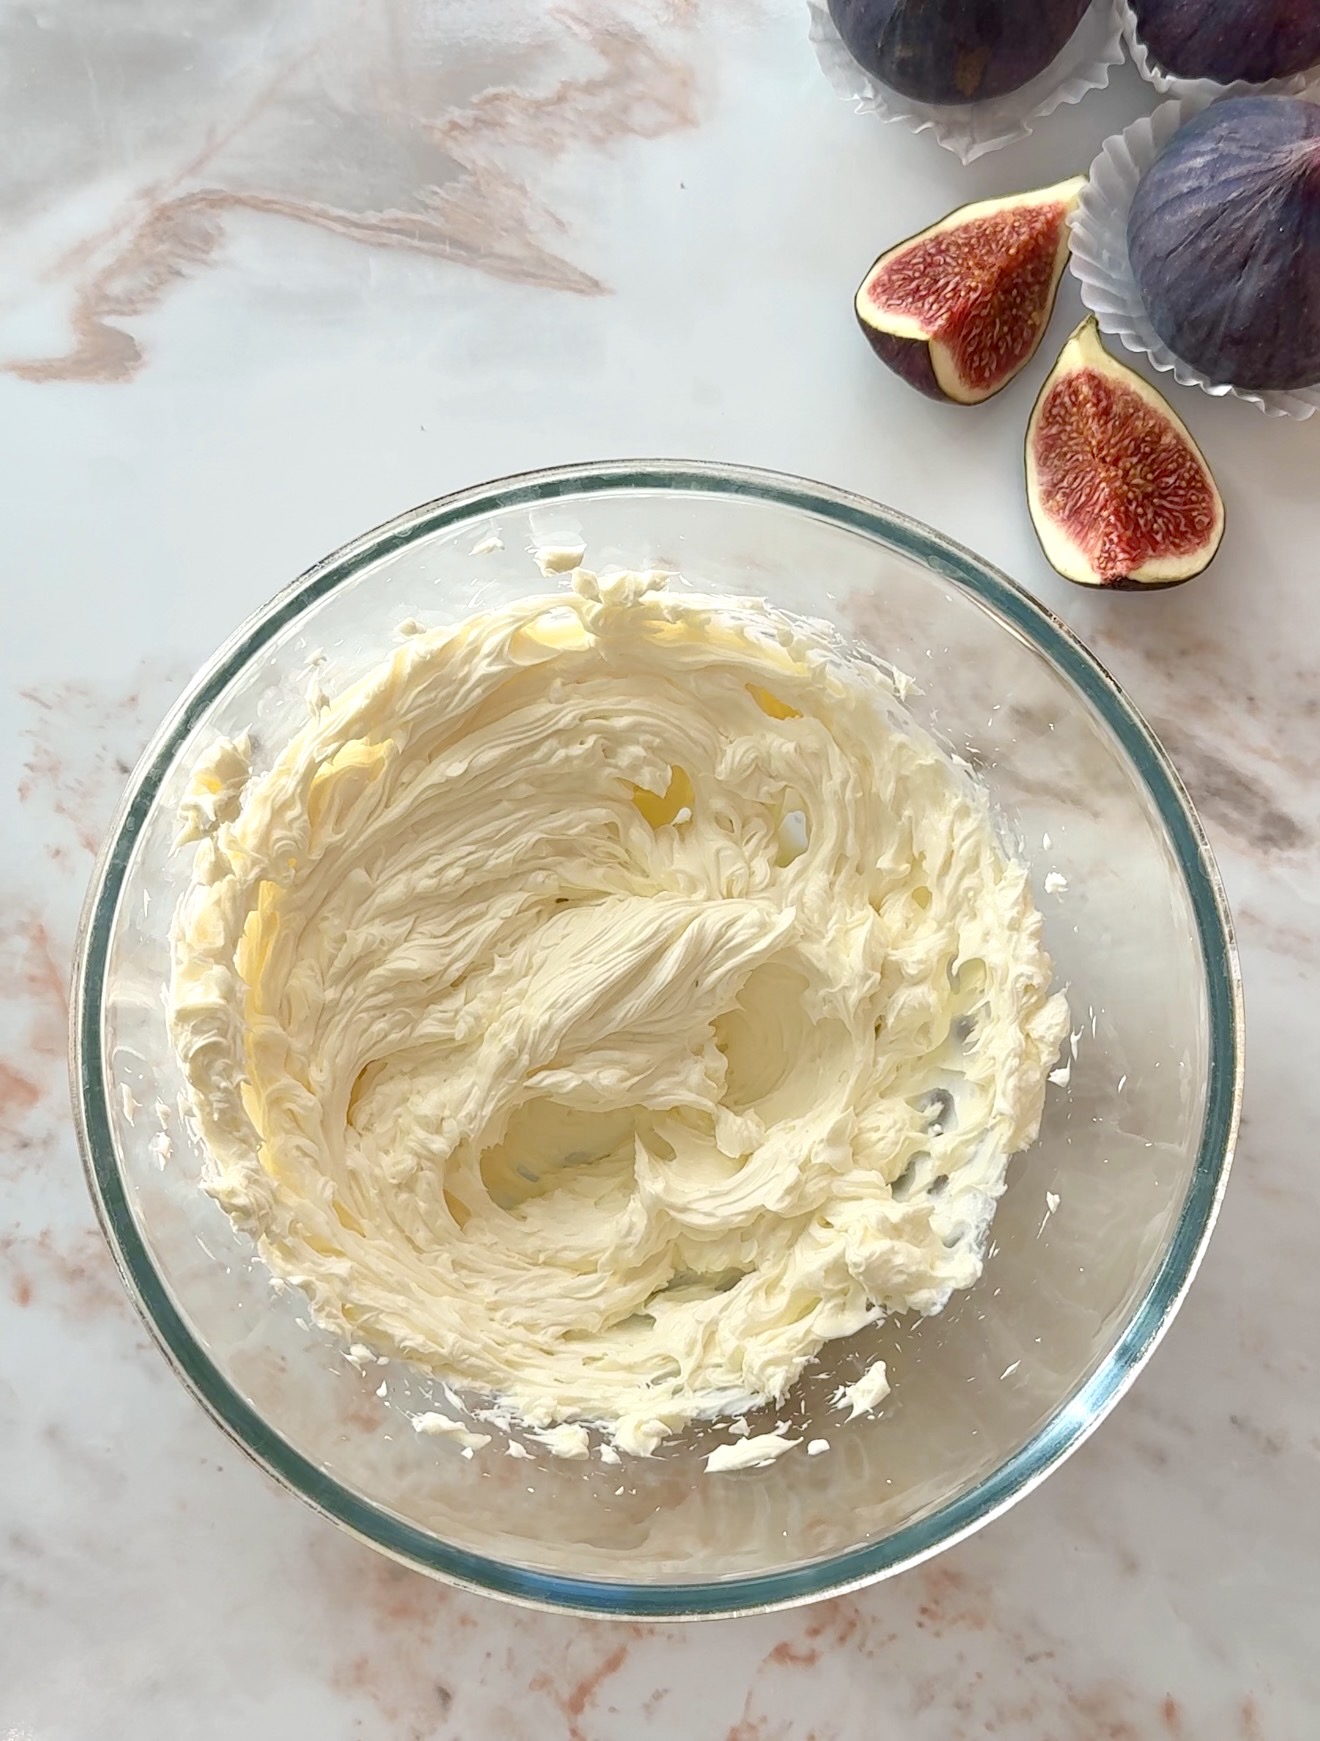
2. Beat the cream cheese with an electric mixer until completely smooth, I do this for about 2-3 minutes.
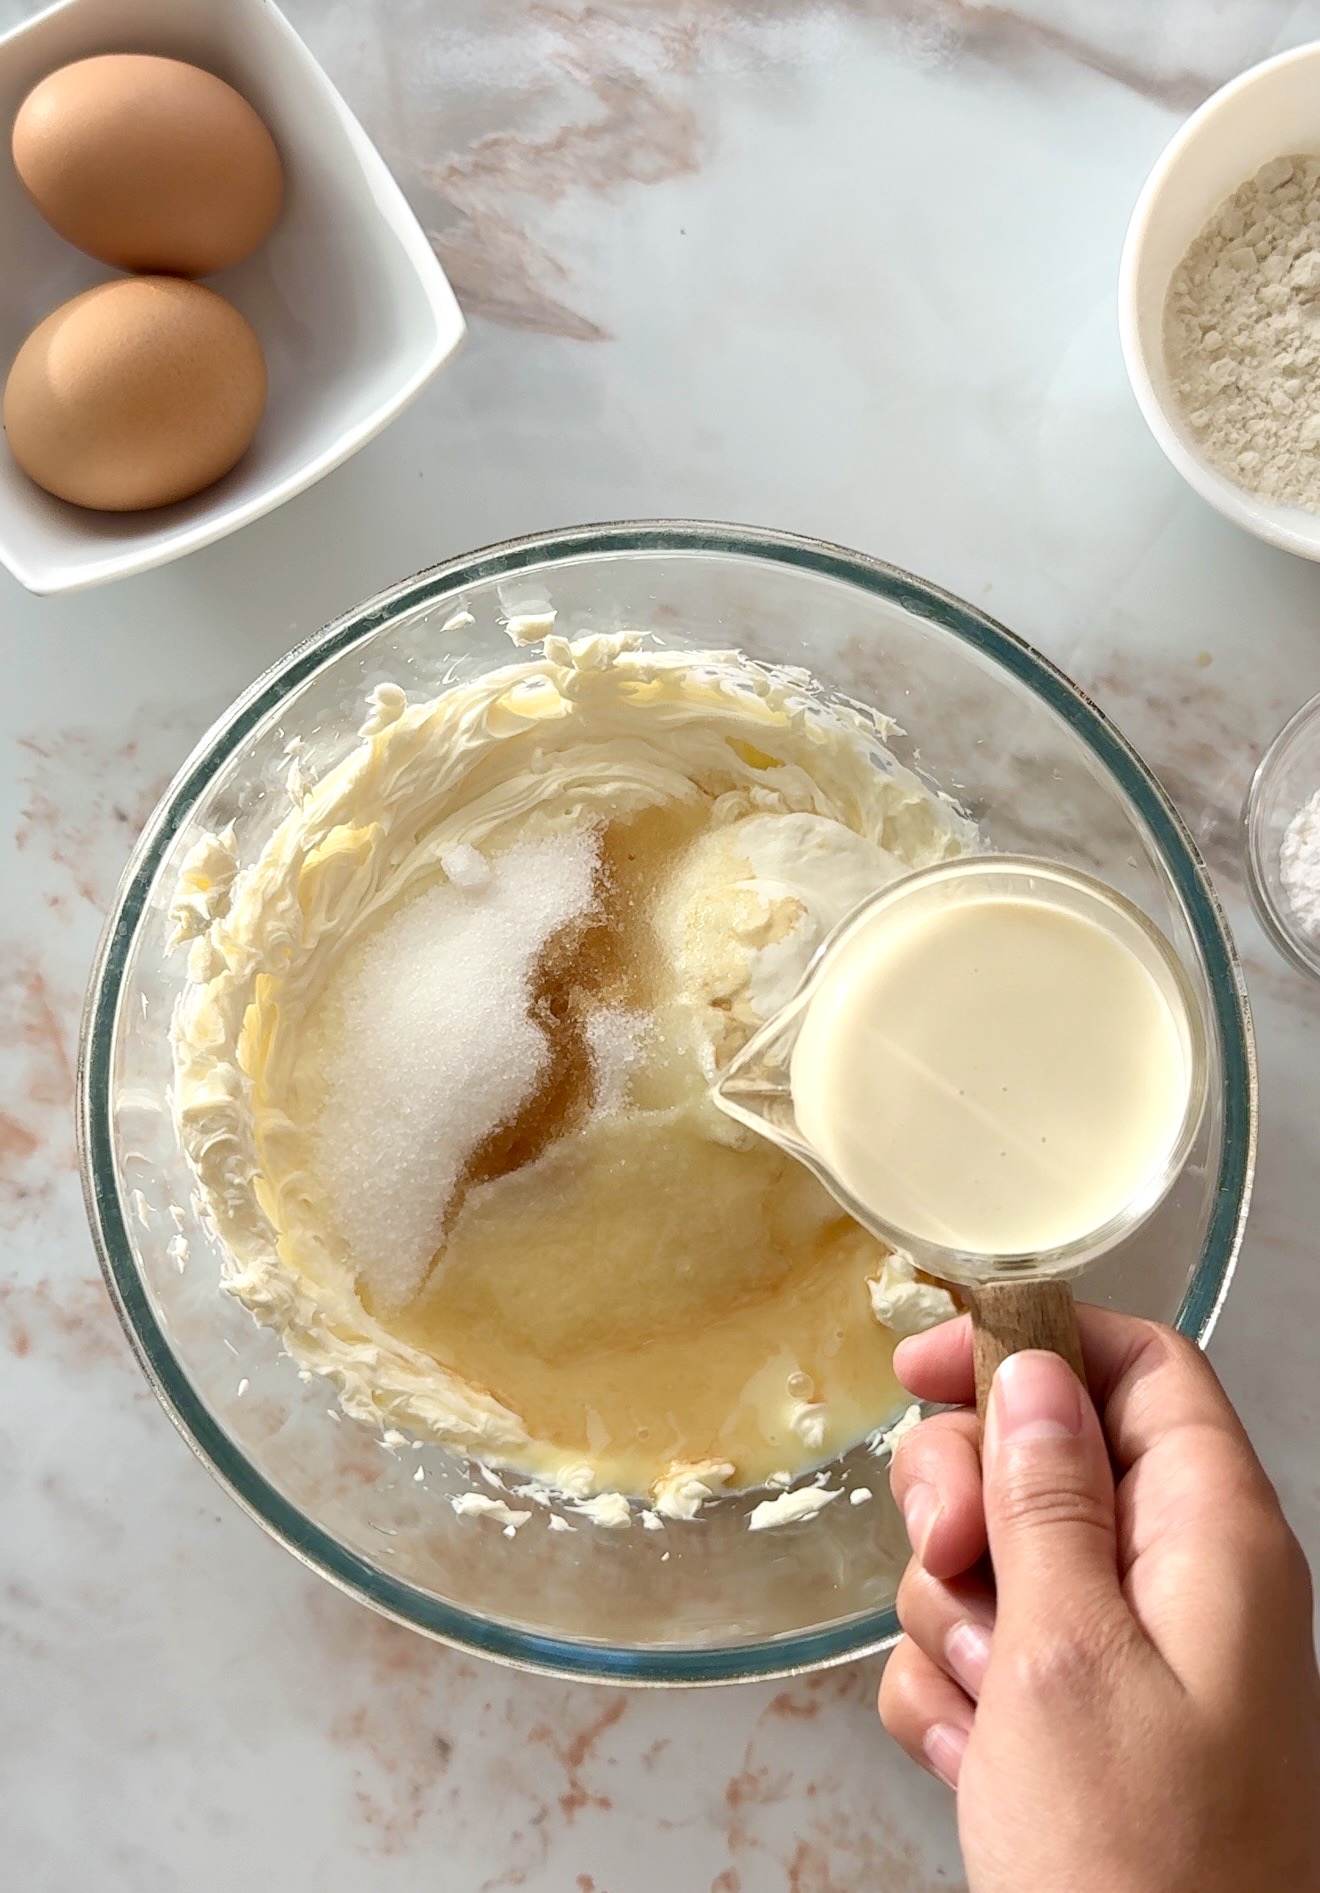
3. Add the Greek yogurt/sour cream, sugar, condensed milk, eggs, vanilla extract, heavy cream, flour, vanilla sugar and salt. Mix until smooth and well combined. Don’t over-mix once the eggs are in, just until everything is incorporated.
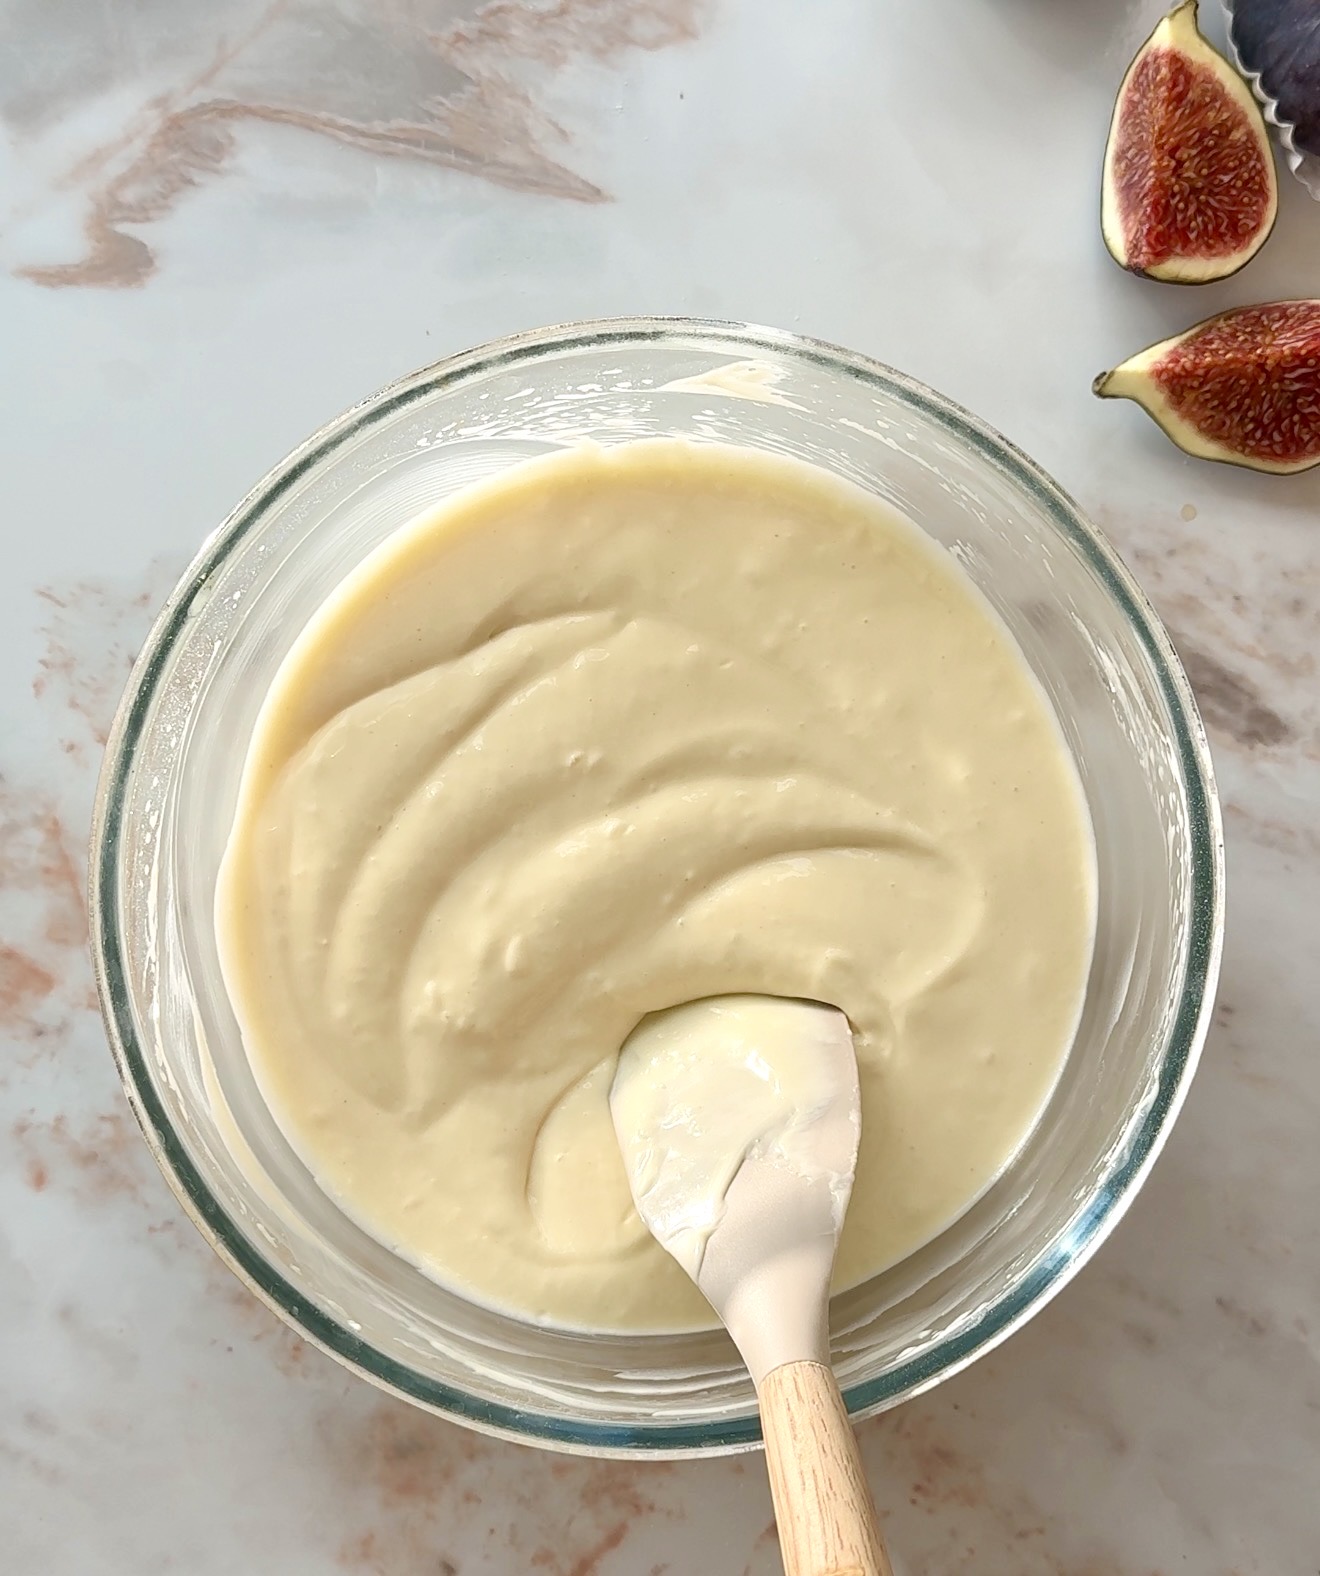
4. Wrap the outside of the springform pan tightly in two or three layers of foil. Pour the cheesecake filling over the cooled crust and smooth the top.
5. Place the wrapped pan inside a larger roasting dish and pour boiling hot water into the roasting dish until it reaches halfway up the sides of the springform pan.
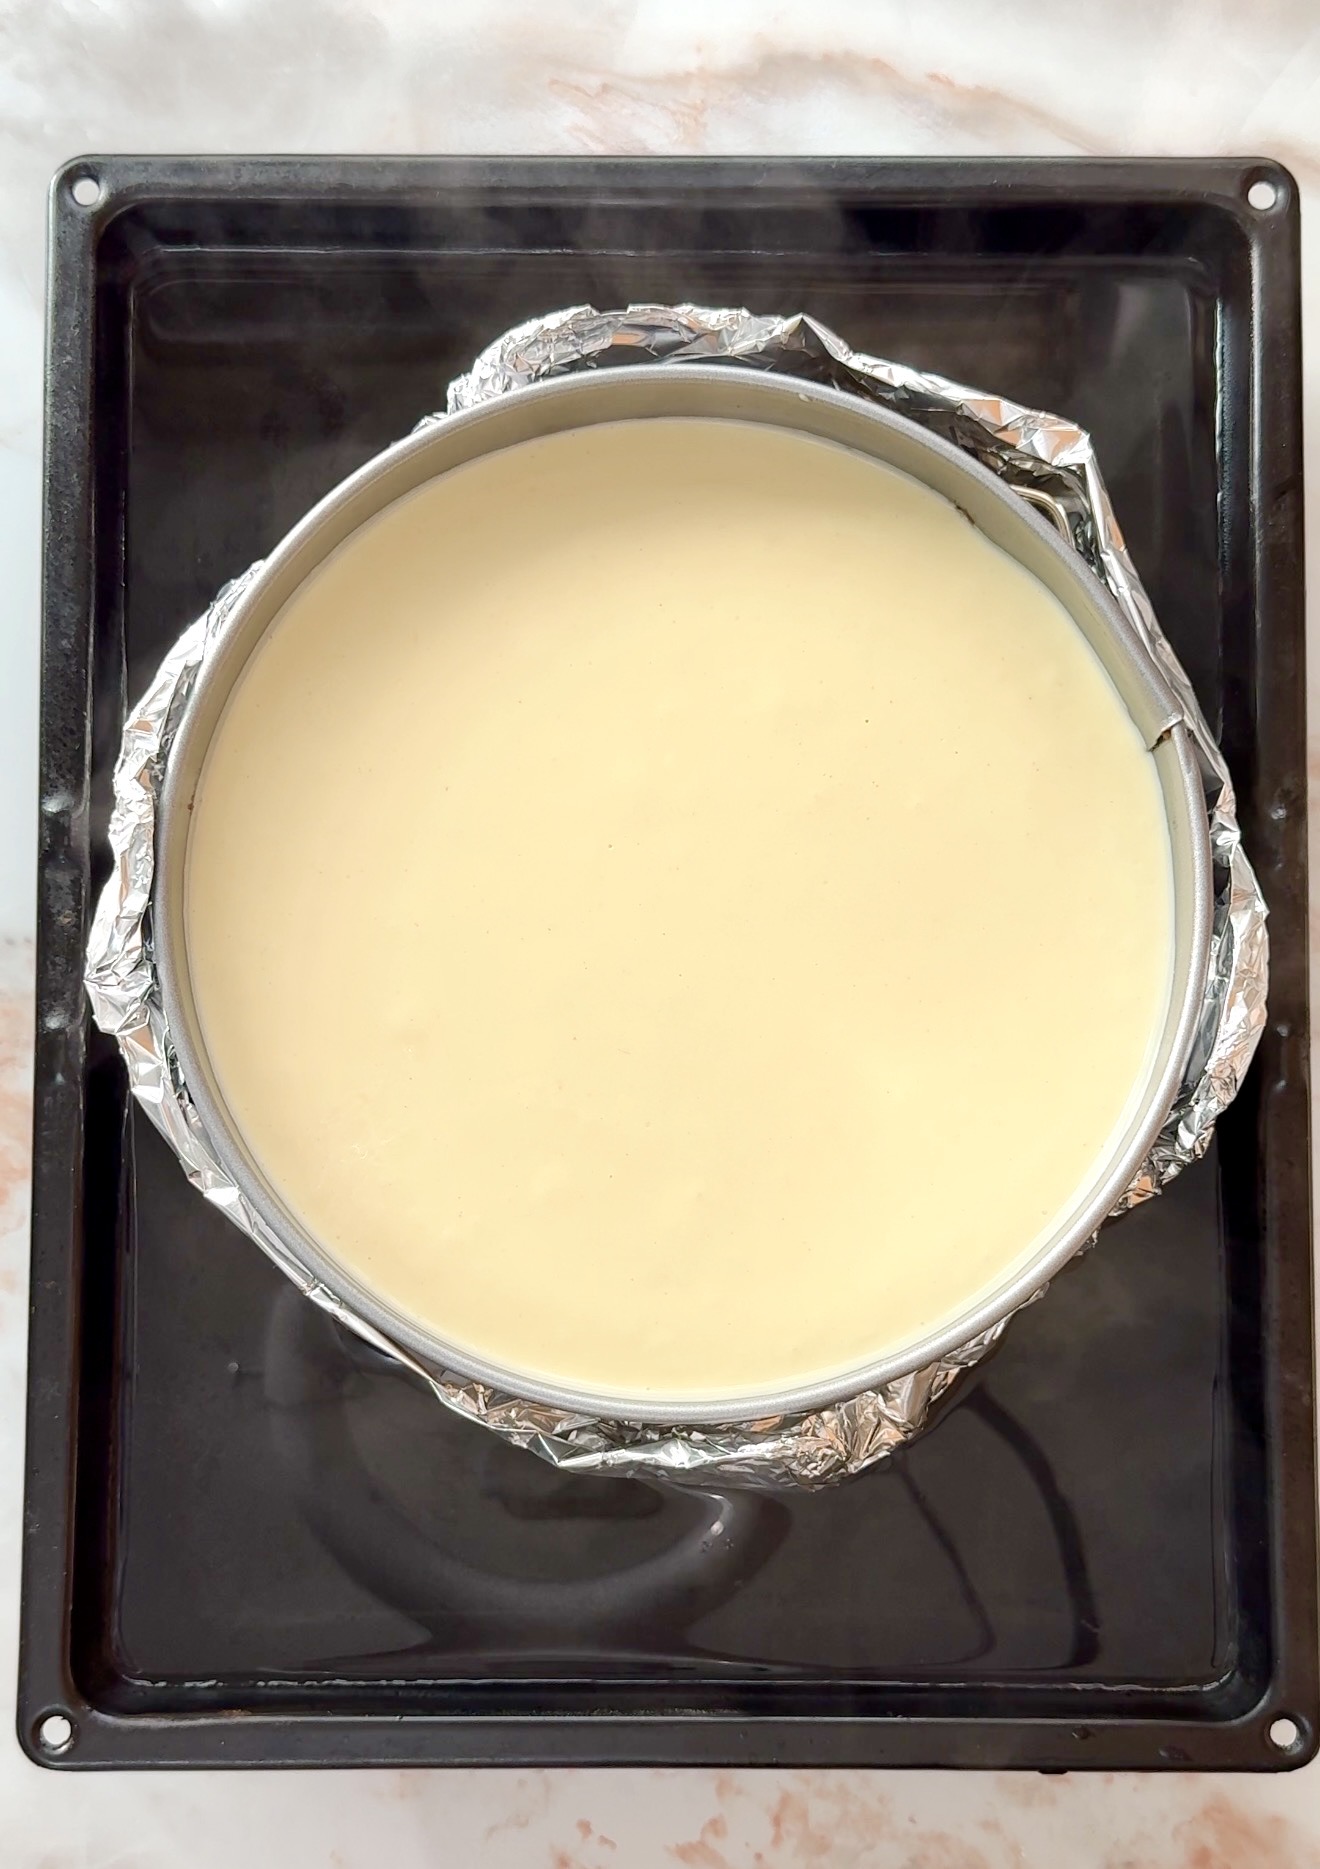
6. Bake at 160°C (320°F) for 50-60 minutes. The edges should be set and the centre should still have a slight wobble. Turn the oven off and leave the cheesecake inside with the door closed for 1 hour. This gradual cooling is what prevents cracks.
7. Remove from the water bath, cool to room temperature, then refrigerate for at least 3 hours or overnight.
Make the Raspberry Jelly & Decorate
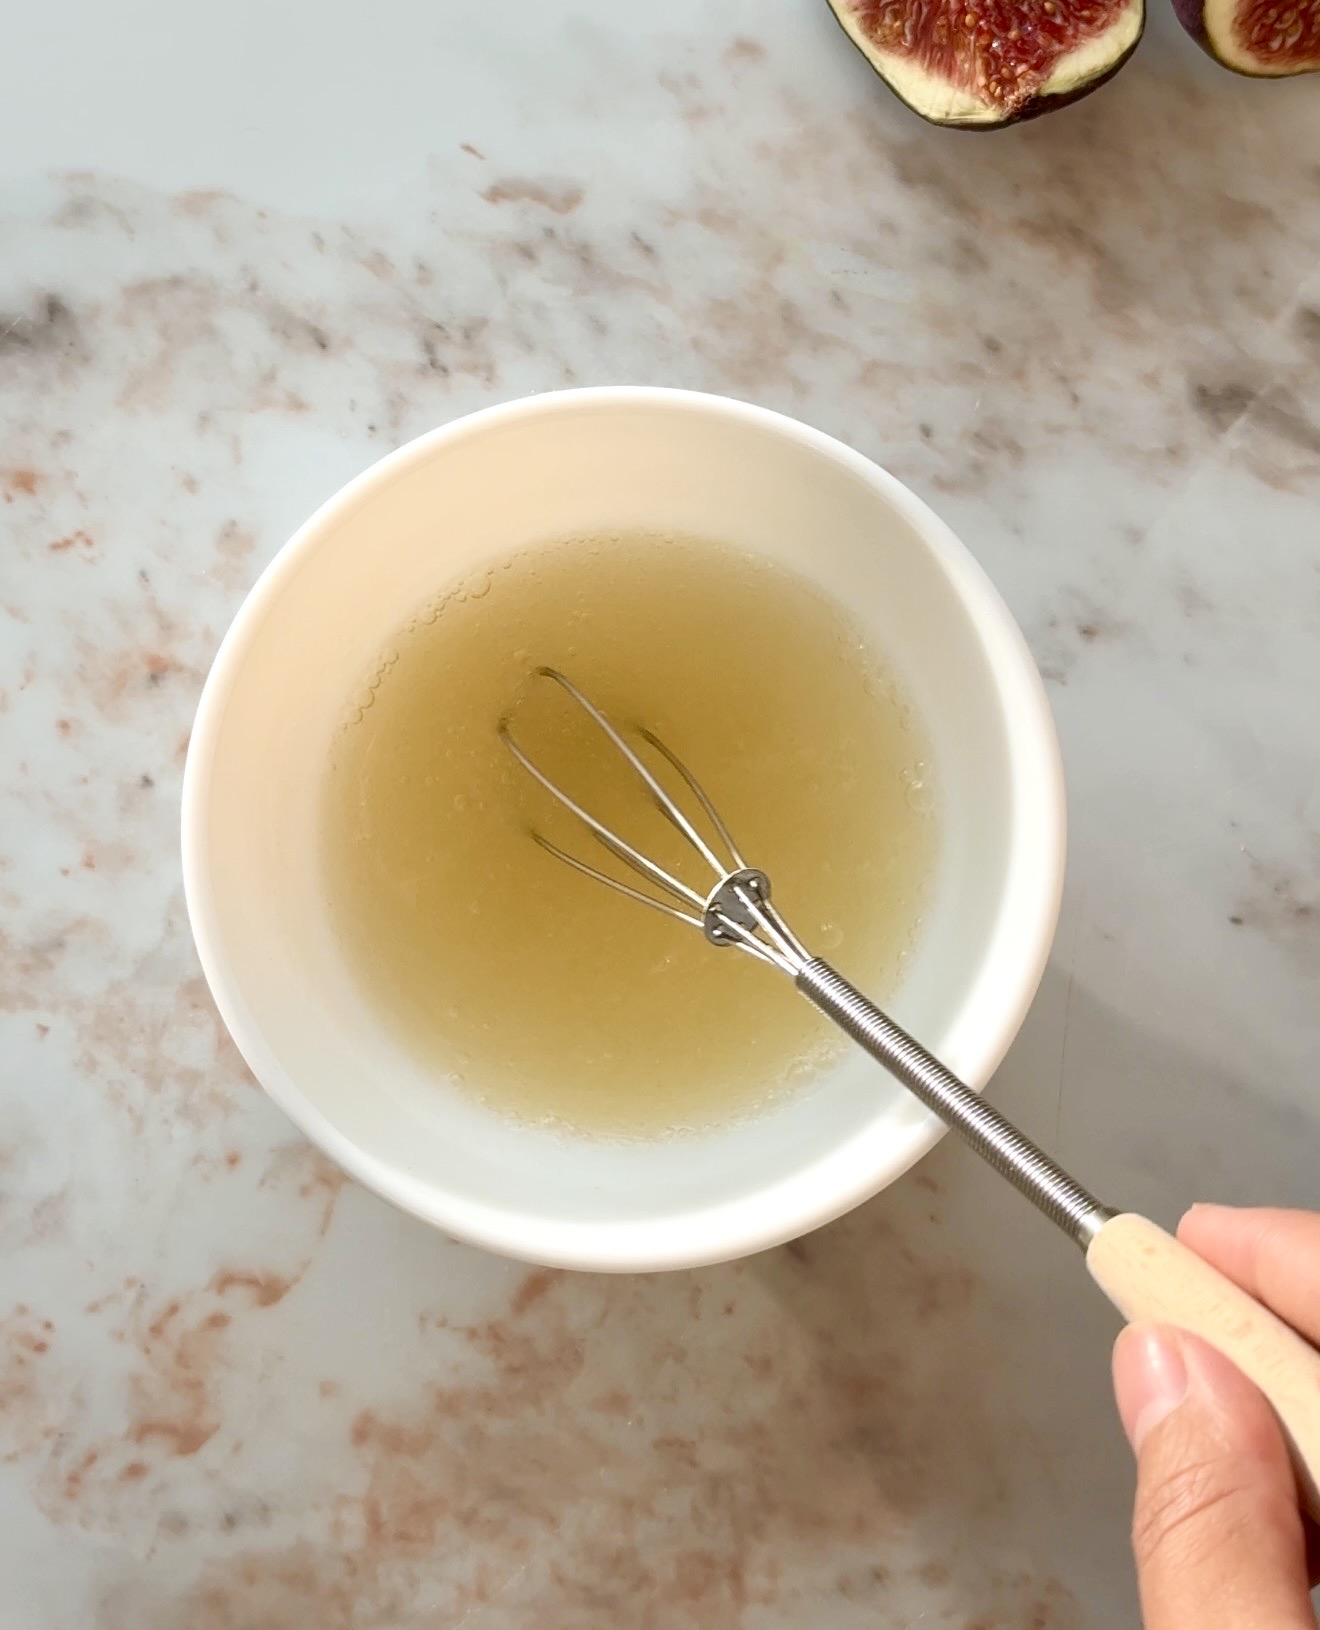
8. Make the raspberry jelly once the cheesecake is fully chilled. Sprinkle the gelatine over the cold water, mix well so there are no lumps and leave to bloom for 5 minutes in the fridge.
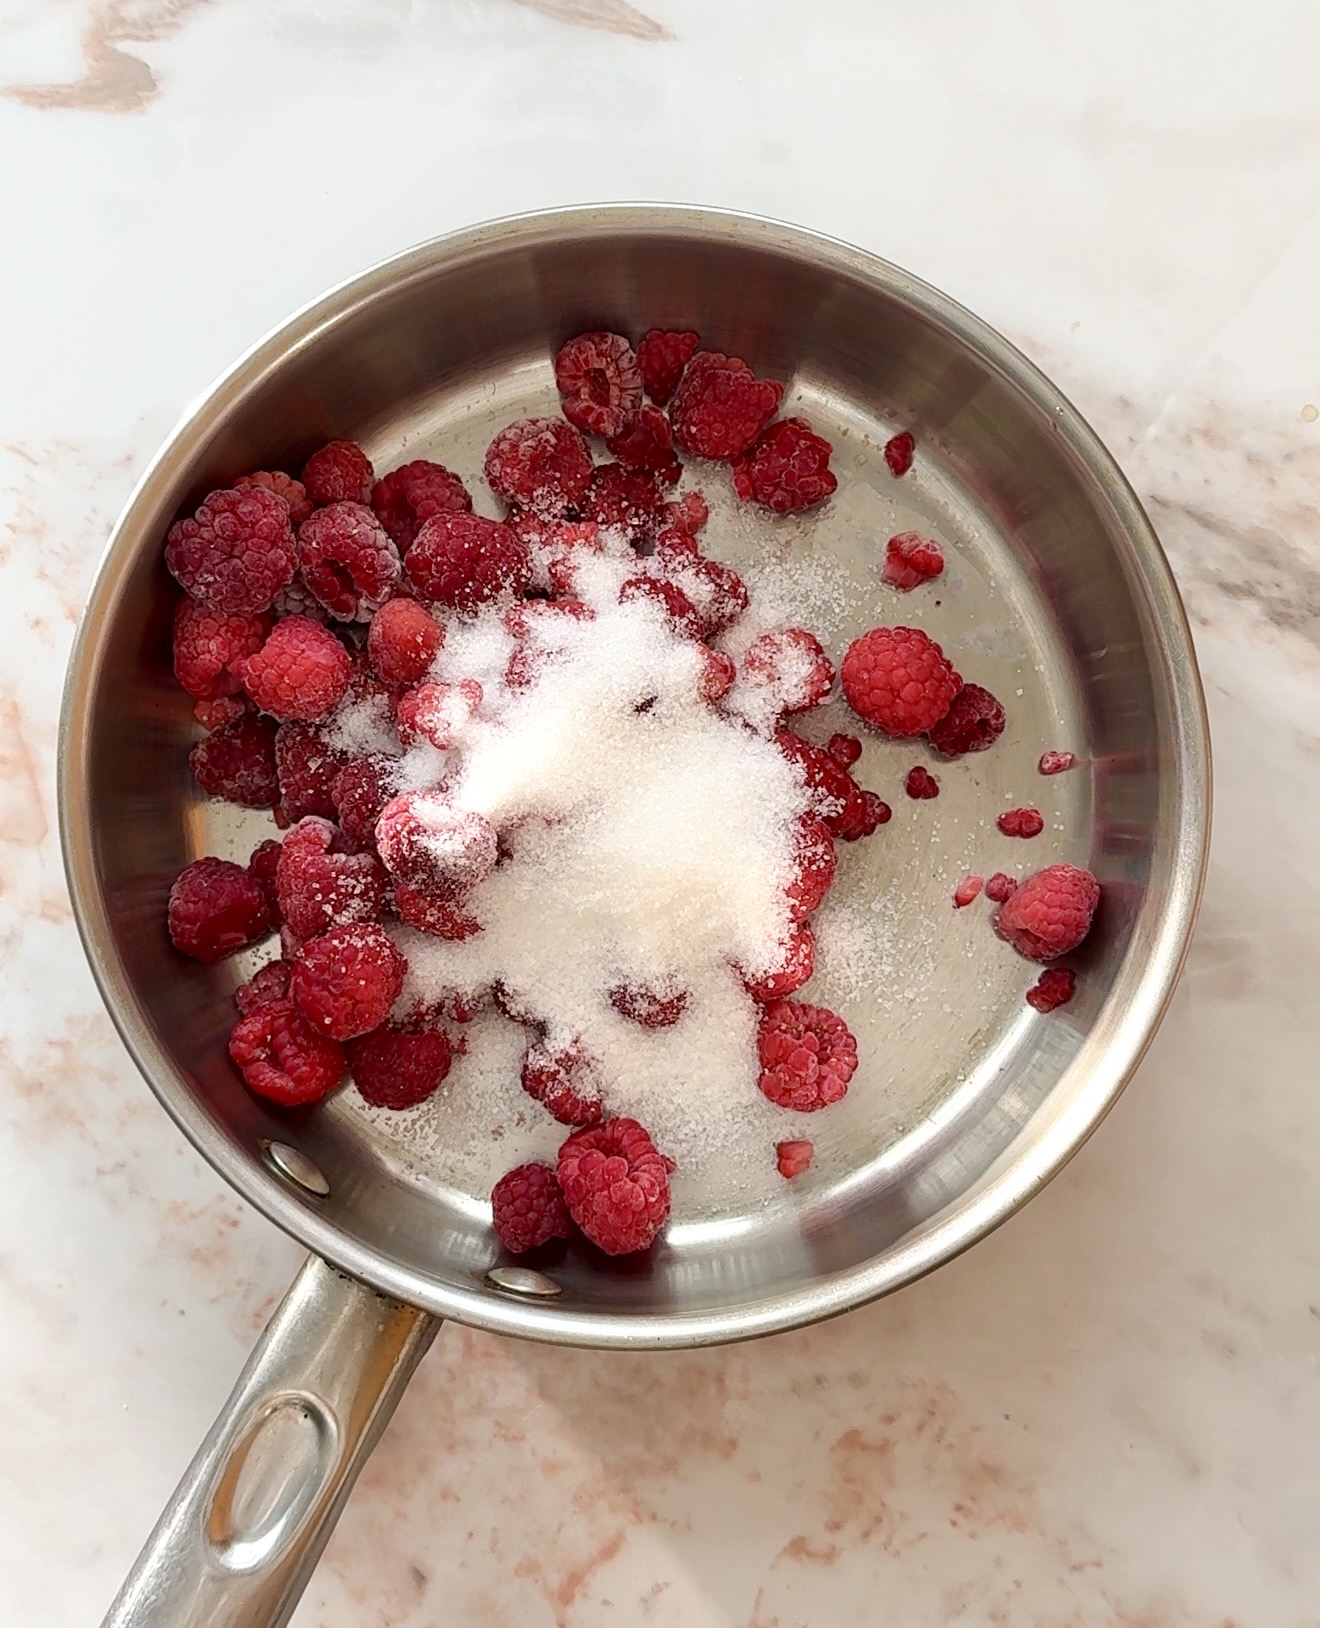
9. In a small saucepan, simmer the frozen raspberries with sugar until they break down and release their juices. Strain through a fine mesh sieve or a cheesecloth (if you don’t want the seeds), pressing firmly to extract as much liquid as possible, discard the seeds.
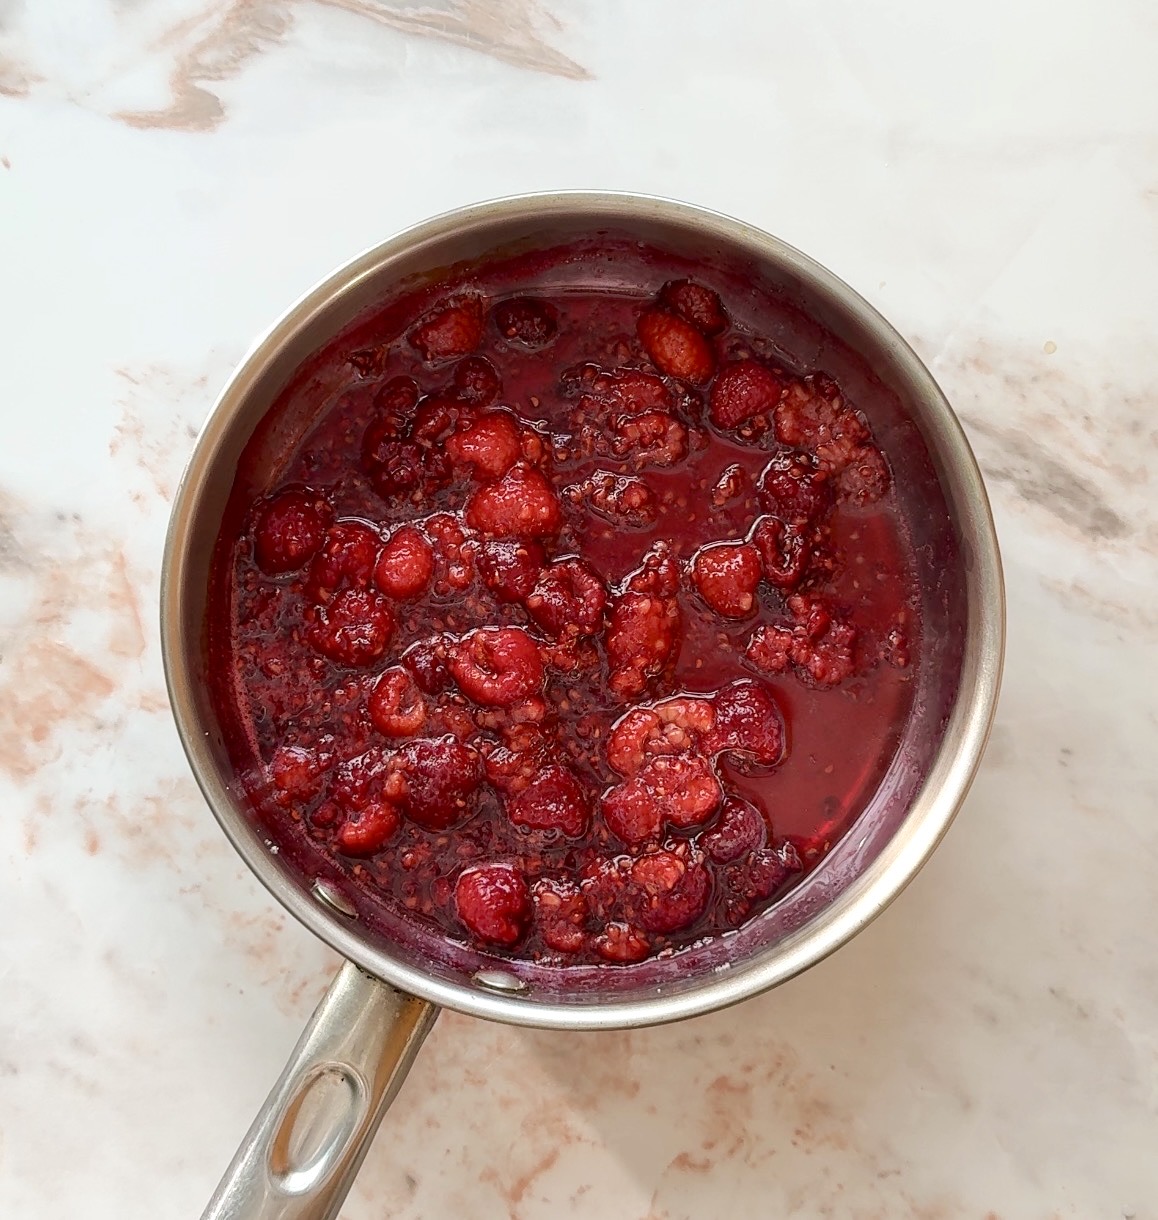
10. Gently warm the strained raspberry liquid (it doesn’t need to boil), just warm enough to dissolve the gelatine. Then, stir in the bloomed gelatine until completely dissolved. Leave to cool slightly, then pour evenly over the chilled cheesecake. Refrigerate the cheesecake again until the jelly is fully set, at least 2 hours.
11. Once set, decorate with fresh figs and crushed pistachios. don’t forget to clean your knife between each cut for those beautiful, clean slices.
Pro Tips from My Kitchen
- Use room temperature ingredients because cold cream cheese will create stubborn lumps in your cheesecake batter.
- Do not overmix the filling since incorporating too much air into the mixture is what causes the cheesecake to crack.
- Tap the pan on the counter right before baking to pop any hidden air bubbles trapped inside the smooth batter.
- Don’t rush the cooling. That hour in the switched- off oven is what keeps this cheesecake crack free. I have skipped it once and regretted it!
- Never open the oven door early because a sudden rush of cold air will cause the top of the Lotus Biscoff cheesecake to split open or crack.
- Cool the jelly slightly before pouring. If it is too hot, it can melt the top of the cheesecake. Let it cool to room temperature first.
- Use full-fat cream cheese. Low-fat versions release more water during baking and affect both the texture and structure of the cheesecake.
- Make it the night before. The structure is better after a full overnight chill. The flavours settle and texture becomes silky.
- Decorate just before serving. I always add the figs and pistachios at the last minute so the figs stay fresh and vibrant looking.
- Clean your knife by wiping it down with a warm towel between slices to guarantee neat, professional cuts.
Storing this Cheesecake
Storage: Keep covered in the fridge for up to 4 days. The jelly stays glossy and the filling stays creamy throughout
Make-ahead: I always make this at least one day ahead. The overnight chill is non-negotiable for the best texture anyway, so it fits perfectly into any event prep.
Freezing: I’d freeze this without the jelly topping, wrap tightly and freeze for up to 2 months. Thaw overnight in the fridge, then make and add the jelly layer fresh before decorating and serving.
Frequently Asked Questions
Why did my cheesecake crack? Most likely from over-mixing the batter, opening the oven door during baking, or cooling it too quickly. The water bath and gradual cooling are key to preventing cracks!
Can I make this cheesecake without a water bath? You can, but the results won’t be quite as silky. If skipping, place a separate pan of hot water on the bottom rack of the oven to create steam.
My cheesecake jiggled in the middle, is it underbaked? A slight jiggle in the centre is exactly what you want! It firms up as it cools and chills overnight. If it looks completely set in the oven, it’s over-baked.
How long does it need to chill? Minimum 8 hours, but overnight (12+ hours) gives the best texture and flavor.
Can I use a different size pan? Yes, for an 8-inch pan, the cheesecake will be taller and may need 10-15 extra minutes of baking. For a 10-inch pan, it’ll be flatter and cook 10 minutes faster.
Can I use fresh raspberries instead of frozen? Yes, fresh raspberries work perfect too. I just find frozen ones break down more easily on the hob and the flavour is just as good
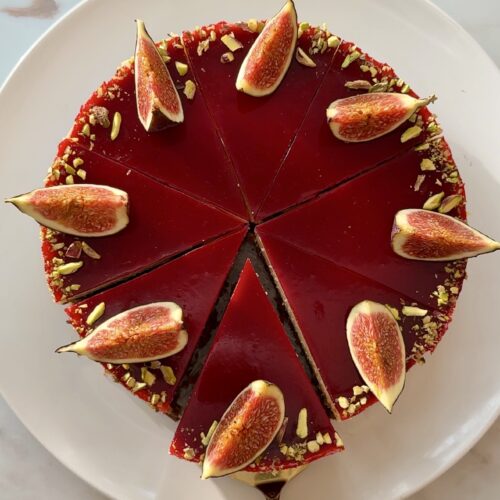
Fig & Raspberry Cheesecake
Ingredients
- 250 g Biscoff biscuits crushed
- 70 g unsalted butter melted
For the Cheesecake Filling
- 340 g 1½ cups cream cheese
- 120 g ½ cup Greek yogurt or sour cream
- 100 g ½ cup granulated sugar
- 3 tbsp condensed milk
- 2 large eggs
- 1 tsp vanilla extract
- 1 tbsp vanilla sugar optional
- 60 ml ¼ cup heavy cream
- 30 g ¼ cup plain flour
- ¼ tsp salt
Raspberry Jelly
- 160 g frozen raspberries
- 35 ml cold water for blooming the gelatine
- 7 g powdered gelatine
- 60 g Sugar or to taste
To decorate
- Fresh figs
- Crushed pistachios
Instructions
- Preheat your oven to 180°C (350°F). Line a 9-inch sprinform pan with baking paper and grease the sides. Crush the Biscoff biscuits into fine crumbs and mic with the melted butter. Press firmly into the base of the pan using the bottom of a glass for an even layer. Bake for 10 minutes, then remove and leave to cool completely.
Make the Cheesecake Filling and bake
- Beat the cream cheese with an electric mixer until completely smooth, I do this for about 2-3 minutes.
- Add the Greek yogurt/sour cream, sugar, condensed milk, eggs, vanilla extract, heavy cream, flour, vanilla sugar and salt. Mix until smooth and well combined. Don’t over-mix once the eggs are in, just until everything is incorporated.
- Wrap the outside of the springform pan tightly in two or three layers of foil. Pour the cheesecake filling over the cooled crust and smooth the top.
- Place the wrapped pan inside a larger roasting dish and pour boiling hot water into the roasting dish until it reaches halfway up the sides of the springform pan.
- Bake at 160°C (320°F) for 50-60 minutes. The edges should be set and the centre should still have a slight wobble. Turn the oven off and leave the cheesecake inside with the door closed for 1 hour. This gradual cooling is what prevents cracks.
- Remove from the water bath, cool to room temperature, then refrigerate for at least 3 hours or overnight.
Make the Raspberry Jelly & Decorate
- Make the raspberry jelly once the cheesecake is fully chilled. Sprinkle the gelatine over the cold water, mix well so there are no lumps and leave to bloom for 5 minutes in the fridge.
- In a small saucepan, simmer the frozen raspberries with sugar until they break down and release their juices. Strain through a fine mesh sieve or a cheesecloth (if you don’t want the seeds), pressing firmly to extract as much liquid as possible, discard the seeds.
- Gently warm the strained raspberry liquid (it doesn’t need to boil), just warm enough to dissolve the gelatine. Stir in the bloomed gelatine until completely dissolved. Leave to cool slightly, then pour evenly over the chilled cheesecake. Refrigerate the cheesecake again until the jelly is fully set, at least 2 hours.
- Once set, decorate with fresh figs and crushed pistachios. don’t forget to clean your knife between each cut for those beautiful, clean slices.