
Biscoff Cheesecake
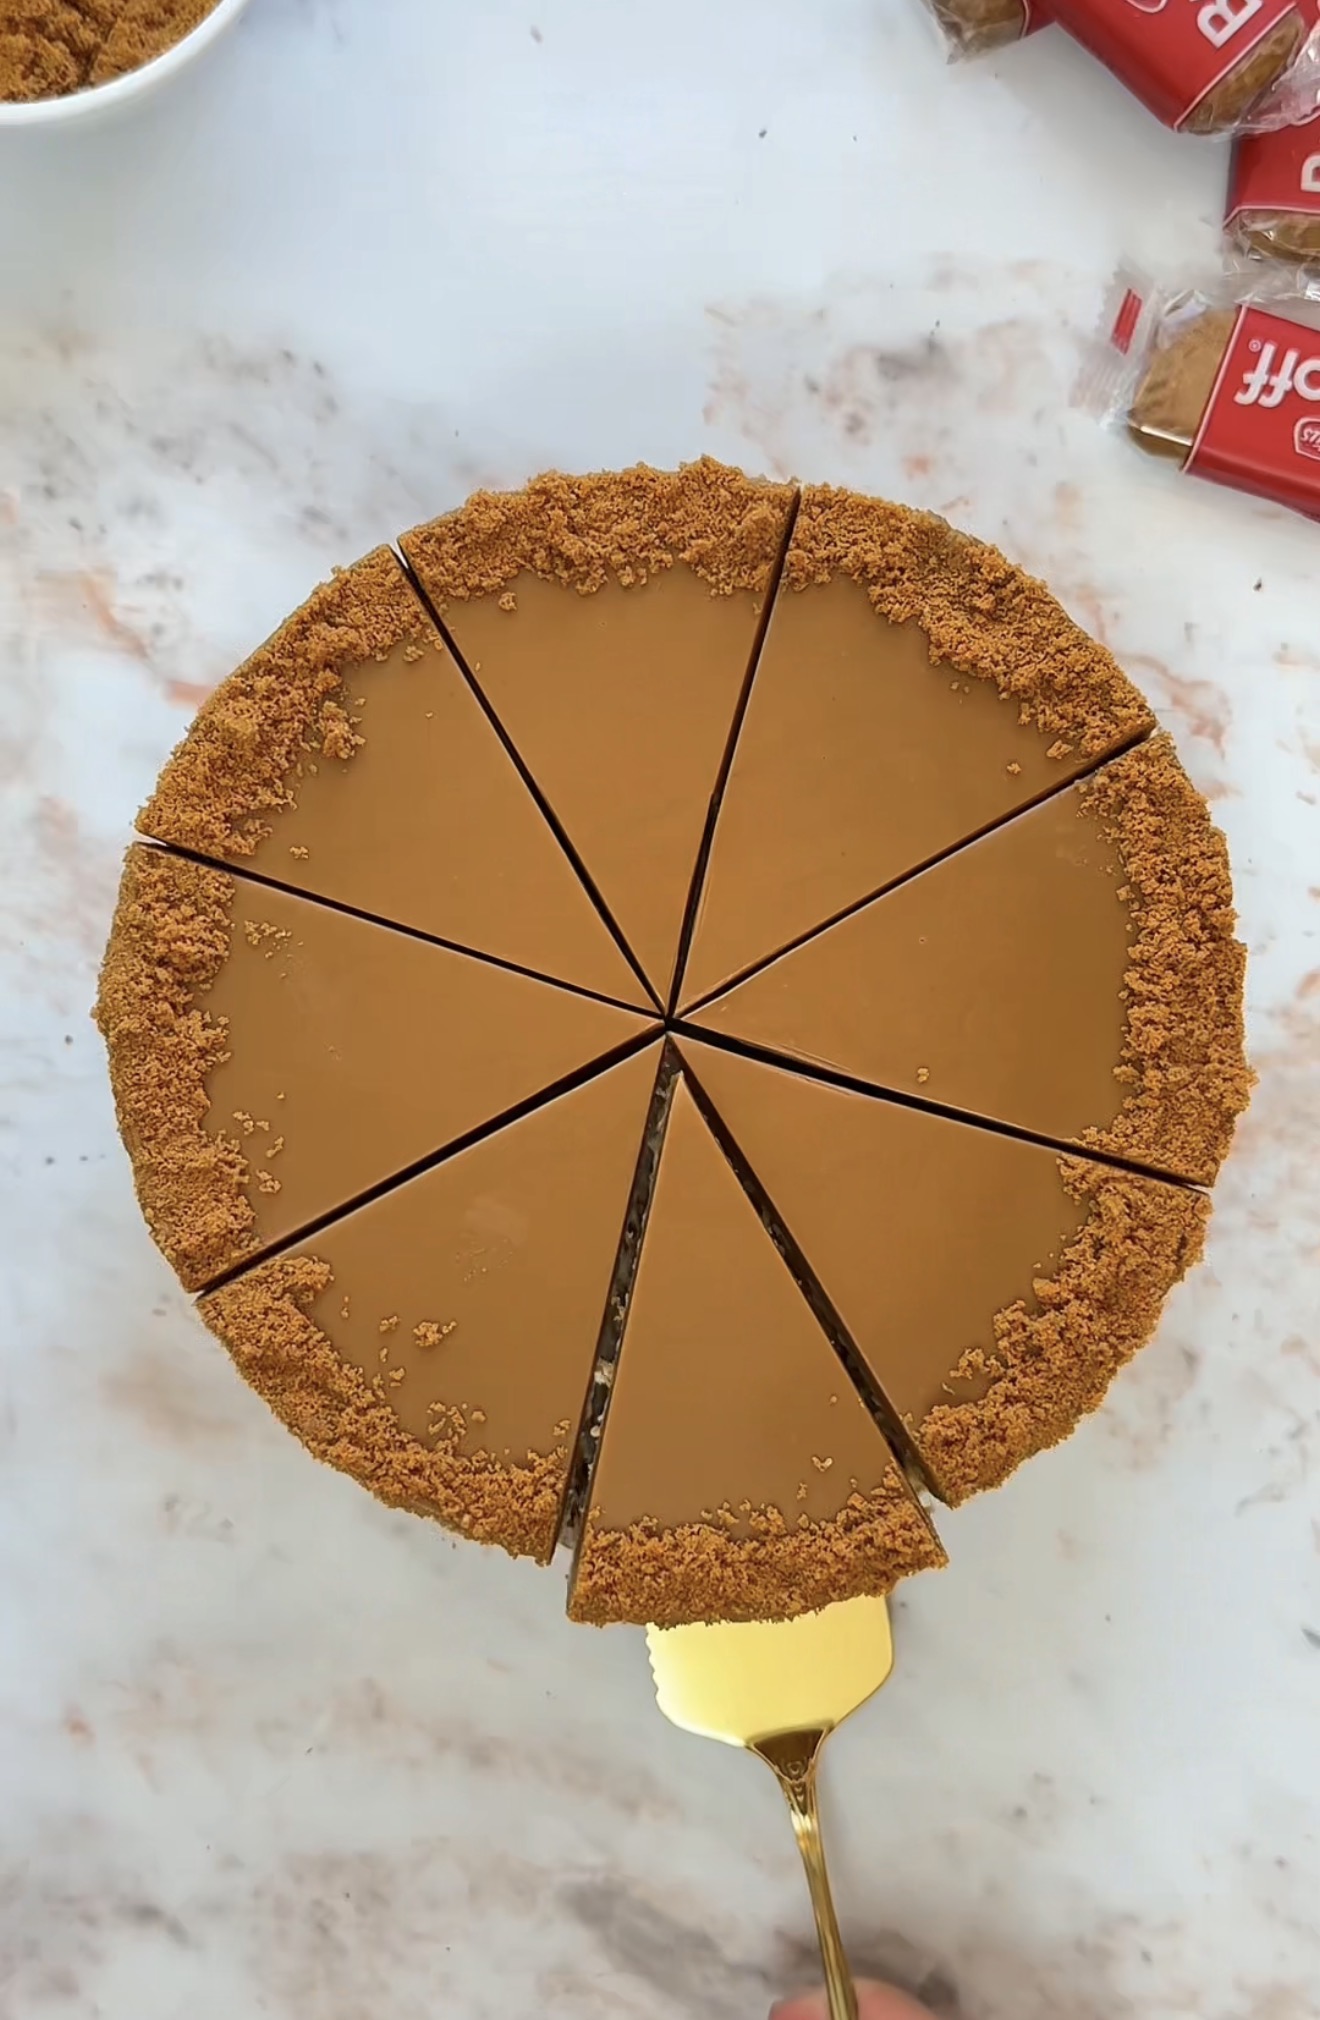
You love Biscoff. You love cheesecake. This Biscoff cheesecake recipe combines both worlds. It is the ultimate dessert for cookie lovers. Every single bite of this Lotus Biscoff cheesecake is rich, creamy, and packed with cookie goodness. Your friends will think you bought it from a bakery because it looks that perfect! Let us make this amazing Lotus biscuit cheesecake together and impress everyone 🙂
What is Biscoff cheesecake?
This is a rich, baked dessert. Biscoff cheesecake is a creamy baked cheesecake made with full-fat cream cheese, melted white chocolate, and rich Biscoff (cookie butter) spread, set on a buttery biscuit base. This gorgeous cookie butter cheesecake is baked slowly for the best texture. It’s traditionally topped with more melted Biscoff and crushed Biscoff biscuits for that signature caramelised flavour and crunchy finish.
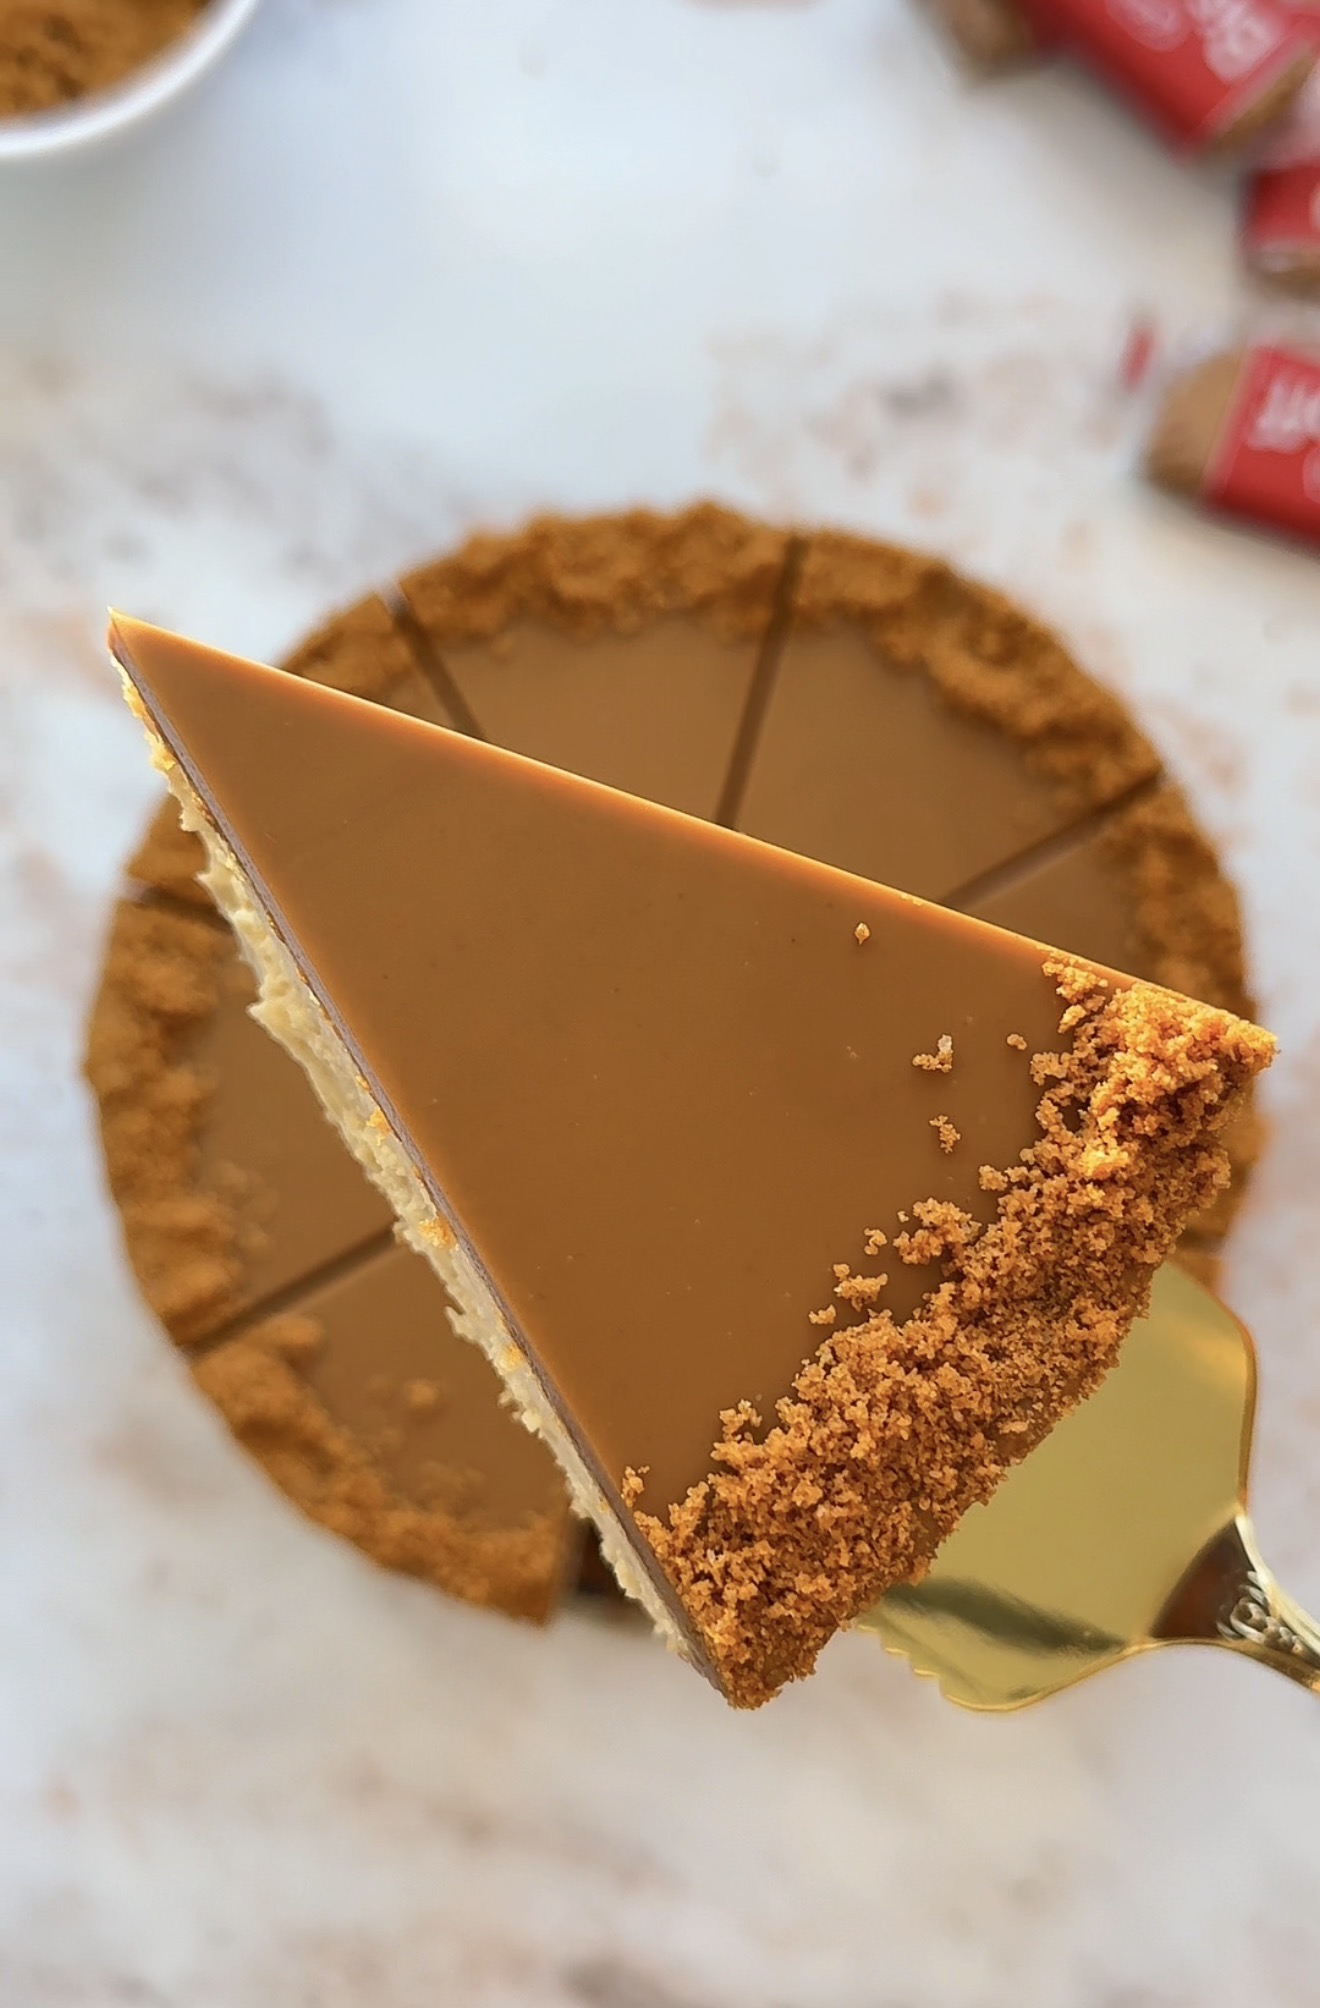
Why You’ll Love This Biscoff Cheesecake
- Silky, creamy and smooth texture. The water bath method keeps it perfectly smooth with zero cracks
- Make-ahead perfect, it actually tastes better the next day after chilling overnight
- Bakery-style at home. Skip the cafe prices and make this delicious cheesecake in your own kitchen
- Perfect for every occasion, birthdays, holidays, dinner parties, or just a treat-yourself moment
- White chocolate adds a rich, buttery sweetness to the cookie butter cheesecake filling.
- The cookie crust stays nice and crunchy. It is the perfect balance of sweet and spice.
- Every slice of this Biscoff cheesecake recipe looks absolutely beautiful. Insta worthy dessert!
Why This Recipe Works
This Biscoff cheesecake recipe works perfectly because it utilises a gentle water bath, which creates steam in the oven to keep the cake from drying out. Melting white chocolate directly into the cookie butter cheesecake batter adds great structure and keeps the filling super silky, while the condensed milk provides a deep, caramel-like sweetness that pairs beautifully with the Biscoff cheesecake base. Finally, a slow cooling process prevents ugly cracks (I hate those) from forming on top of your gorgeous Lotus Biscoff cheesecake.
The Story Behind This Recipe
My brother is a huge cheesecake fan, and this year all he wanted for his birthday was a Lotus Biscoff cheesecake, no store-bought cake allowed. So I went all out, not just on the flavour but on making it look as good as it tastes. The result? He couldn’t stop raving about that rich, cookie-butter flavour, and now this Biscoff cheesecake has officially become a family tradition.
Honestly, this is one of my proudest bakes. Baking is my therapy, and there’s something so calming about slowly building a cheesecake layer by layer, taking your time, getting it just right. It’s slow, it’s mindful, and that first bite at the end? Worth every single minute….ohh and also, the cutting part is the best part to test your patience. To get perfect clean slices, wipe your knife clean between every slice.
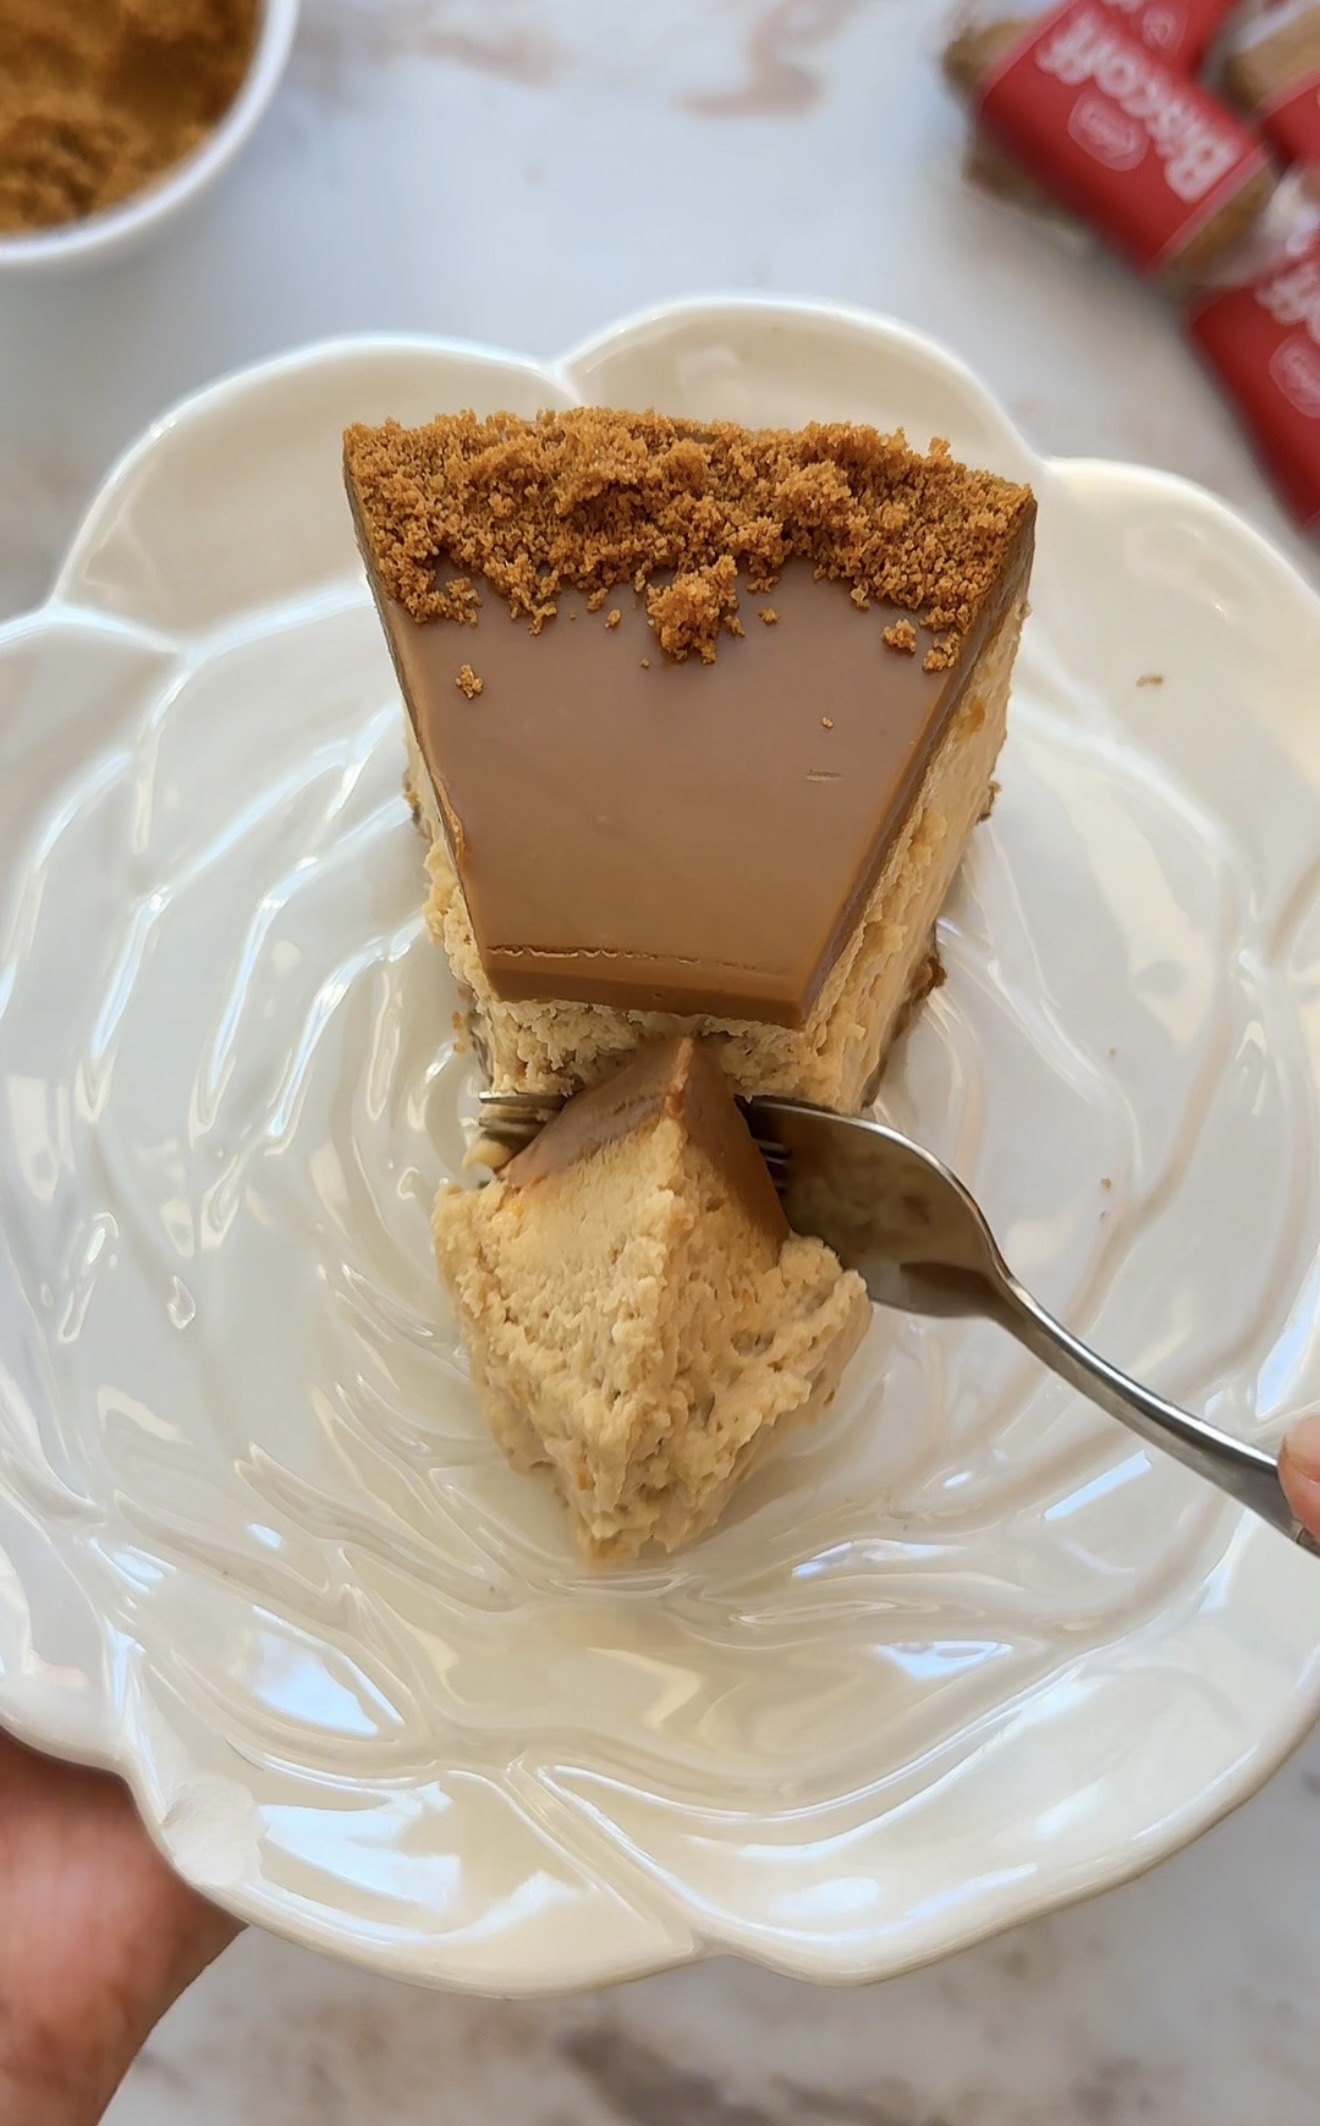
Equipment You’ll Need
- 9-inch round springform pan
- Large mixing bowl
- Electric hand mixer or stand mixer
- Spatula Food processor or rolling pin (for crushing biscuits)
- Baking paper
- Aluminum foil (heavy-duty works best)
- Large baking pan (for the water bath)
- Kettle or pot for hot water
- Small saucepan or microwave-safe bowl (for melting)
Ingredients You’ll Need
⚠️ Important: Make sure all your ingredients are at room temperature before starting. This is the #1 secret to a smooth, lump-free cheesecake!
For the Crust
- 250g biscuits, crushed — Lotus Biscoff biscuits are the dream choice here, but digestives or graham crackers also work
- 70g unsalted butter, melted — binds the crust and gives it that buttery flavour
For the Cheesecake Filling
- 600g full-fat cream cheese — must be full-fat for that perfect creamy texture (low-fat will make it watery)
- 100g sugar — just enough sweetness without overpowering the Biscoff
- 200g full-fat sour cream — adds tang and silkiness
- 100g white chocolate, melted and cooled — deepens the richness and helps it set beautifully
- 200g Biscoff spread — the star of the show! Use Lotus Biscoff for the most authentic flavor
- 3 large eggs — bind the filling without making it dense
- 15g cornstarch (cornflour) — keeps the cheesecake stable and prevents cracking
- ¼ tsp salt — balances the sweetness and enhances the Biscoff flavor
- 1 tsp vanilla extract — adds warmth and depth
- 5 tbsp condensed milk — adds extra creaminess and a gentle caramel sweetness
For the Topping
- 200g Biscoff spread, melted until pourable — for that glossy, dreamy finish
- Crushed Biscoff biscuits — adds beautiful texture and visual appeal
How To Make Biscoff Cheesecake
Make the Crust
1. Preheat your oven to 180°C (350°F). Grease a 9-inch round springform pan with butter, then flip the base of the pan upside down — this little trick makes releasing the cheesecake so much easier later! Line the bottom with baking paper.
2. Finely crush the biscuits in a food processor (or place them in a sealed bag and crush with a rolling pin). Transfer to a bowl and add the melted butter, mixing until evenly moistened — it should look like wet sand.
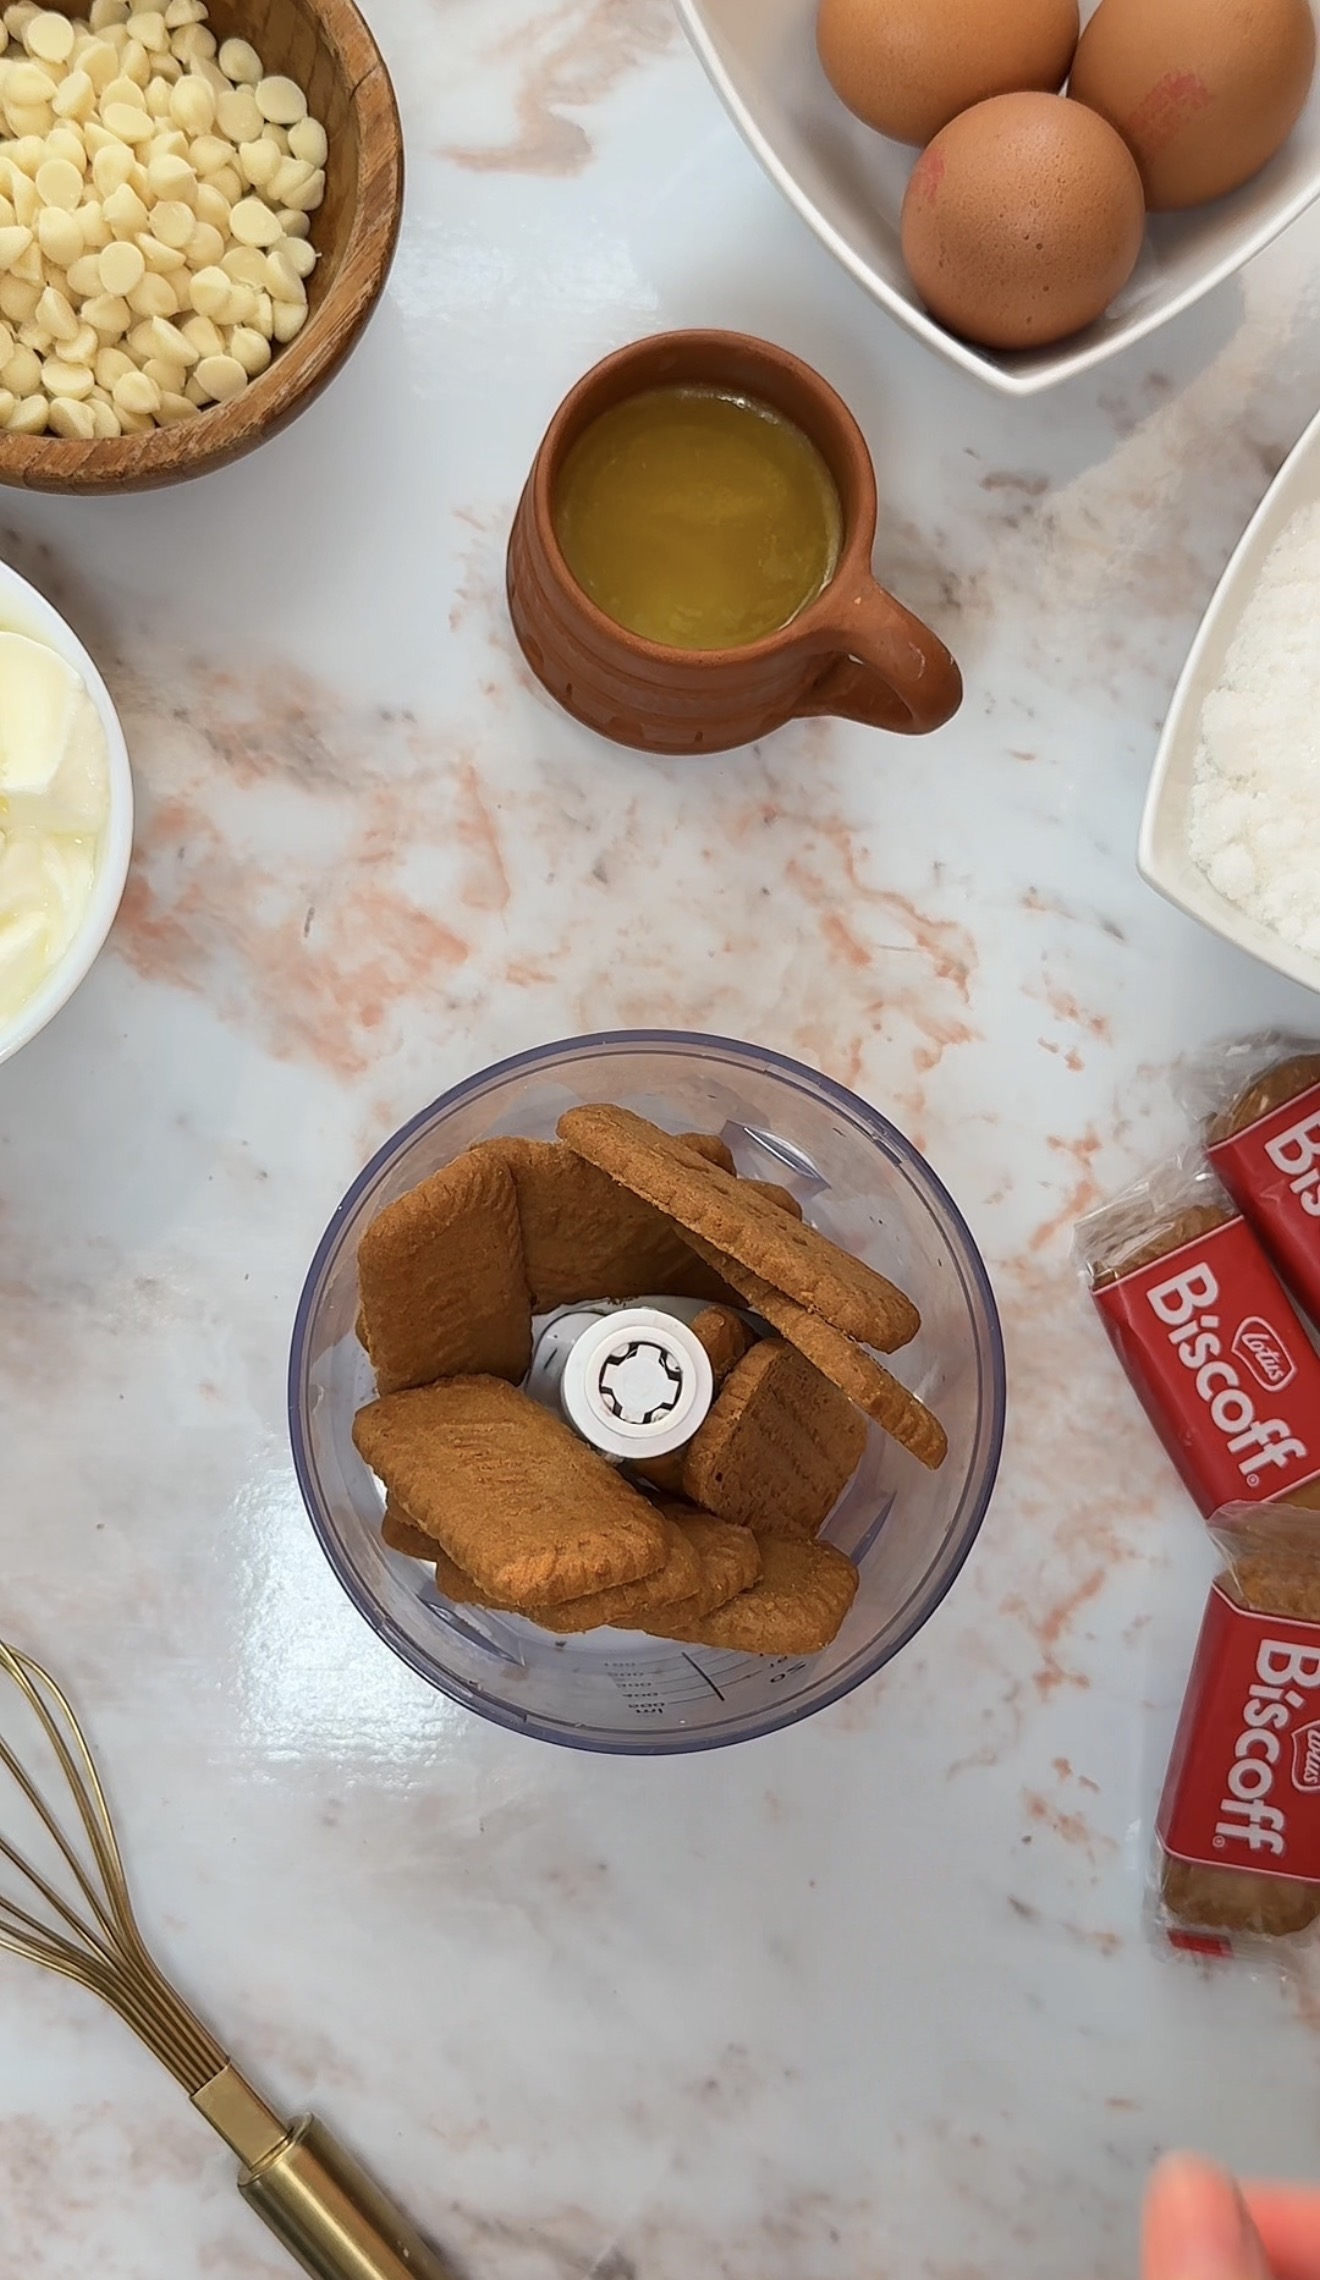
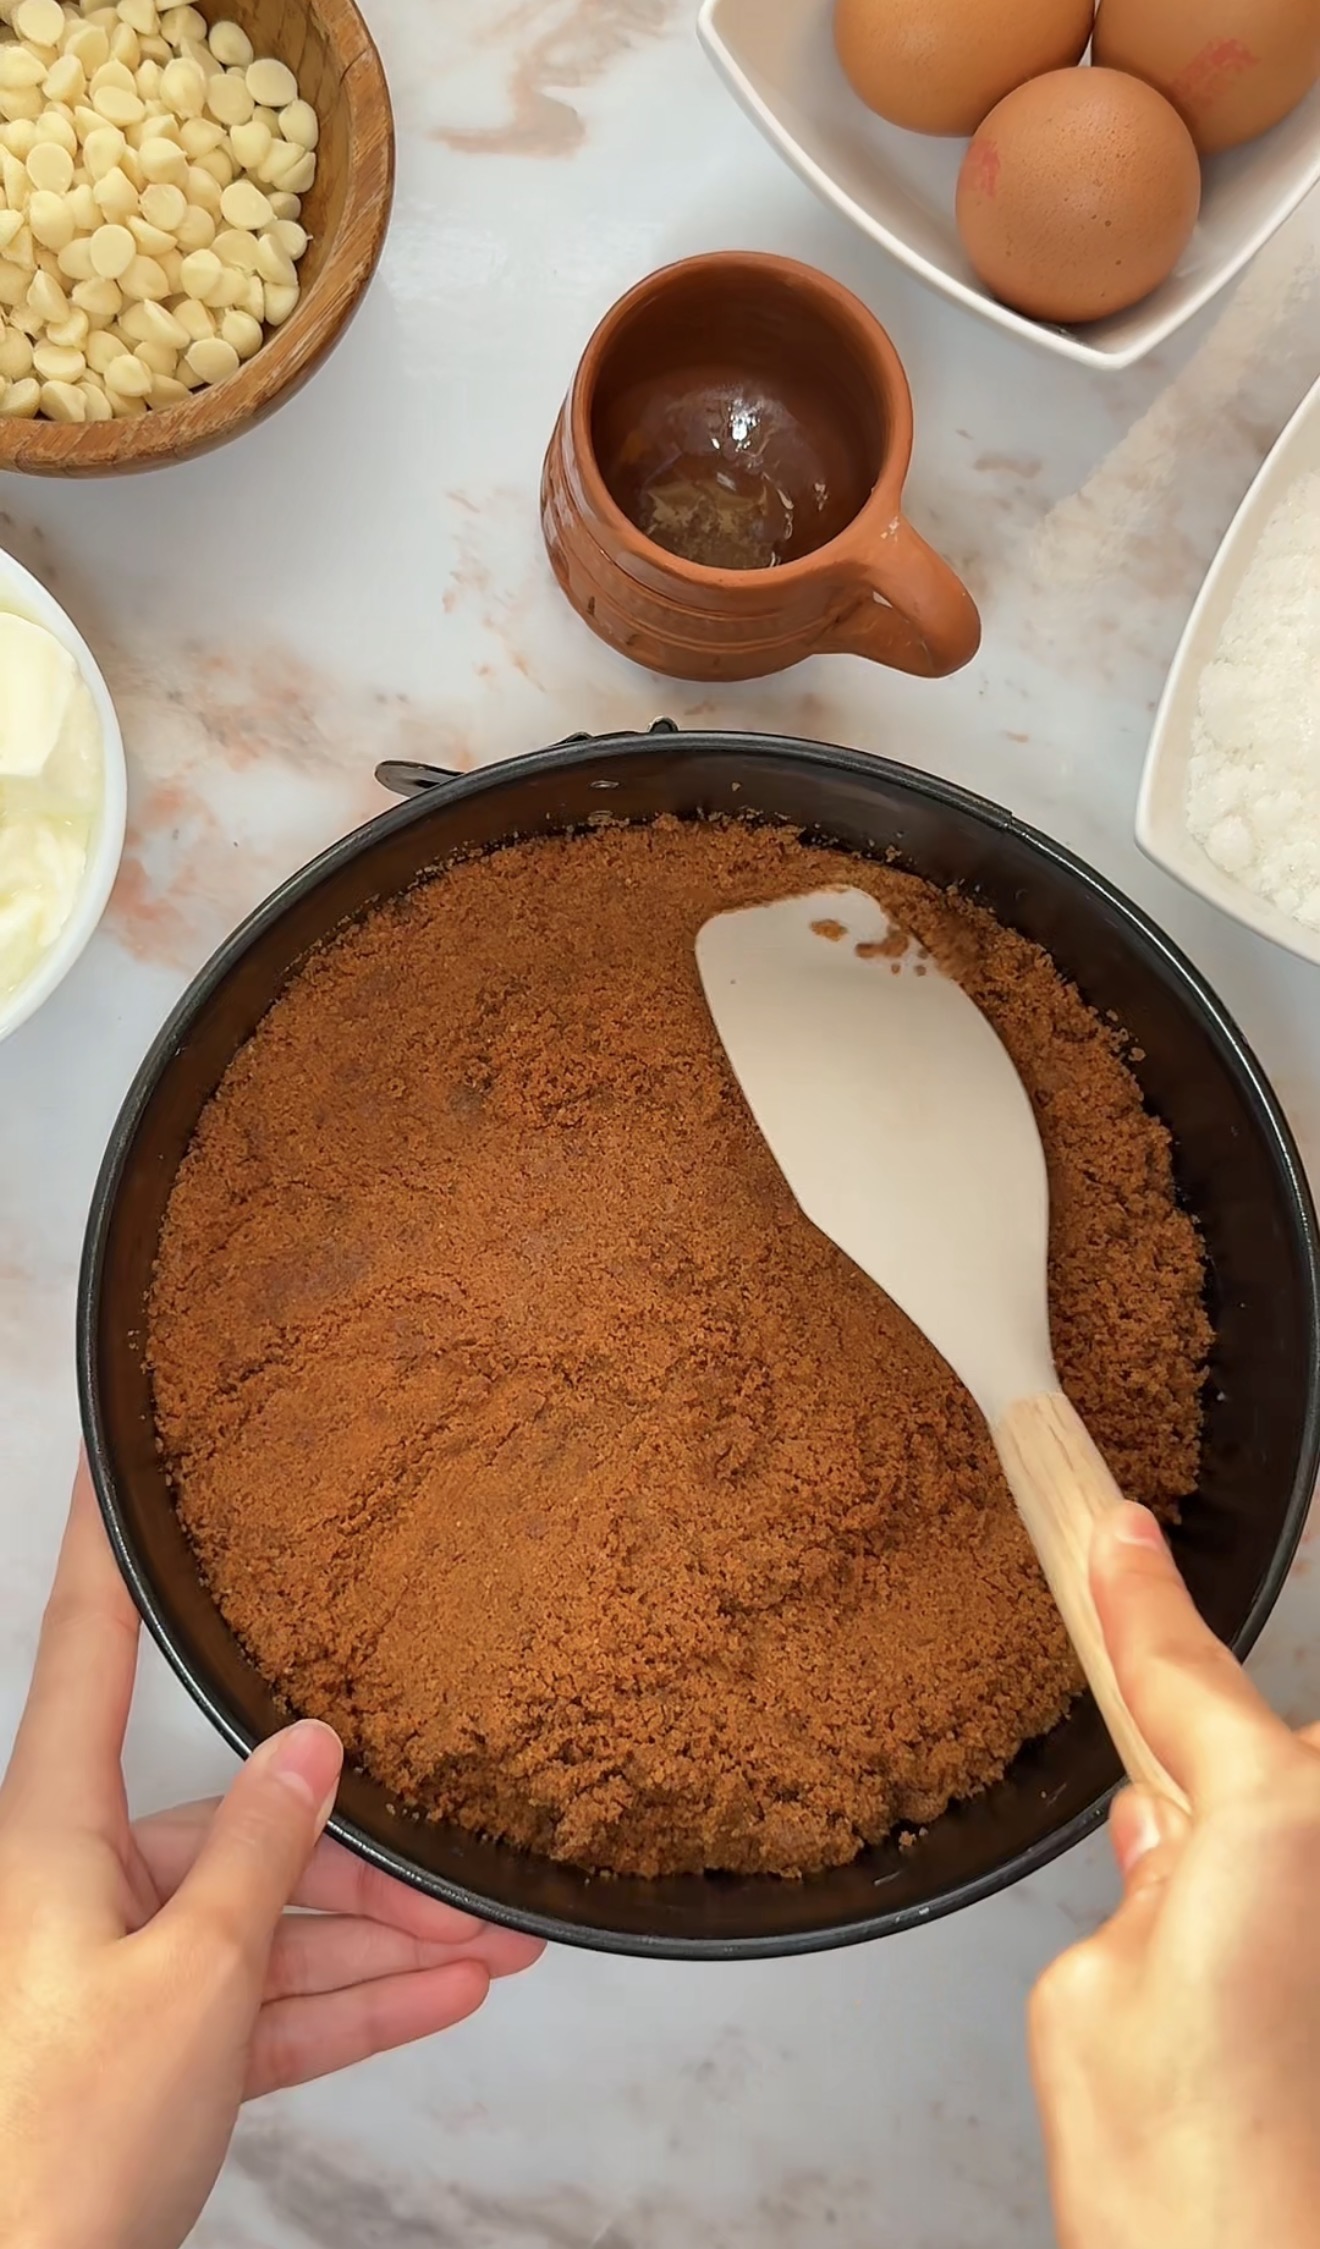
3. Transfer the mixture into the prepared pan. Spread it into an even layer and press it down firmly using the base of a cup, this gives you a perfectly even, compact crust. Bake for 10 minutes, then remove from the oven and let cool completely.
Make the Cheesecake Filling
4. Add the room-temperature cream cheese to a large mixing bowl and beat for 3 minutes until completely smooth and creamy. This step is essential, don’t rush it!
5. Add the sugar and beat for another 2 minutes until fully combined and fluffy.
6. Add the sour cream and mix until fully combined and smooth.
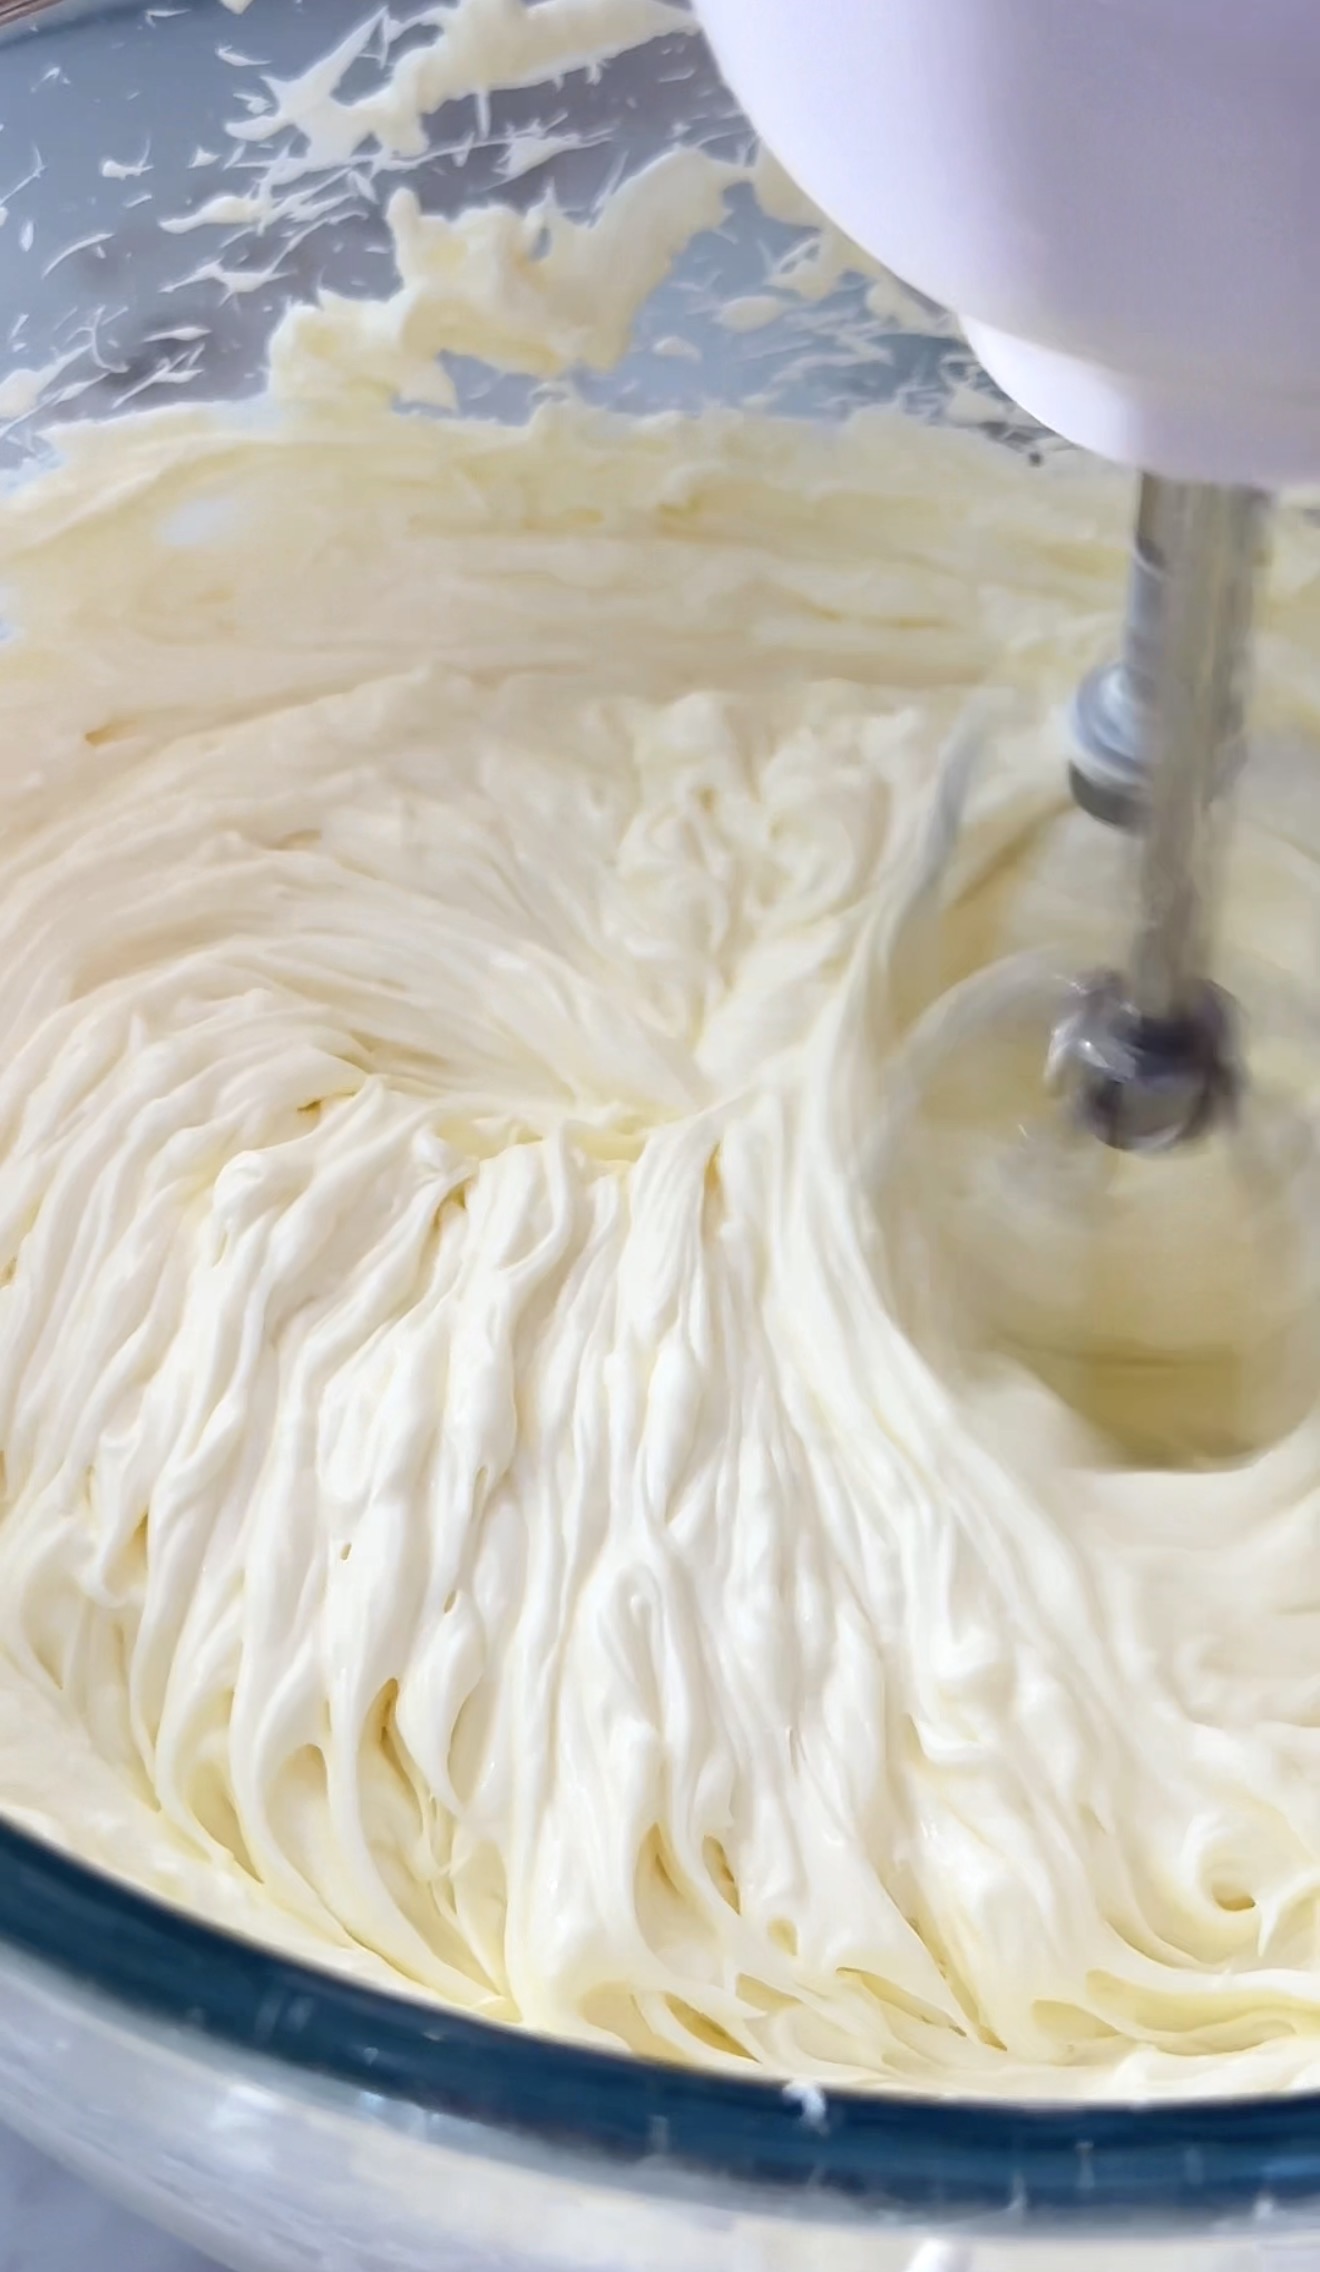
7. Pour in the cooled melted white chocolate (make sure it’s not hot, or it’ll cook the eggs later). Add the Biscoff spread, condensed milk, salt, vanilla extract, and cornstarch. Mix until smooth and beautifully combined.
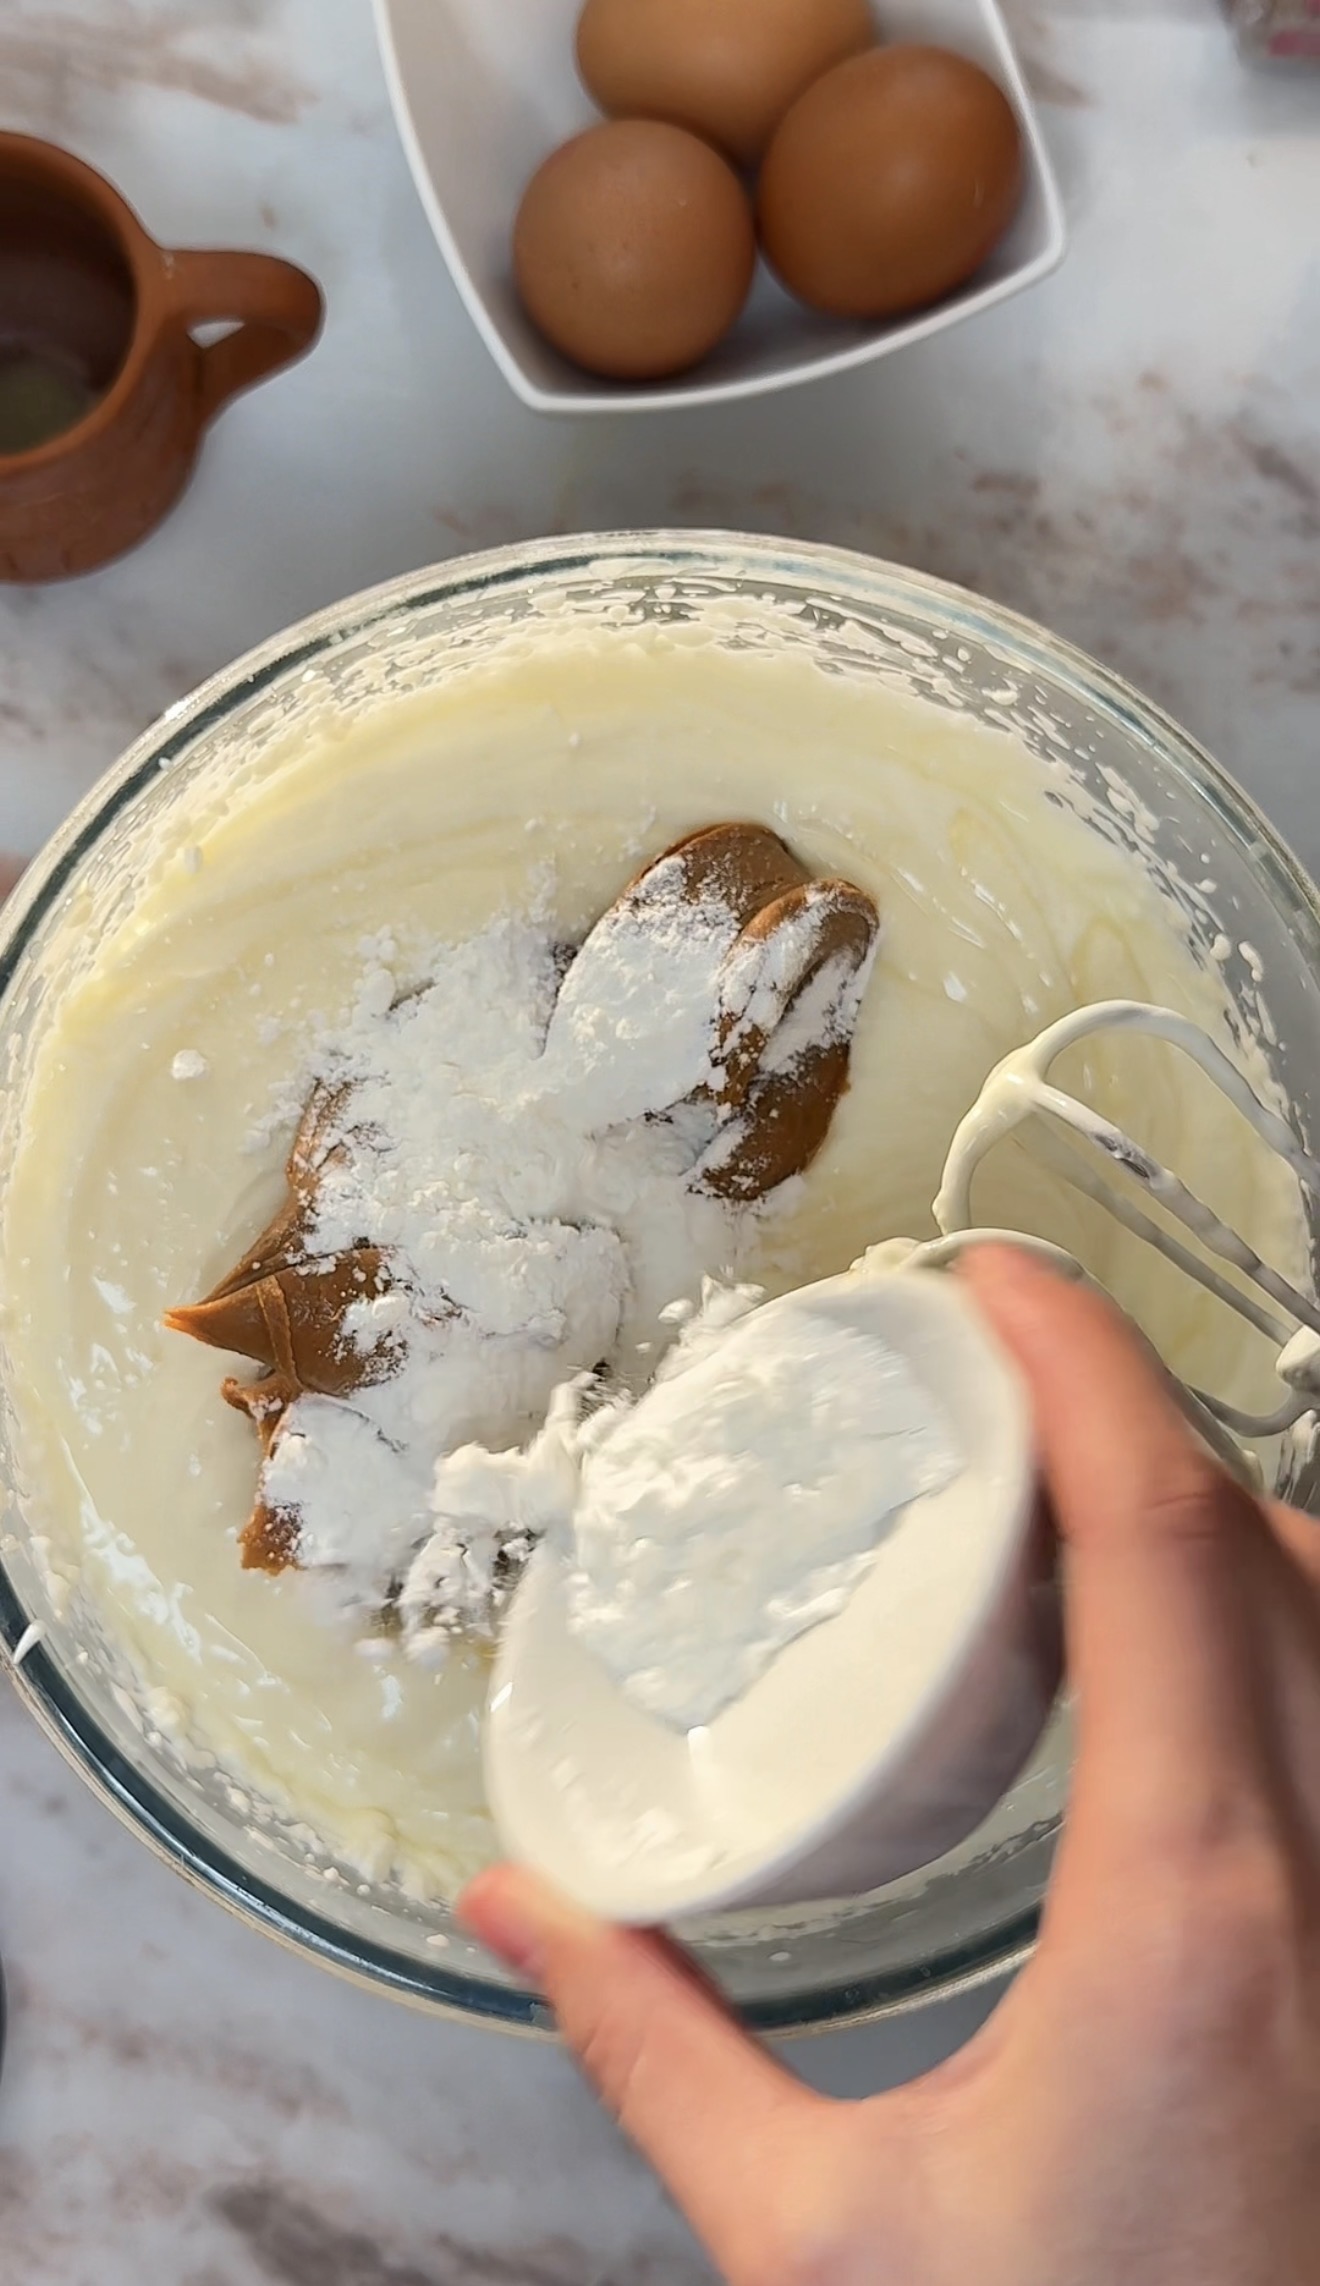
8. Add the eggs one at a time, mixing just until incorporated after each addition. Don’t overmix, too much air = cracked cheesecake!
Assemble & Bake
9. Wrap the outside of the springform pan with 3 or more layers of aluminum foil, sealing it tightly. This prevents water from seeping into your cheesecake during the water bath.
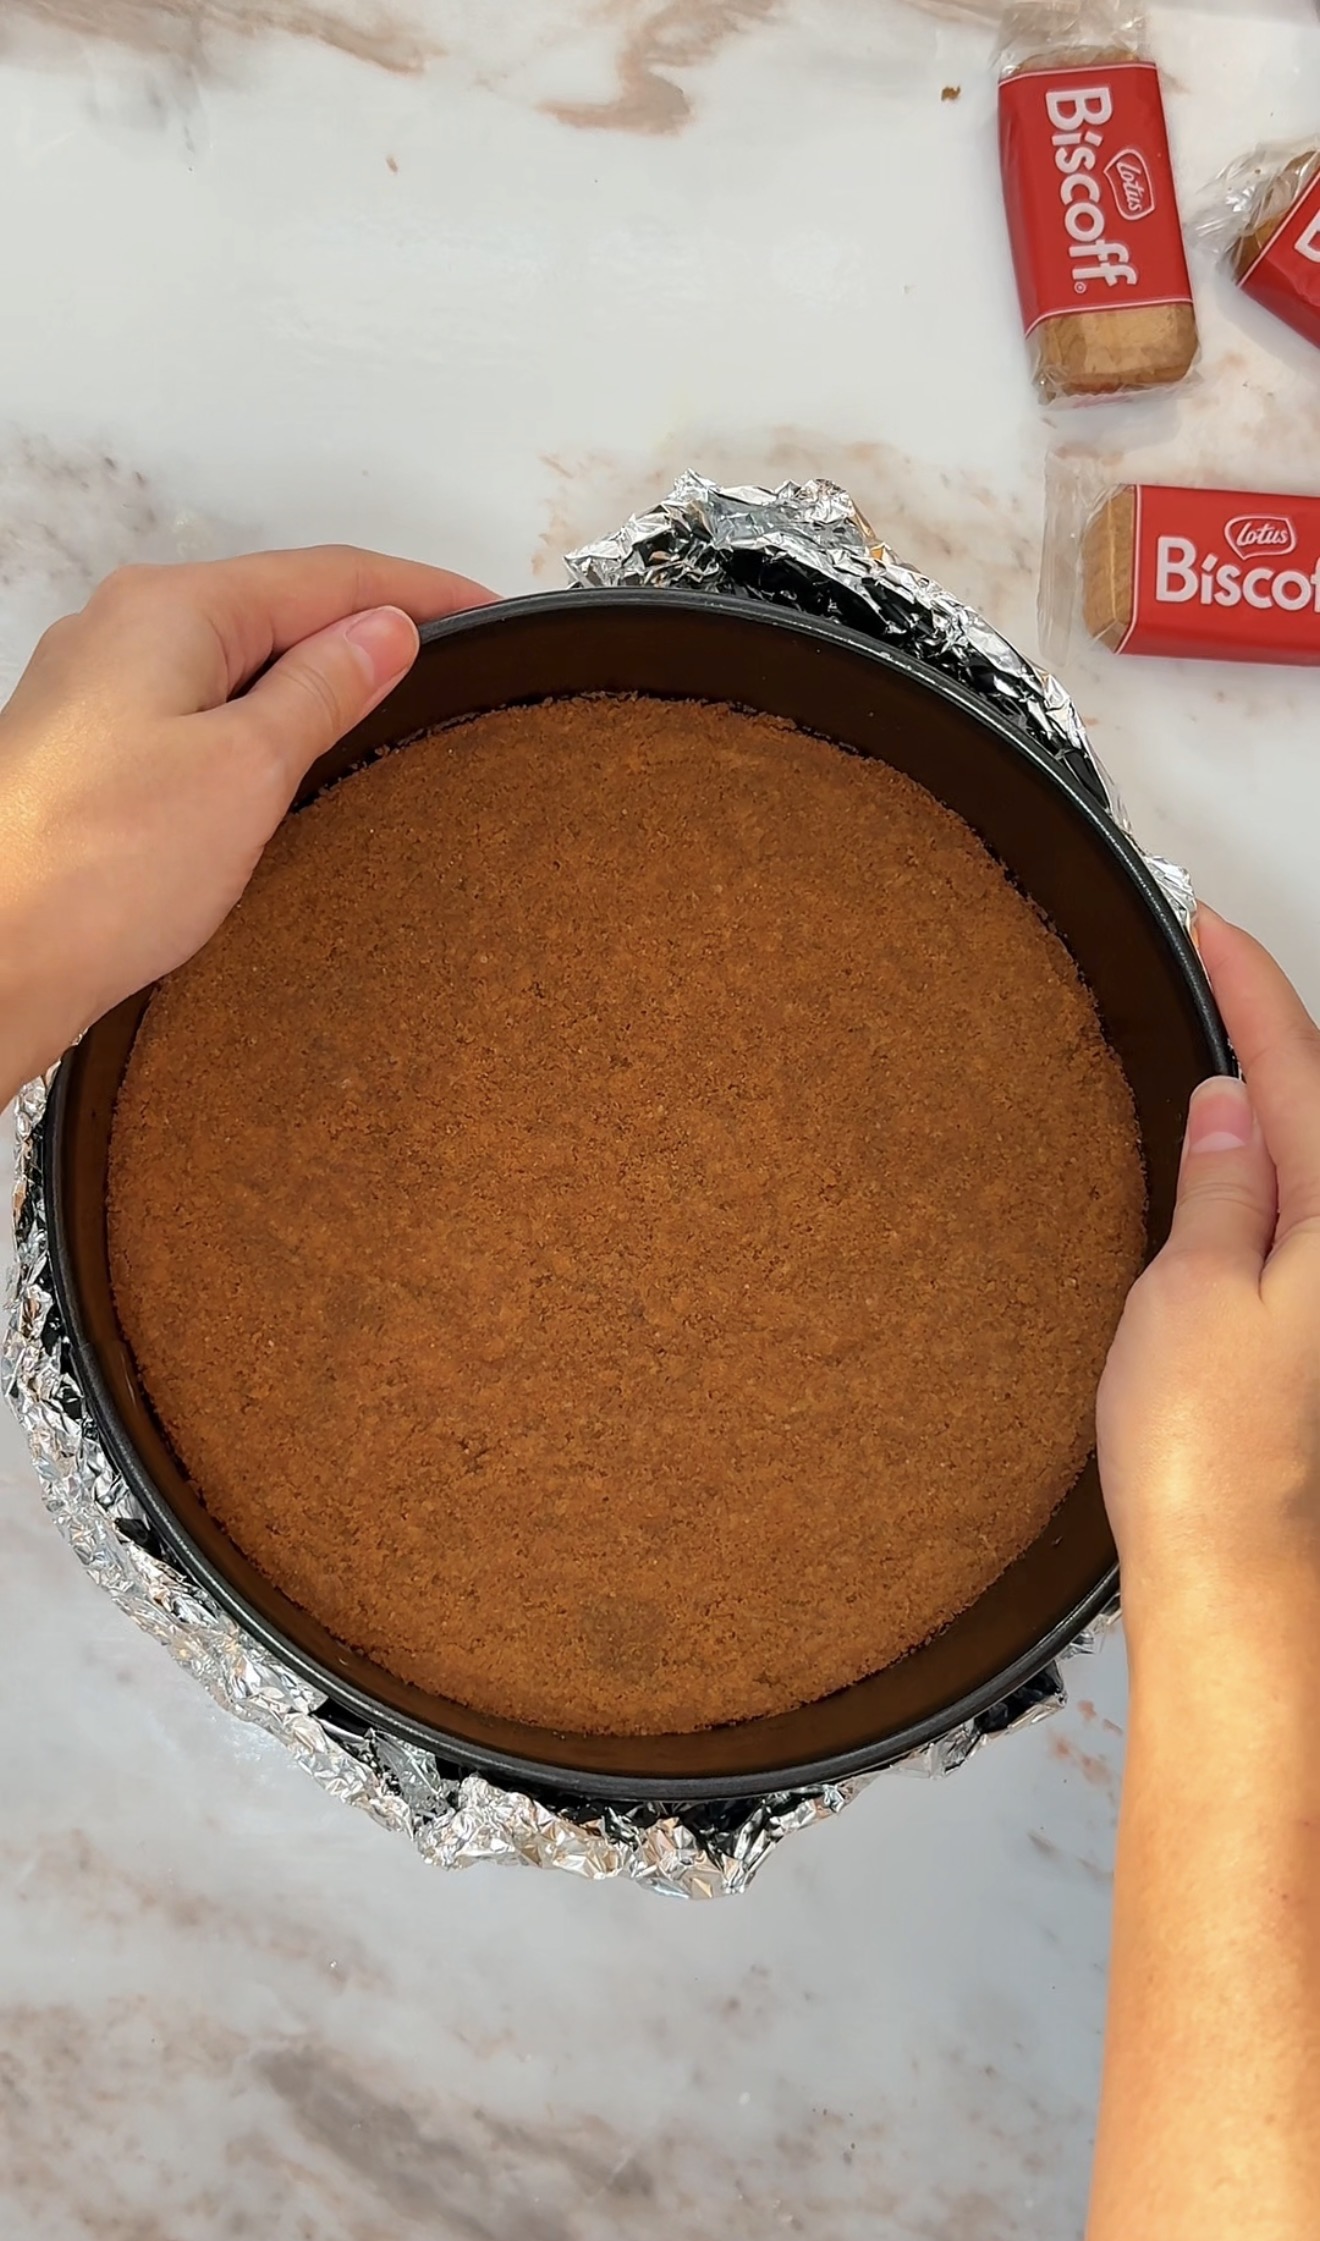
10. Pour the cheesecake batter over the cooled crust. Tap the pan gently on the counter to release any air bubbles, then smooth the top with a spatula.
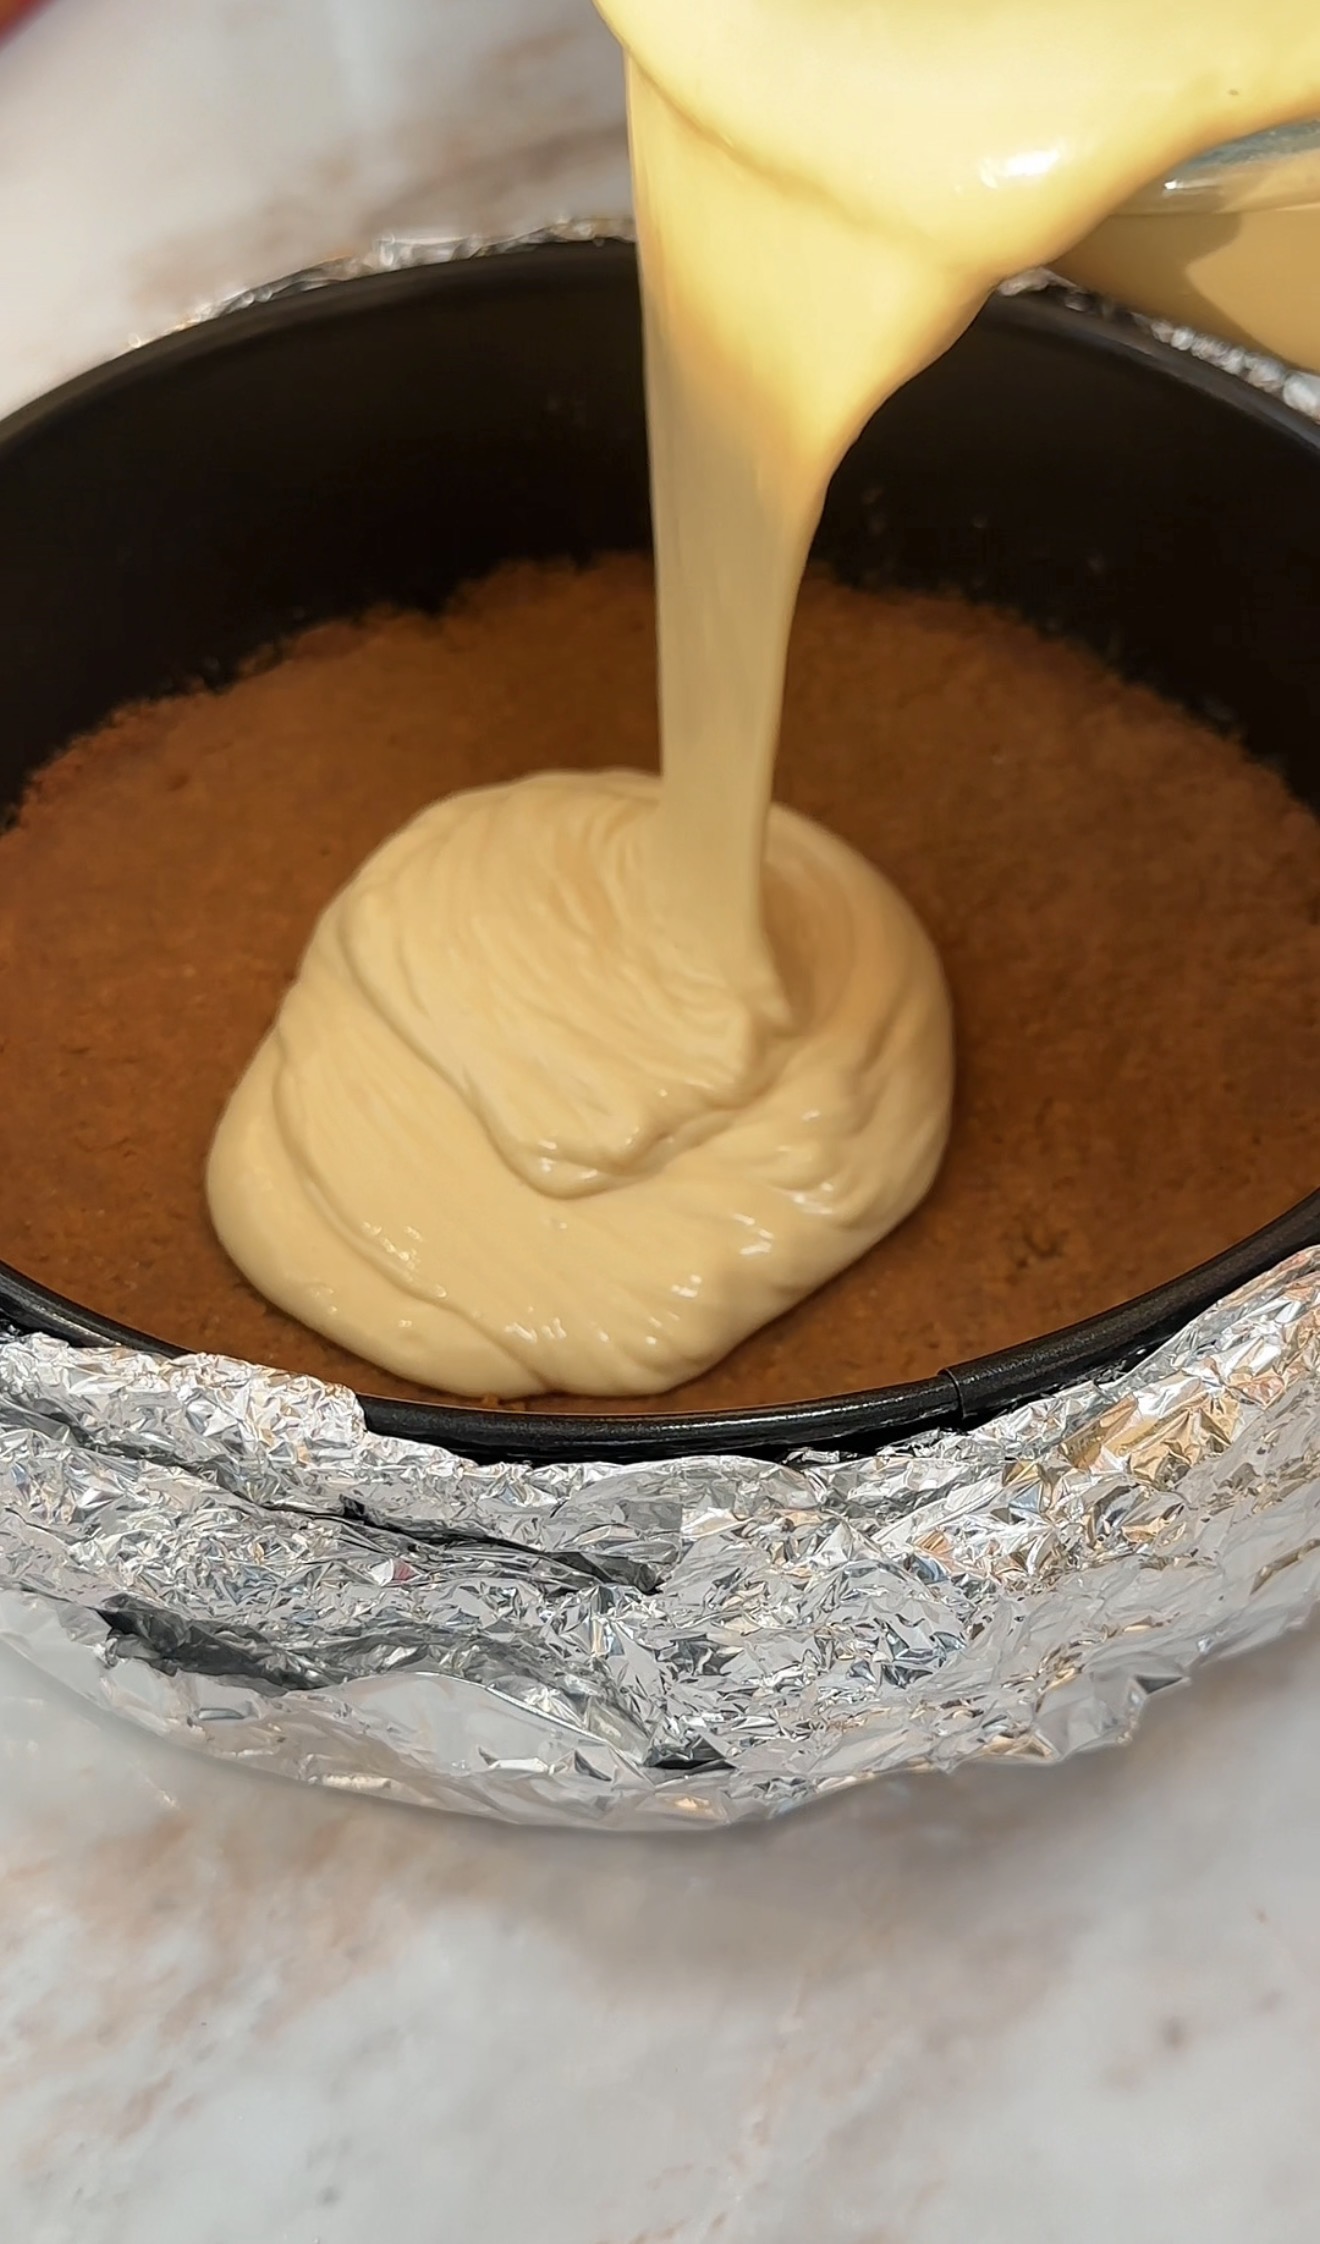
11. Place the wrapped springform pan into a larger baking pan. Carefully pour hot water into the larger pan until it reaches about halfway up the sides of the springform pan.
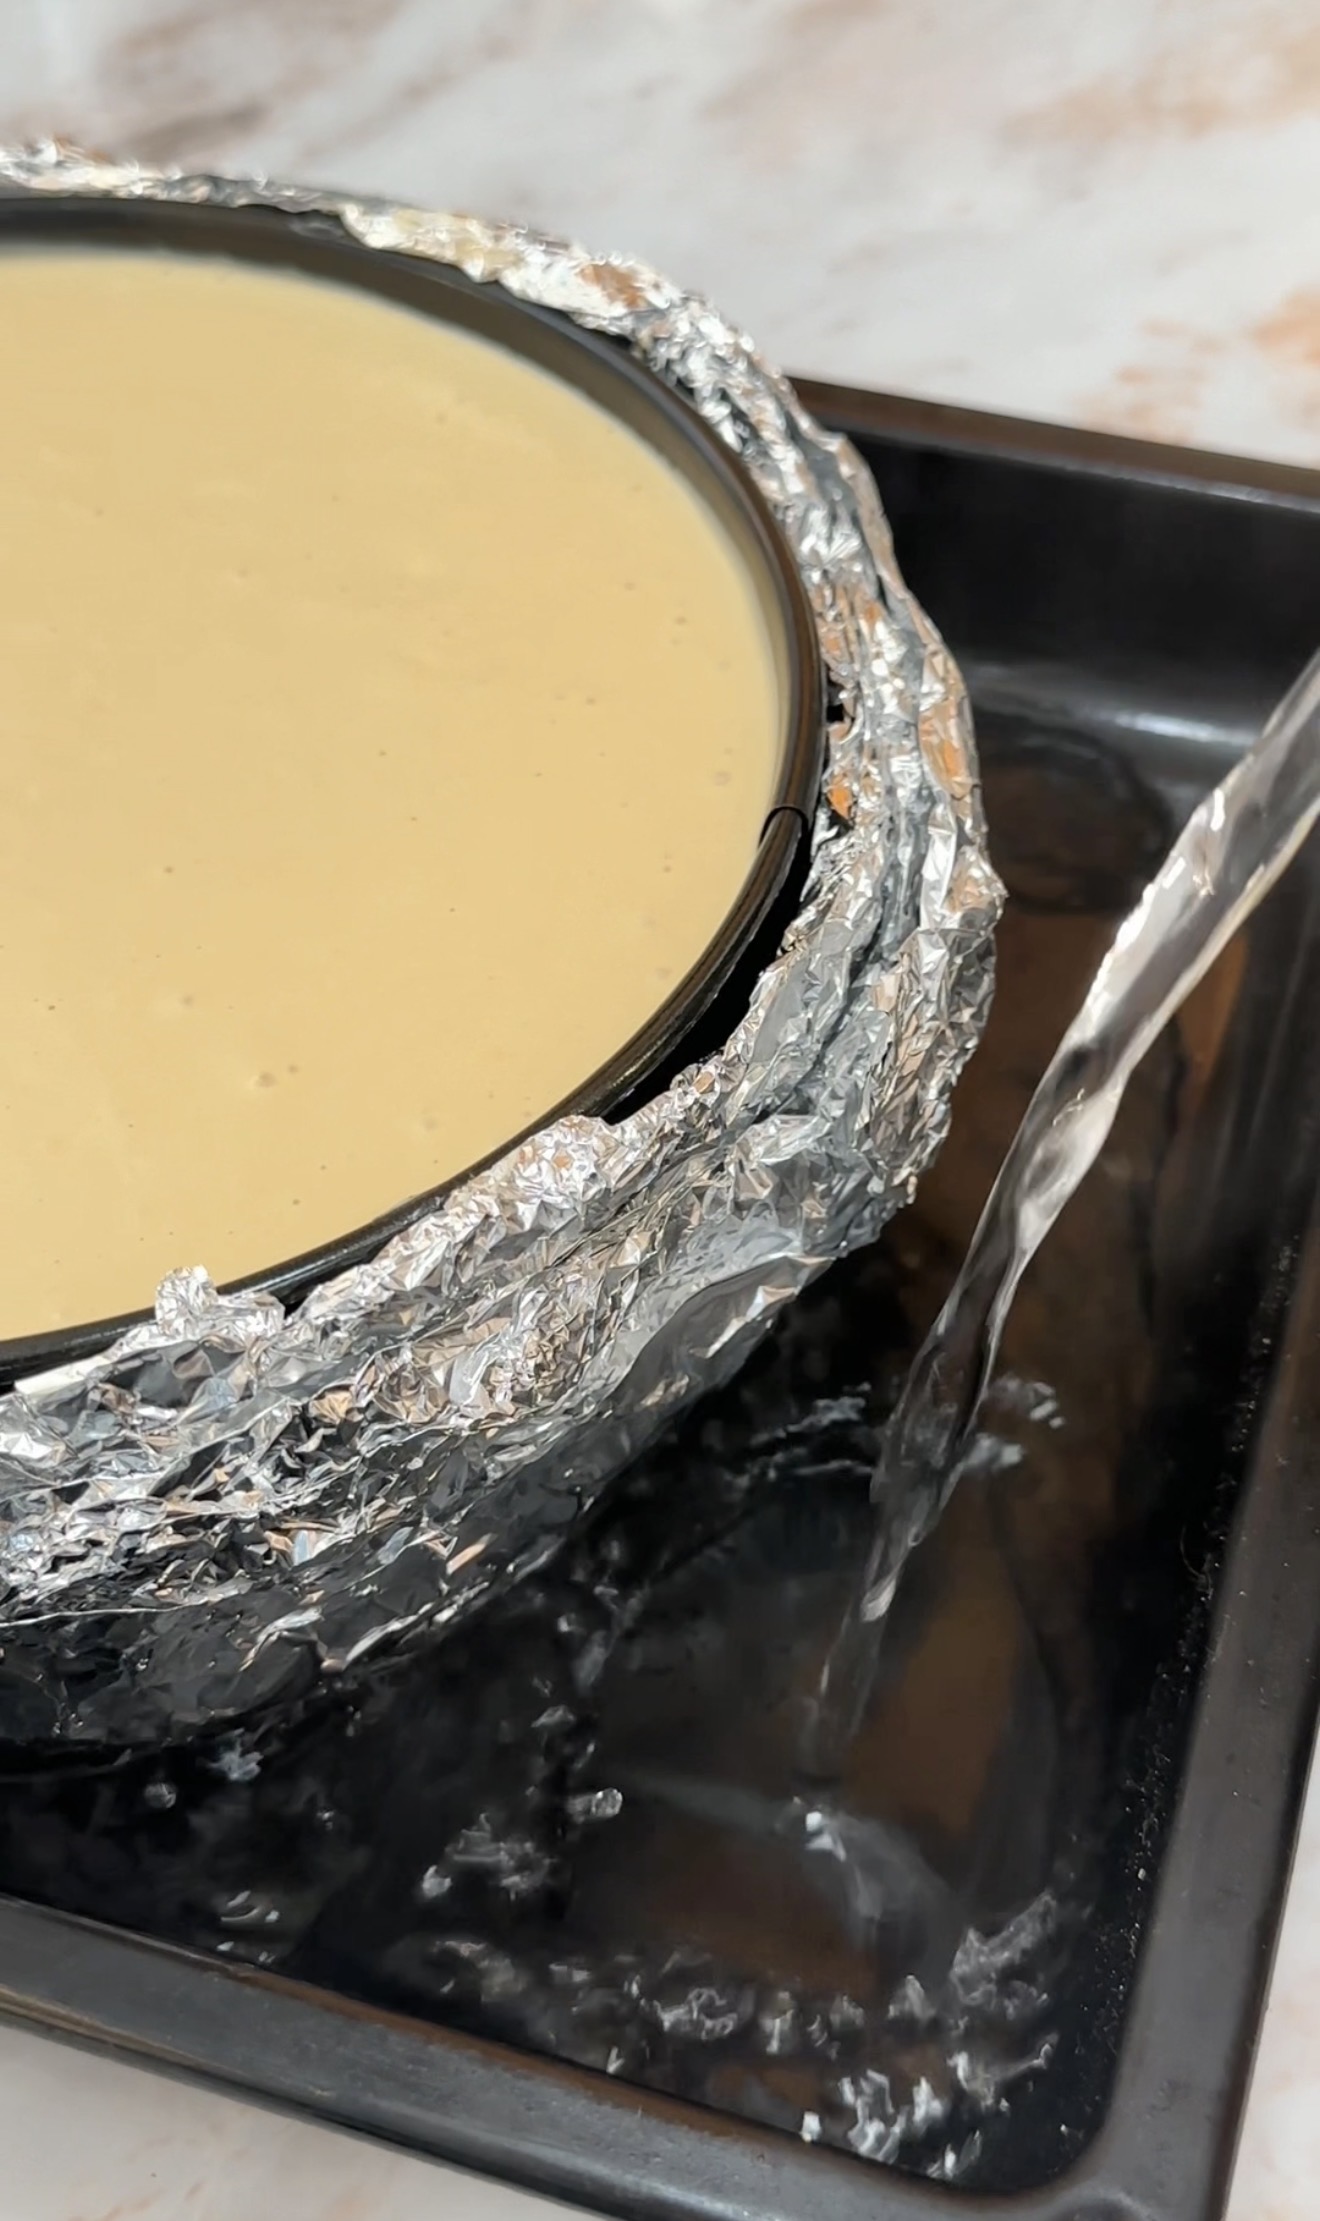
12. Bake Bake at 160°C (320°F) for 1 hour. Do not open the oven during baking, it causes cracks and dips!
13. After 1 hour, turn off the oven and leave the cheesecake inside for another 1 hour with the door closed. This gradual cooling is the secret to preventing cracks.
Cool & Decorate
14. Remove the cheesecake from the water bath and carefully peel off the foil. Allow it to cool completely at room temperature.
15. Cover with plastic wrap and refrigerate overnight. Patience is everything here, overnight chilling gives the cheesecake its perfect silky texture.
16. The next day, melt the Biscoff spread until pourable. Pour it evenly over the chilled cheesecake, then refrigerate for 15 minutes to set.
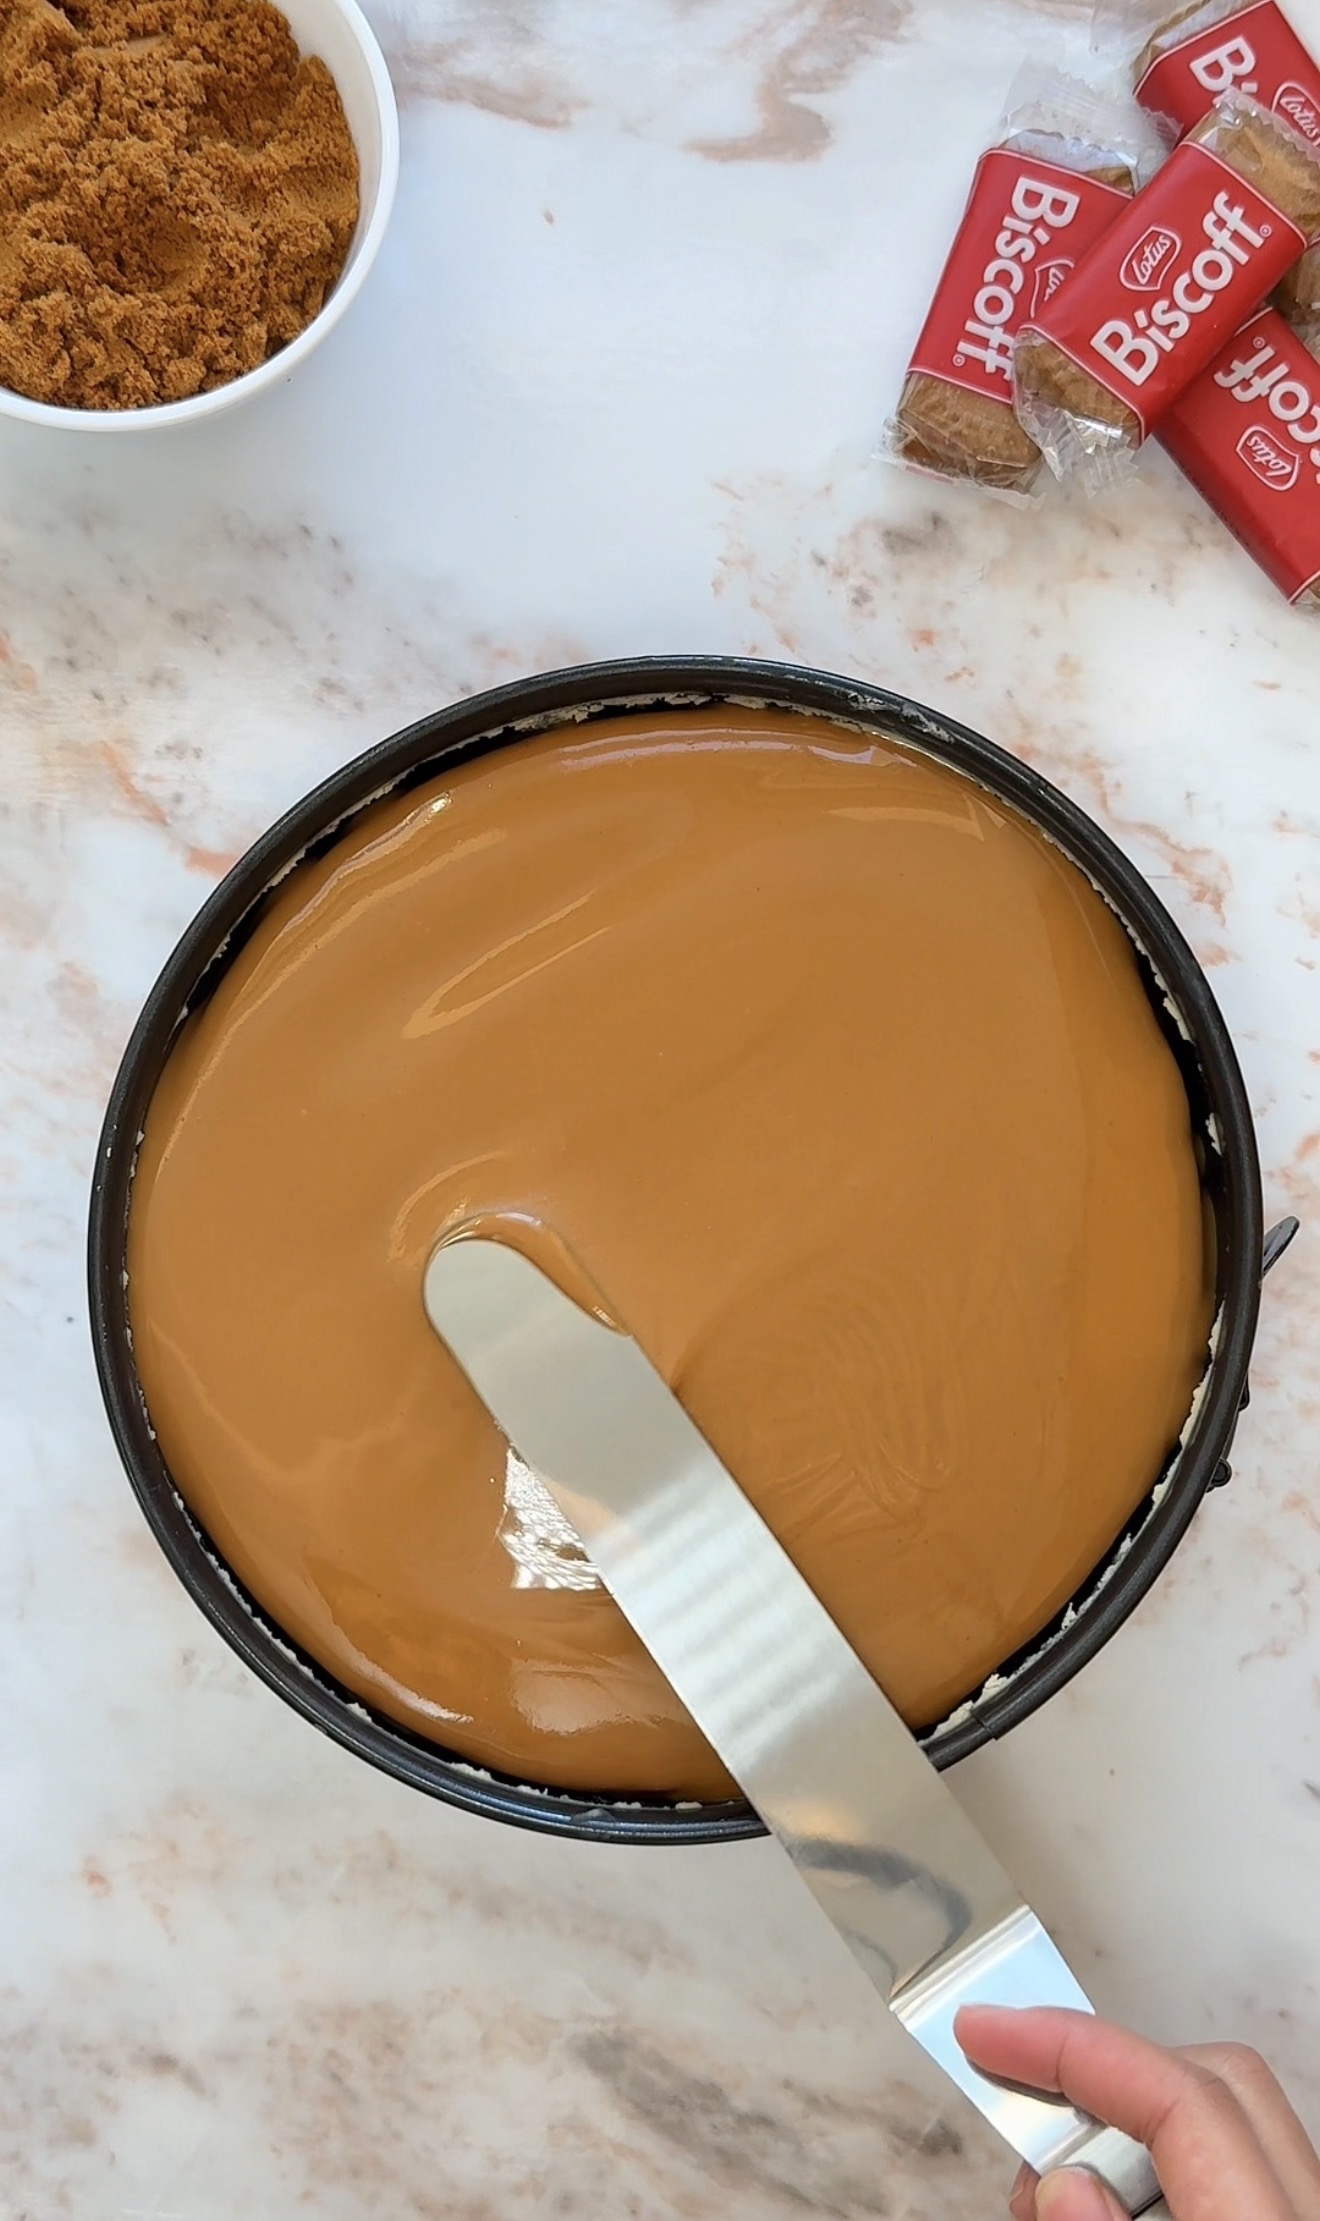
17. Garnish with crushed Biscoff biscuits for that perfect crunchy finish. When slicing, clean the knife between each cut with hot water for beautifully neat slices.
Pro Tips from My Kitchen
- Use room temperature ingredients because cold cream cheese will create stubborn lumps in your cookie butter cheesecake batter.
- Do not overmix the filling since incorporating too much air into the mixture is what causes a Biscoff cheesecake to crack.
- Tap the pan on the counter right before baking to pop any hidden air bubbles trapped inside the smooth batter.
- Always use a water bath and wrap the springform pan tightly so that no water leaks into your Lotus Biscoff cheesecake base.
- Never open the oven door early because a sudden rush of cold air will cause the top of the Lotus Biscoff cheesecake to split open or crack.
- Leave it in the oven with the door shut to let the Biscoff cheesecake recipe cool down slowly for 1 full hour.
- Be patient with the cooling process and chill the cake in the fridge overnight to develop the best possible texture.
- Warm the spread gently over low heat so that the topping stays completely smooth and glossy as you pour it.
- Clean your knife by wiping it down with a warm towel between slices to guarantee neat, professional cuts.
Variations & Substitutions
- No-bake version: Skip the eggs and cornstarch, fold in whipped cream, and chill instead of baking
- Extra crunch: Sprinkle crushed Biscoff biscuits into the filling before baking for surprise crunchy bits
- Chocolate Biscoff: Add a layer of dark chocolate ganache before pouring on the Biscoff topping
- Mini cheesecakes: Make in a muffin tin with cupcake liners, bake for just 20-25 minutes
- Gluten-free: Use gluten-free biscuits for the crust (Biscoff itself isn’t GF)
- Biscoff swirl: Drizzle extra Biscoff spread into the batter before baking and swirl with a knife for a marbled effect
- Salted caramel twist: Drizzle salted caramel sauce on top alongside the Biscoff for an extra indulgent finish
- Whipped cream rosettes: Pipe whipped cream around the edge for a more elegant, cafe-style finish
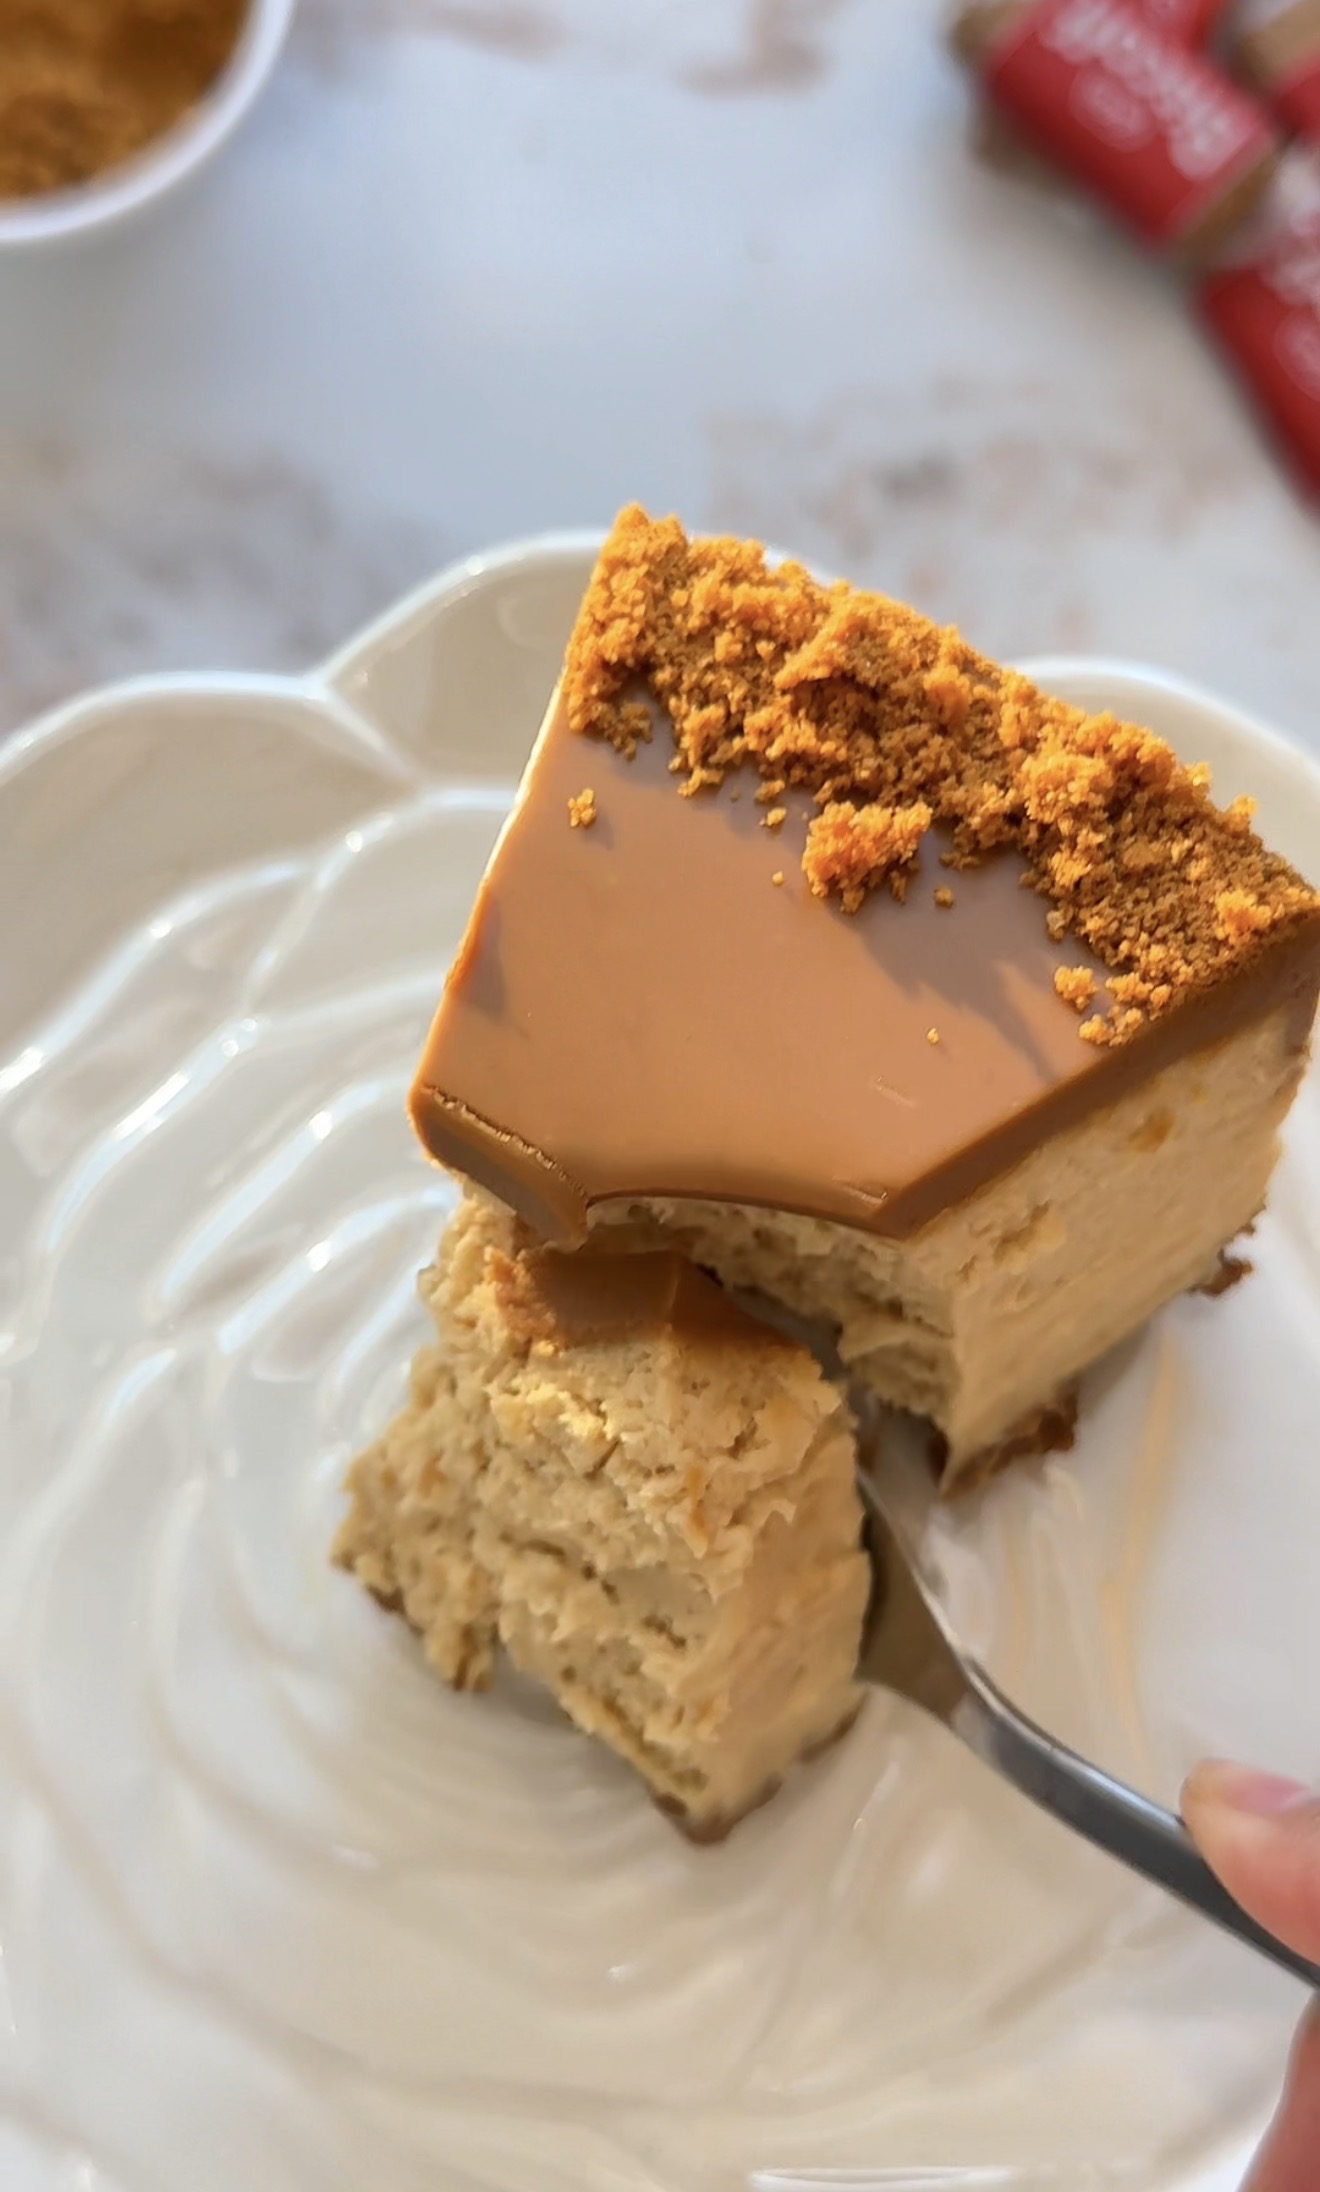
What to Serve With Biscoff Cheesecake
- A cup of hot coffee or cappuccino. Biscoff and coffee are a match made in heaven
- Fresh berries, raspberries or strawberries
- A drizzle of salted caramel for extra indulgence
- Vanilla ice cream or whipped cream for an extra-decadent serving
- Hot chocolate
- A dessert wine like Moscato for a more elegant pairing
Storage & Make-Ahead
Storage: Store the cheesecake covered in the fridge for up to 5 days. The flavor and texture actually improve after a day or two!
Make-ahead: This is the perfect make-ahead dessert. Bake it 1-2 days before serving and add the topping the day you plan to serve. The overnight chill is essential anyway, so plan ahead!
Freezing: Biscoff cheesecake freezes beautifully:
- Whole cheesecake: Wrap tightly in plastic wrap and foil, then freeze for up to 2 months. Thaw overnight in the fridge before adding the topping and garnish.
- Individual slices: Wrap each slice and freeze on a tray. Thaw in the fridge for 4-6 hours before serving.
Do not refreeze once thawed.
Frequently Asked Questions
Why did my cheesecake crack? Most likely from overmixing the batter, opening the oven door during baking, or cooling it too quickly. The water bath and gradual cooling are key to preventing cracks!
Can I make this cheesecake without a water bath? You can, but the results won’t be quite as silky. If skipping, place a separate pan of hot water on the bottom rack of the oven to create steam.
My cheesecake jiggled in the middle, is it underbaked? A slight jiggle in the centre is exactly what you want! It firms up as it cools and chills overnight. If it looks completely set in the oven, it’s over-baked.
Can I make this without white chocolate? The white chocolate adds richness and helps with setting, but you can leave it out if needed. Just expect a slightly less rich texture.
How long does it need to chill? Minimum 8 hours, but overnight (12+ hours) gives the best texture and flavor.
Can I use a different size pan? Yes, for an 8-inch pan, the cheesecake will be taller and may need 10-15 extra minutes of baking. For a 10-inch pan, it’ll be flatter and cook 10 minutes faster.
Can I make this no-bake? Yes! Skip the eggs and cornstarch, fold the cream cheese mixture with whipped cream, pour over the crust, and chill for at least 6 hours instead of baking.